LINE OF WASHED STONE TILES
WASH STONE is the most textured line; its visible face is split stone or pebble aggregate, both in different colorations and grain size distribution. It is an extremely high quality product that, despite the passage of time, continues in use today. Its main characteristic is its resistance and roughness, which makes it possible to create sophisticated combinations with no risk of slippage.
These products have standardized colors and formats in order to provide prompt and accurate service to our customers.

| Dimensions | Thinckness ≈ | Weight ≈ per piece | Weight ≈ per m2 |
|---|---|---|---|
| 400X400 mm | 28 mm | 9.50Kg. | 60 Kg. |
| 500×500 mm | 33 mm | 18.50 Kg. | 474 Kg. |
| 600X400 mm | 33 mm | 18.50 Kg. | 474 Kg. |
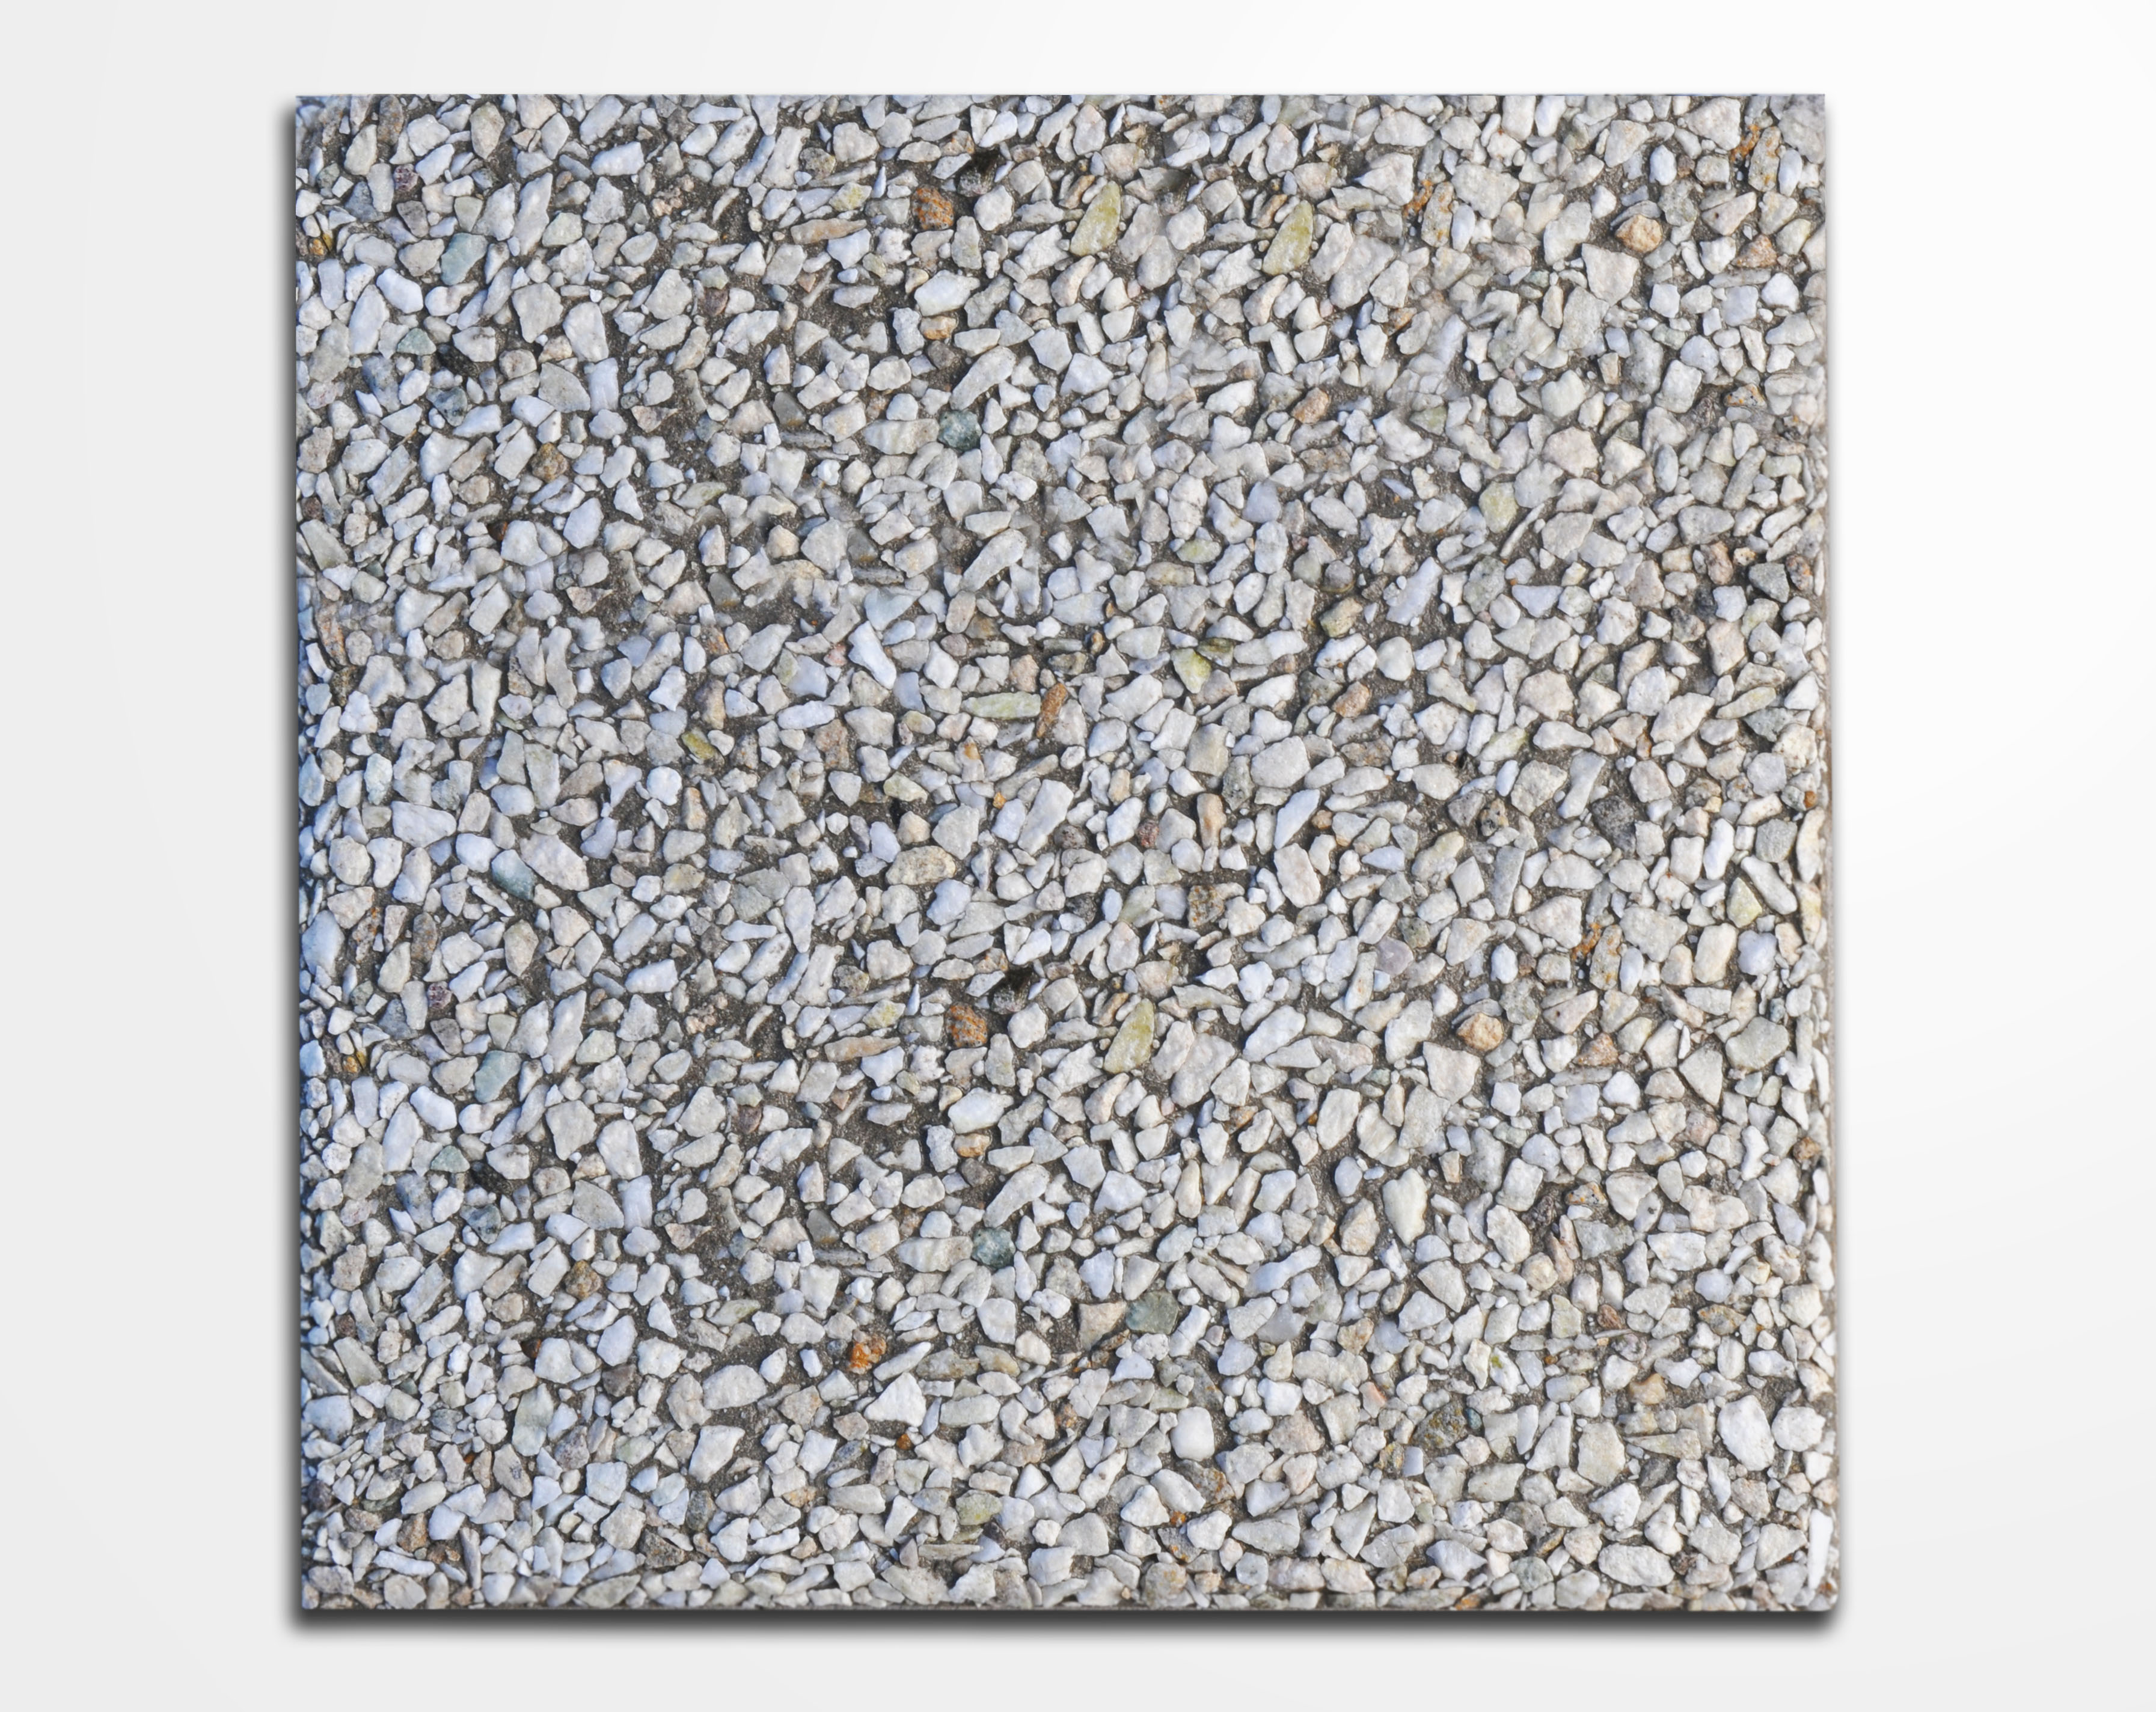
Cordoba White
Details
Blended Pebble Aggregate
Details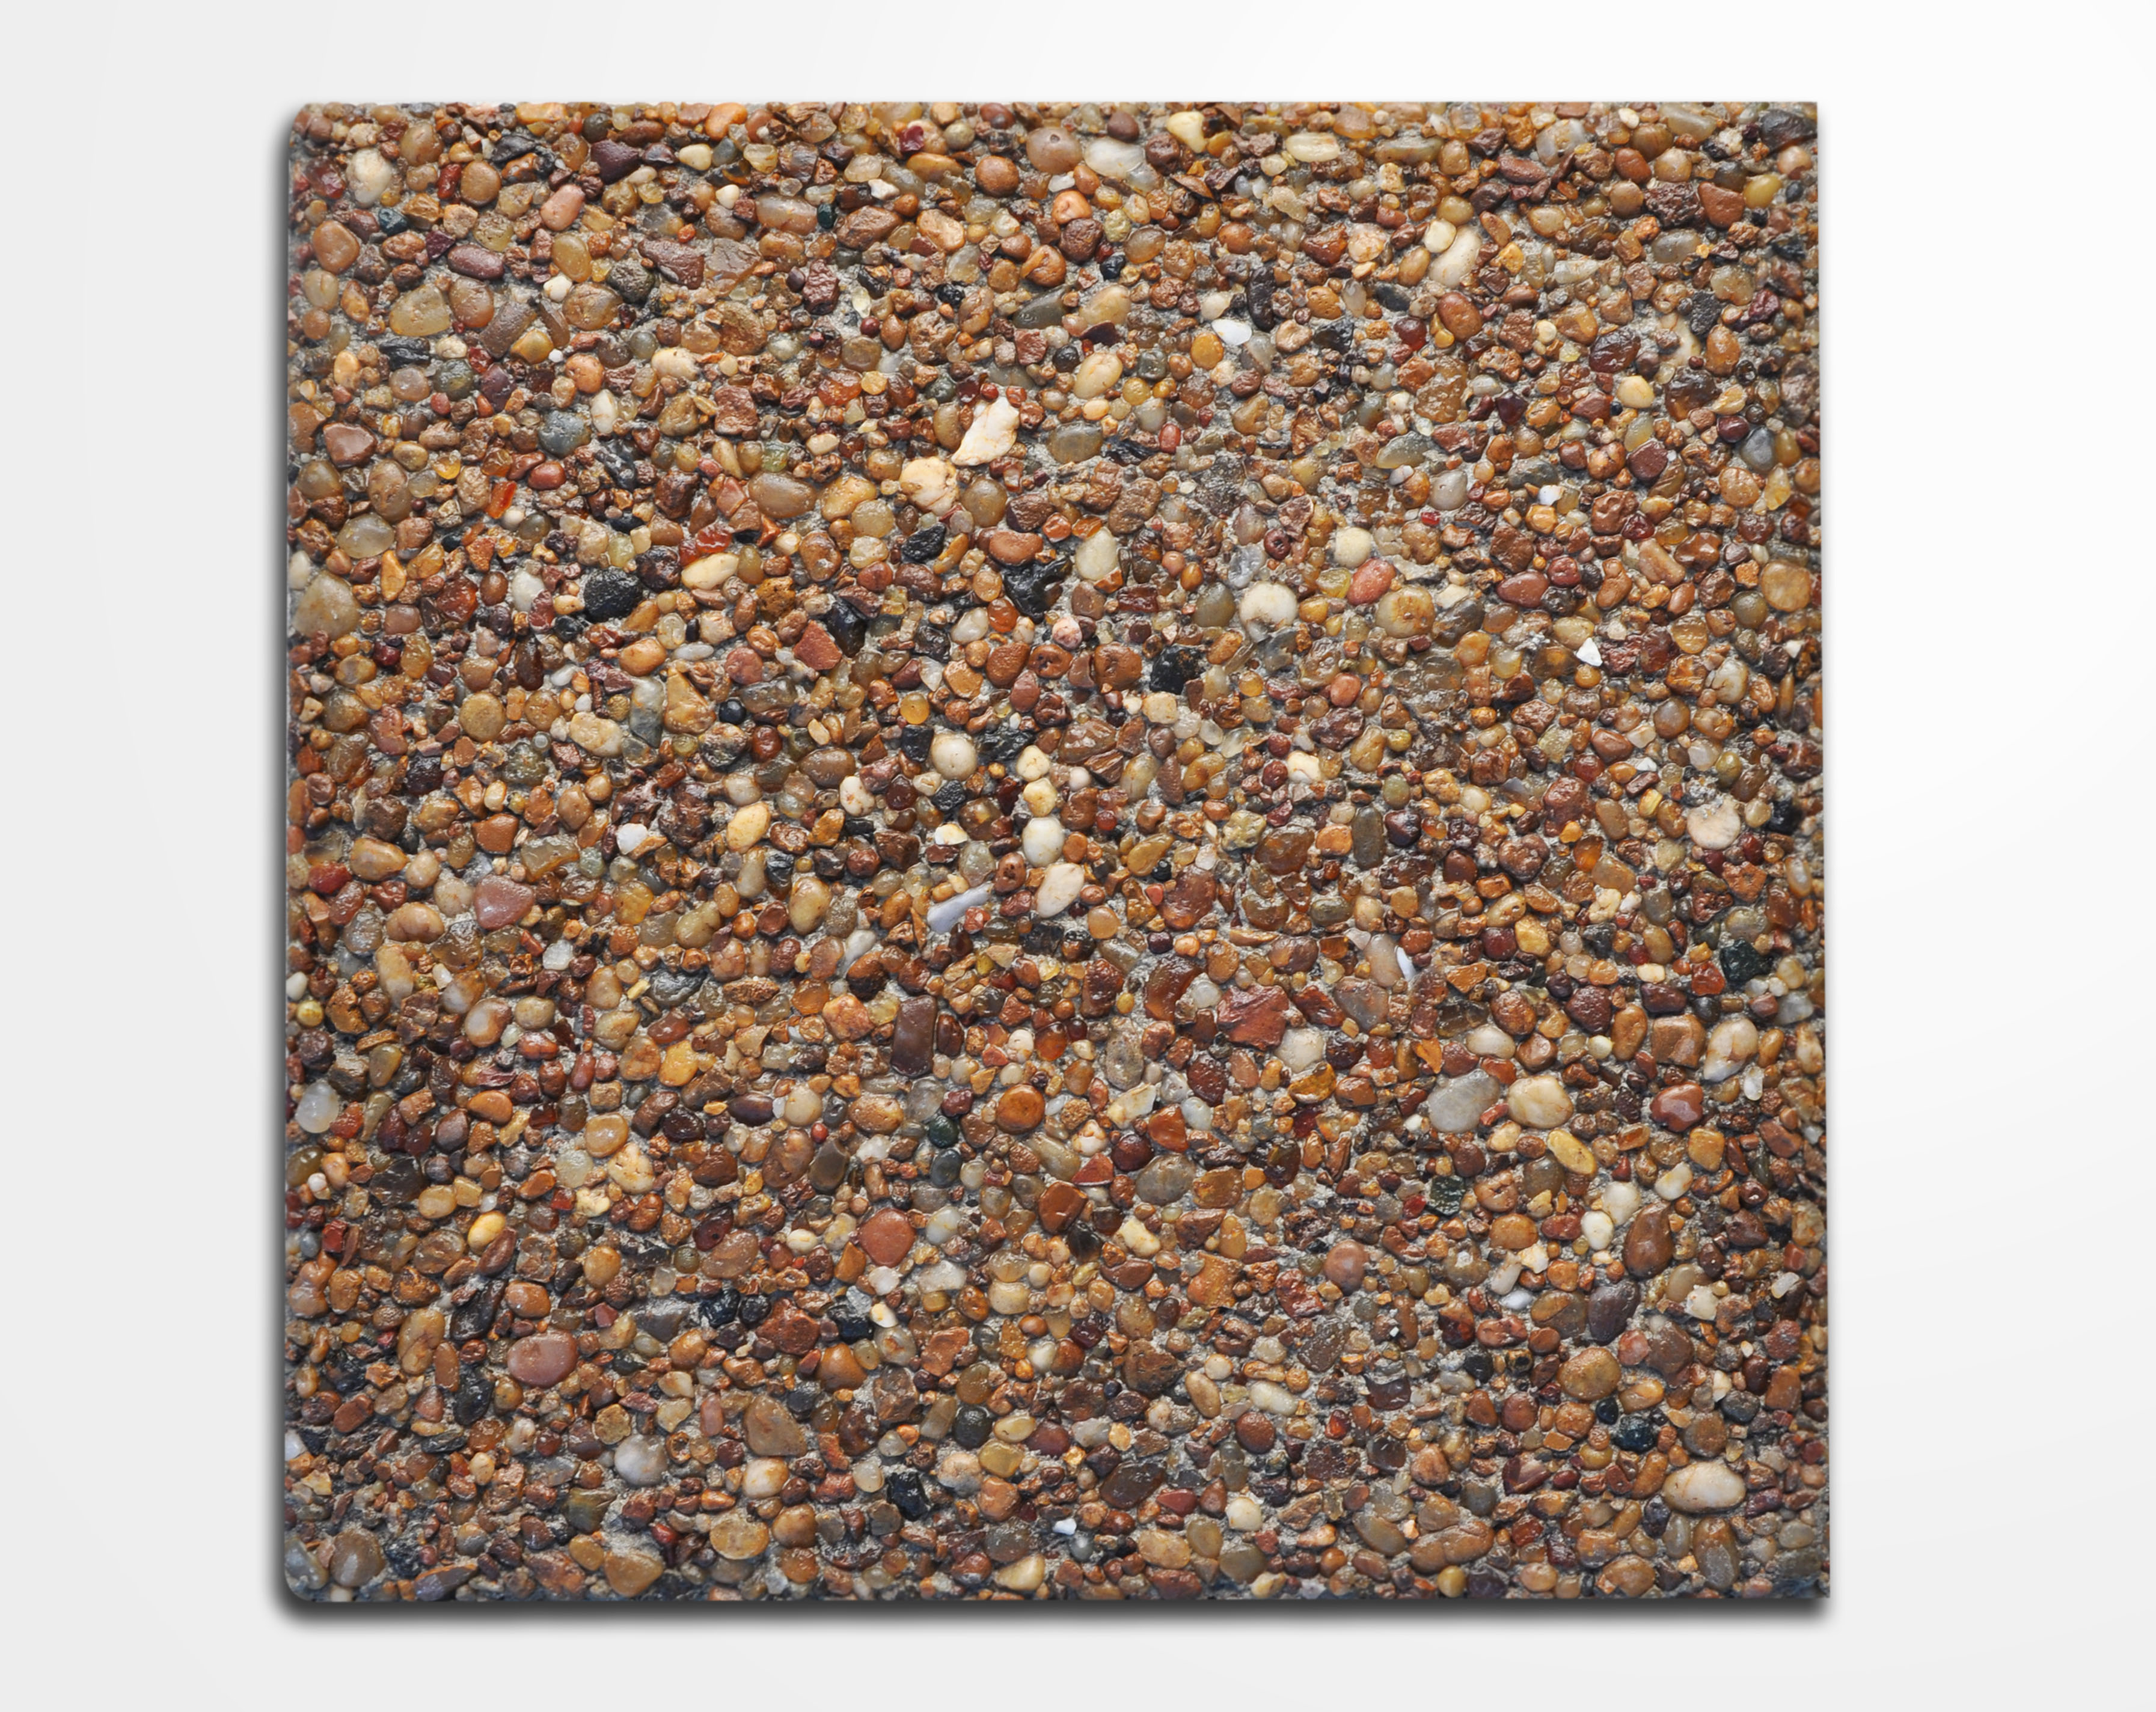
Pebble Aggregate with Gray Backgrounds
Details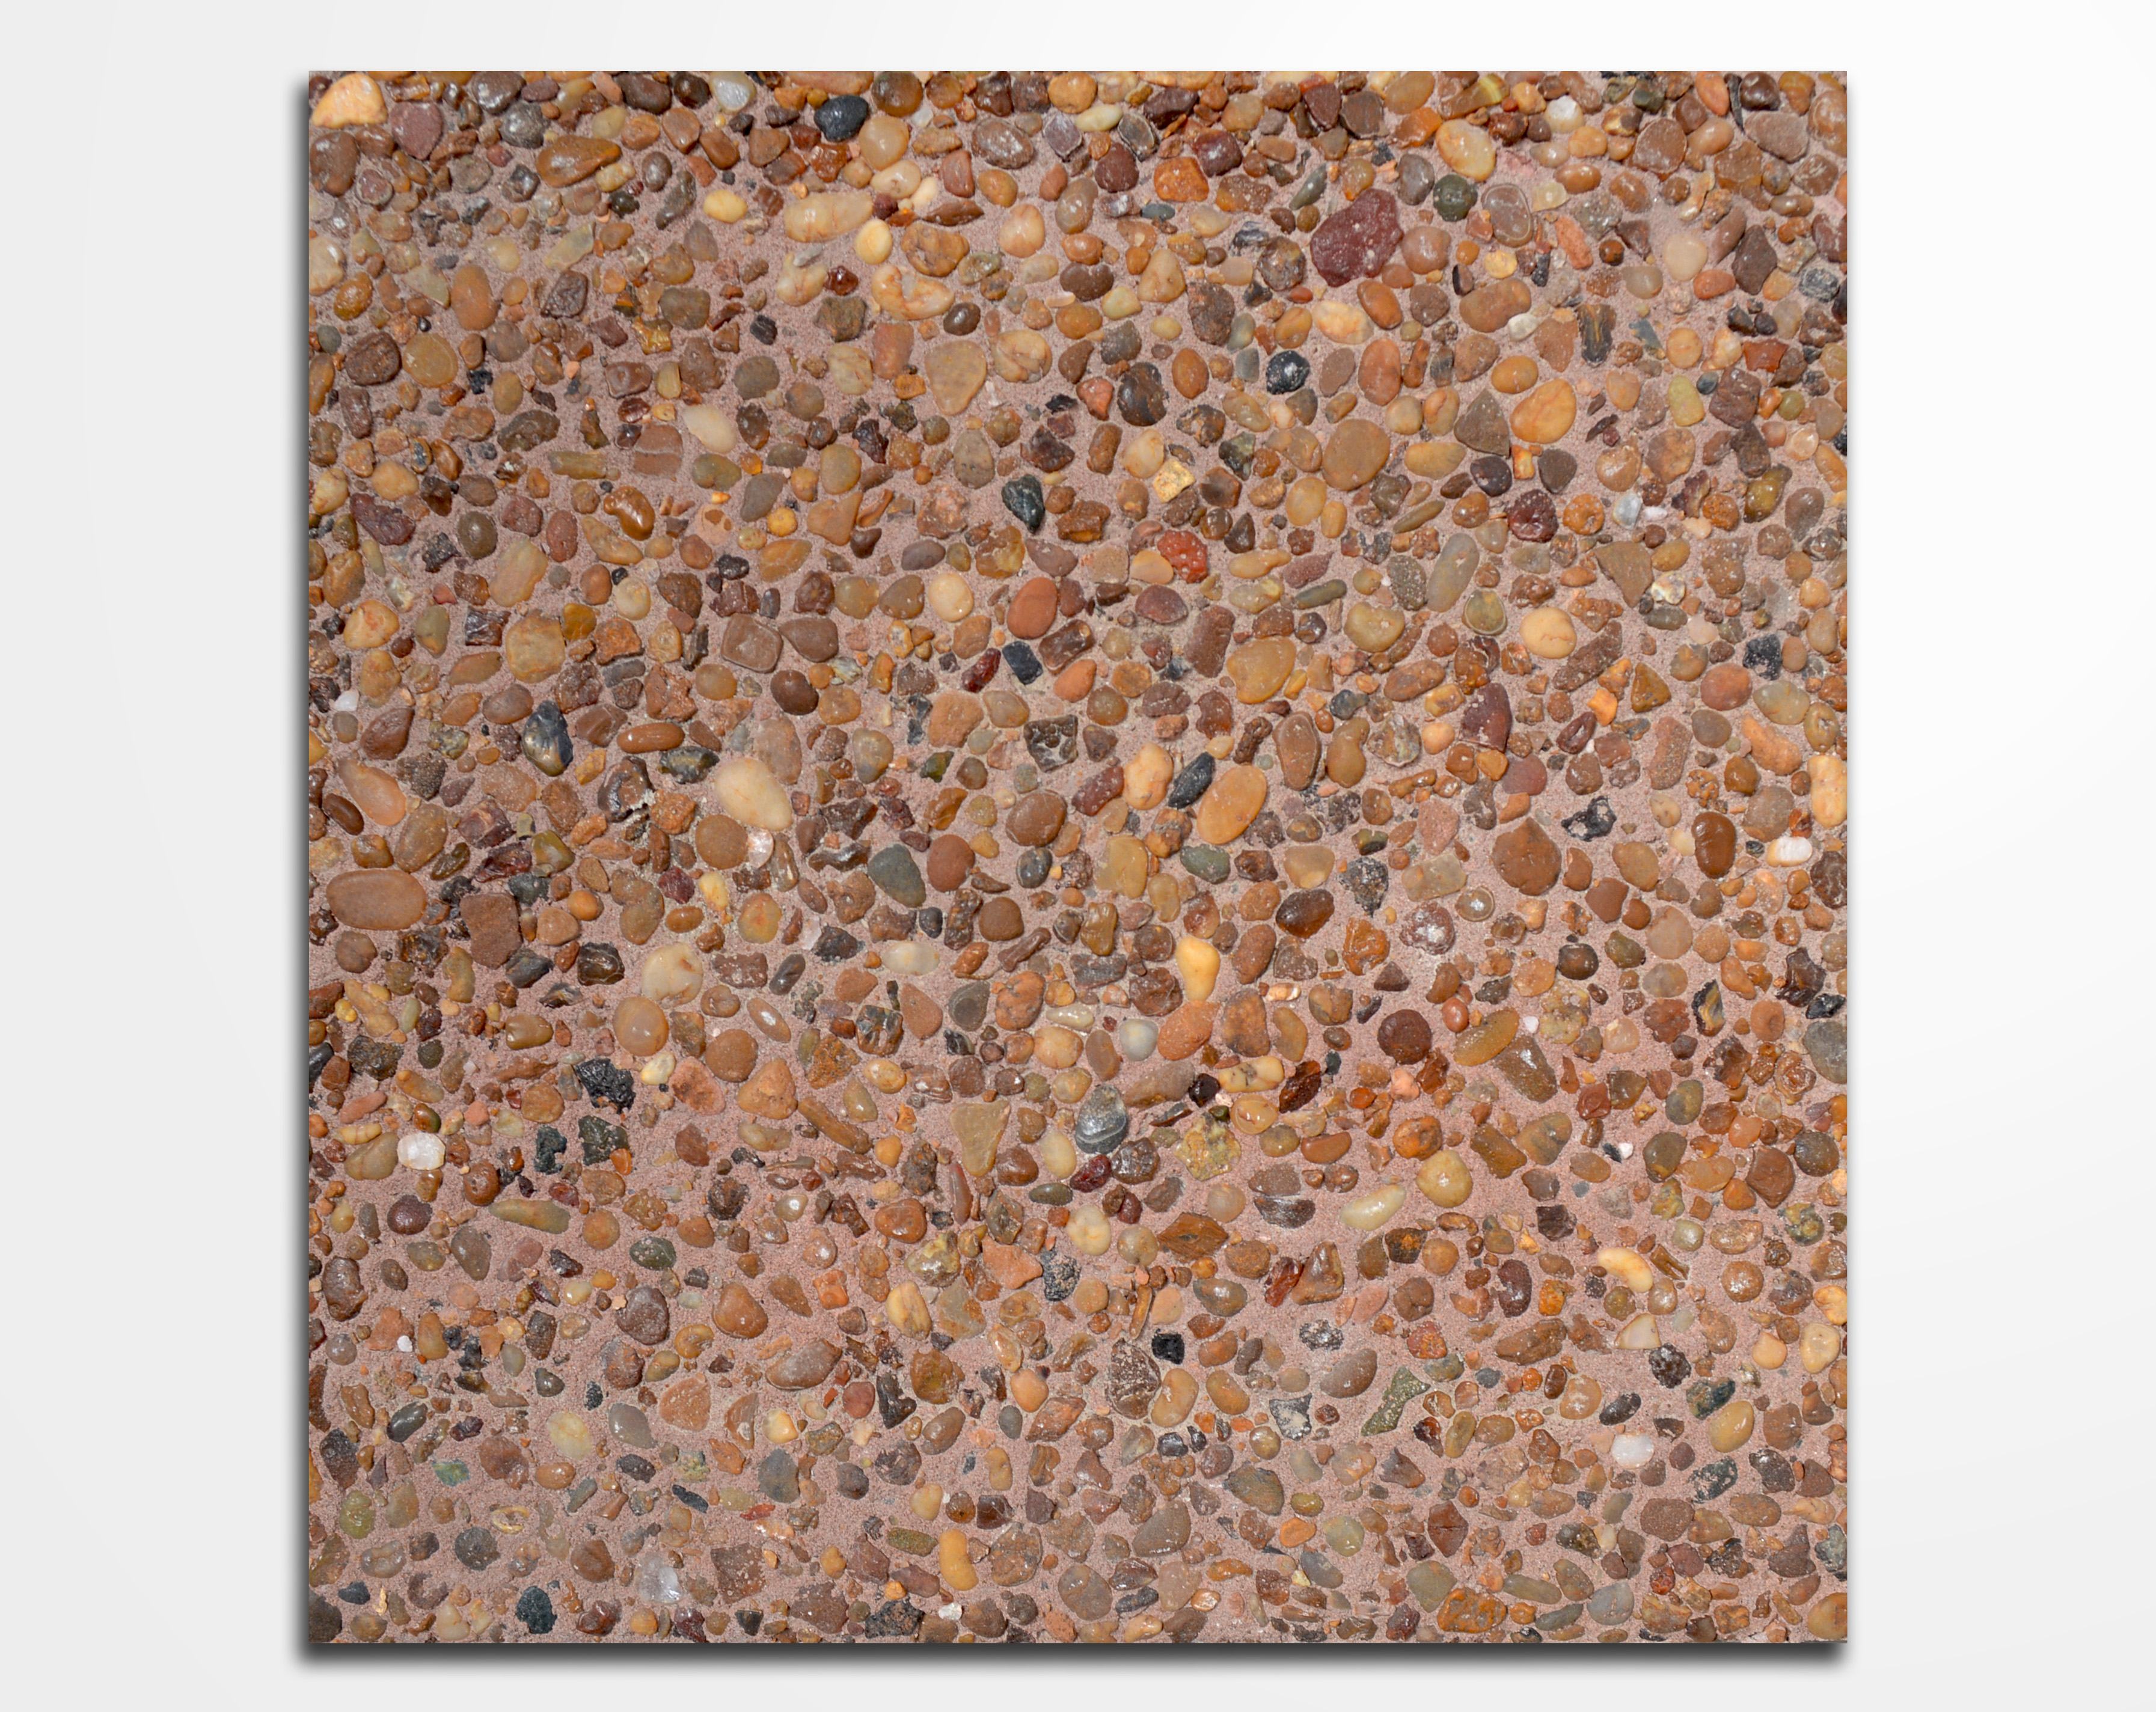
Pebble Aggregate with Red Background
Details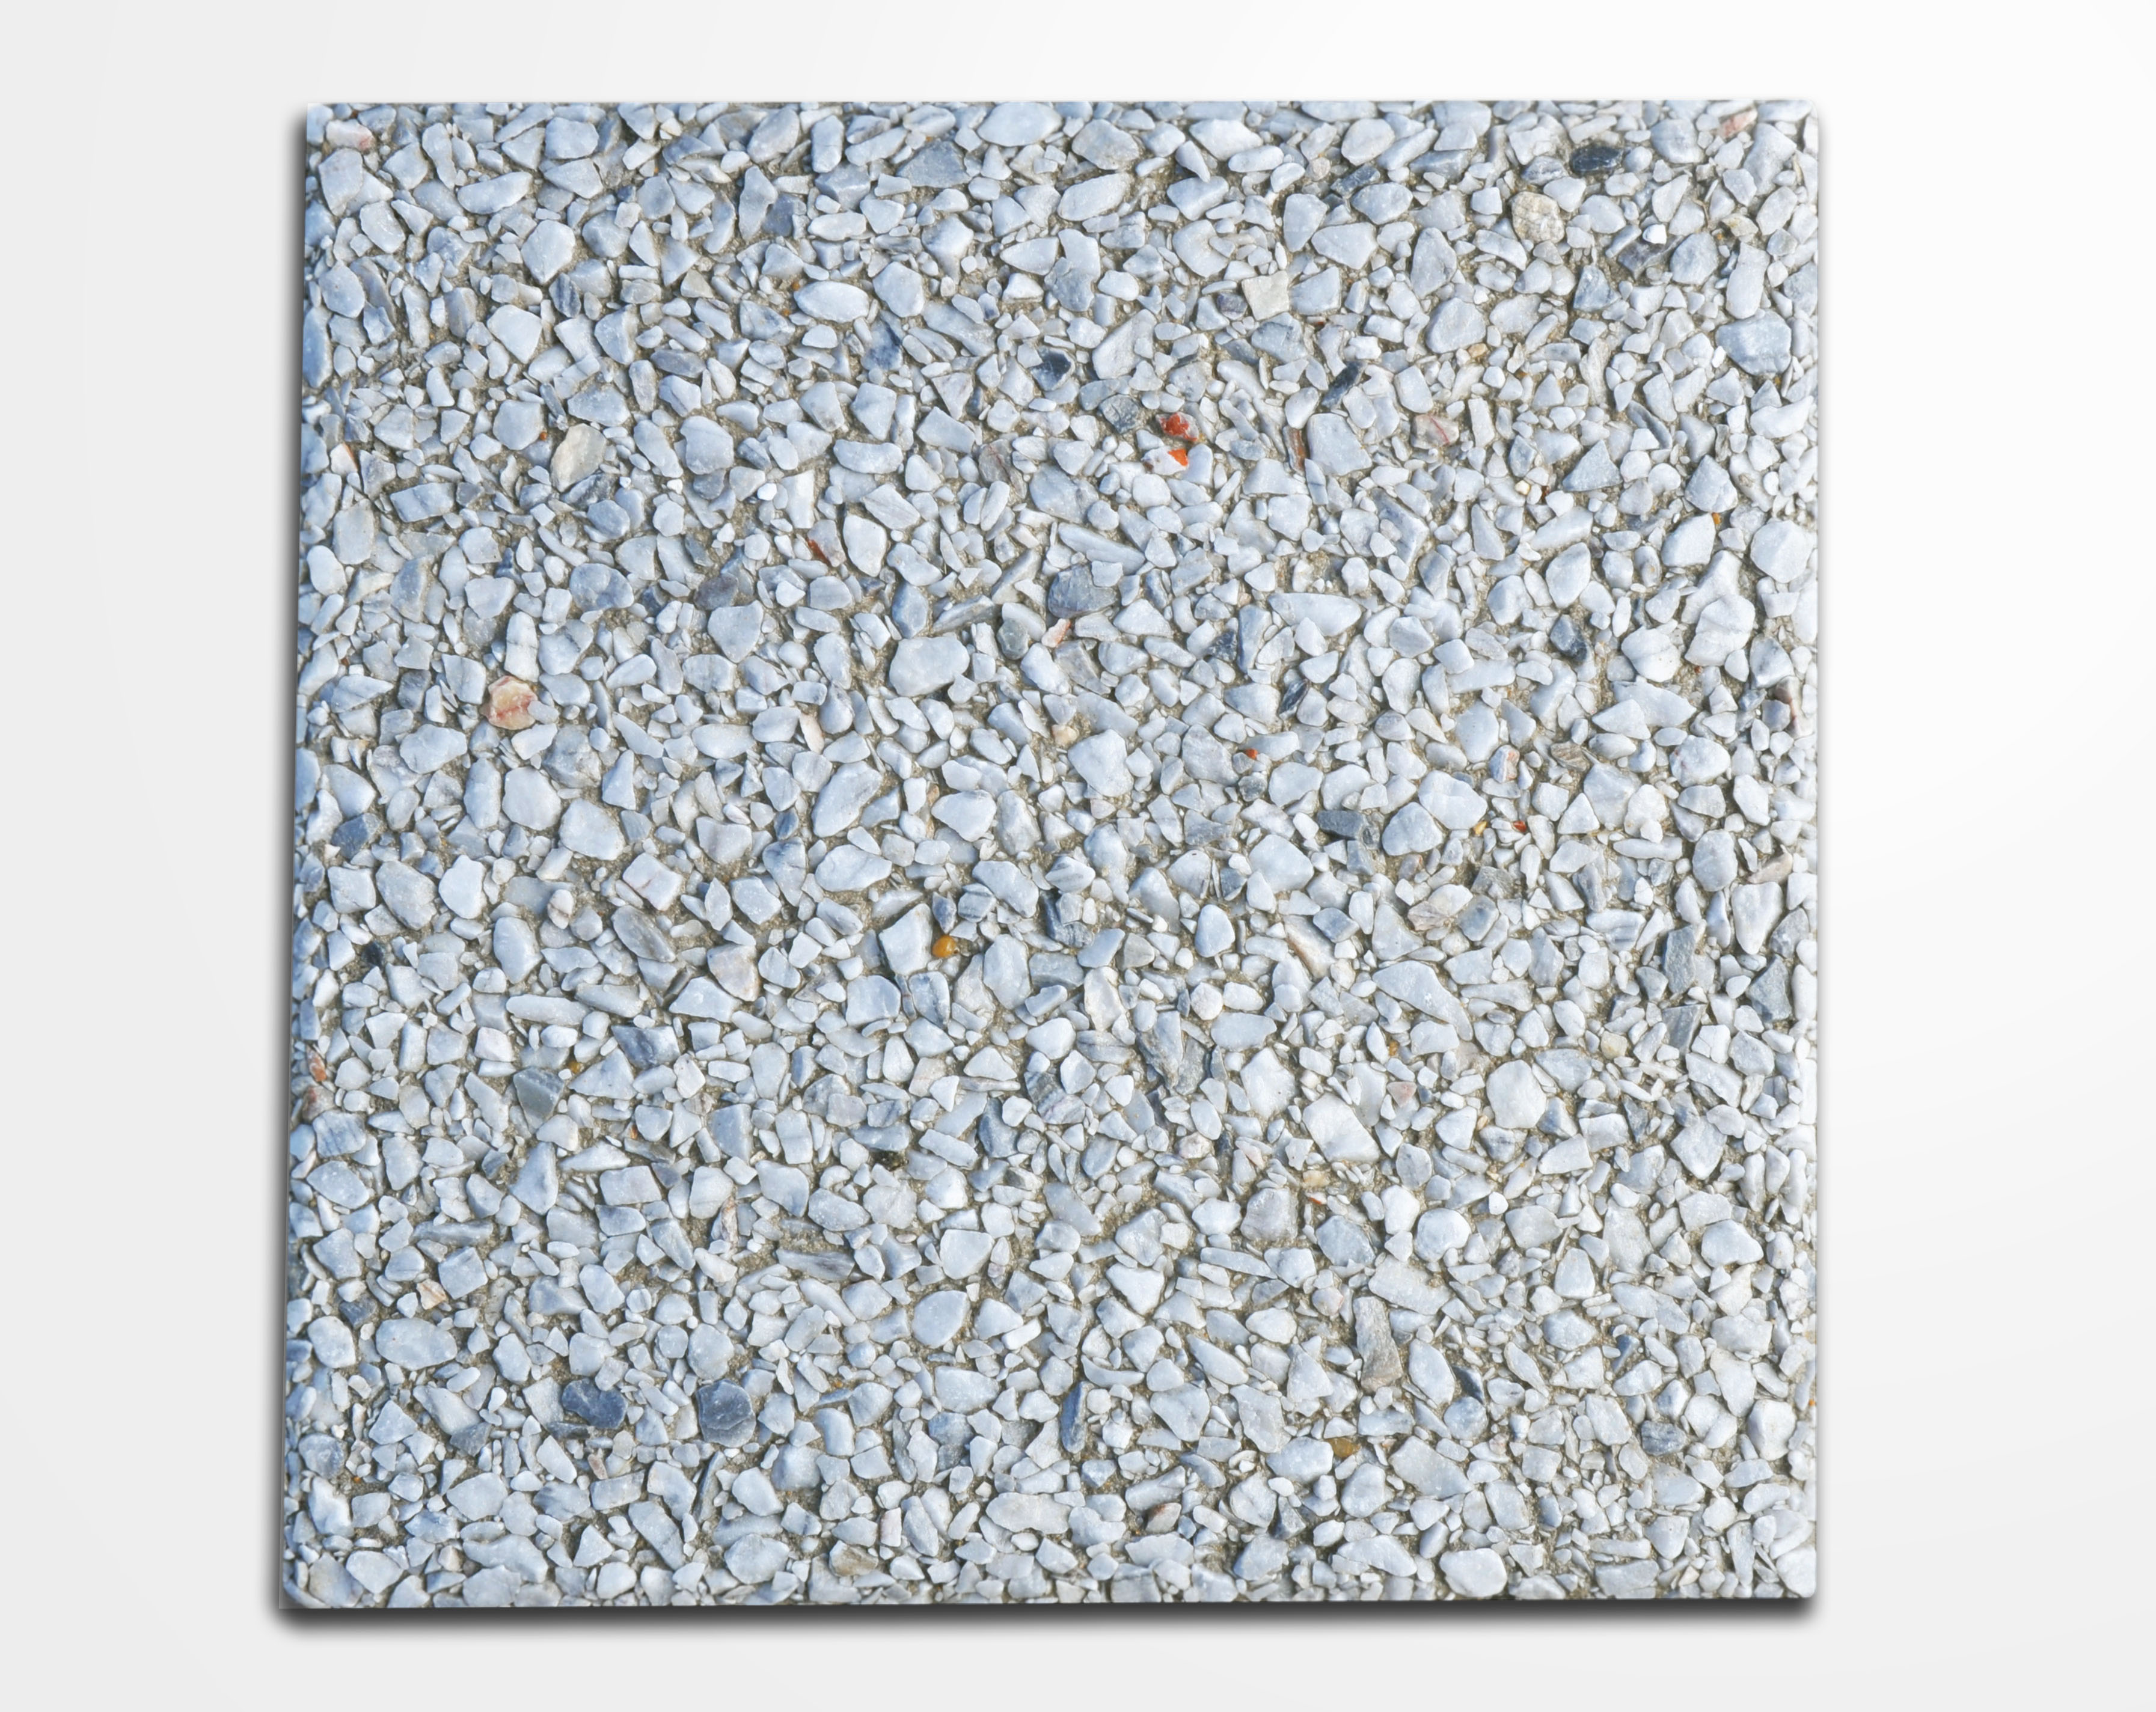
Bardiglio Gray
Details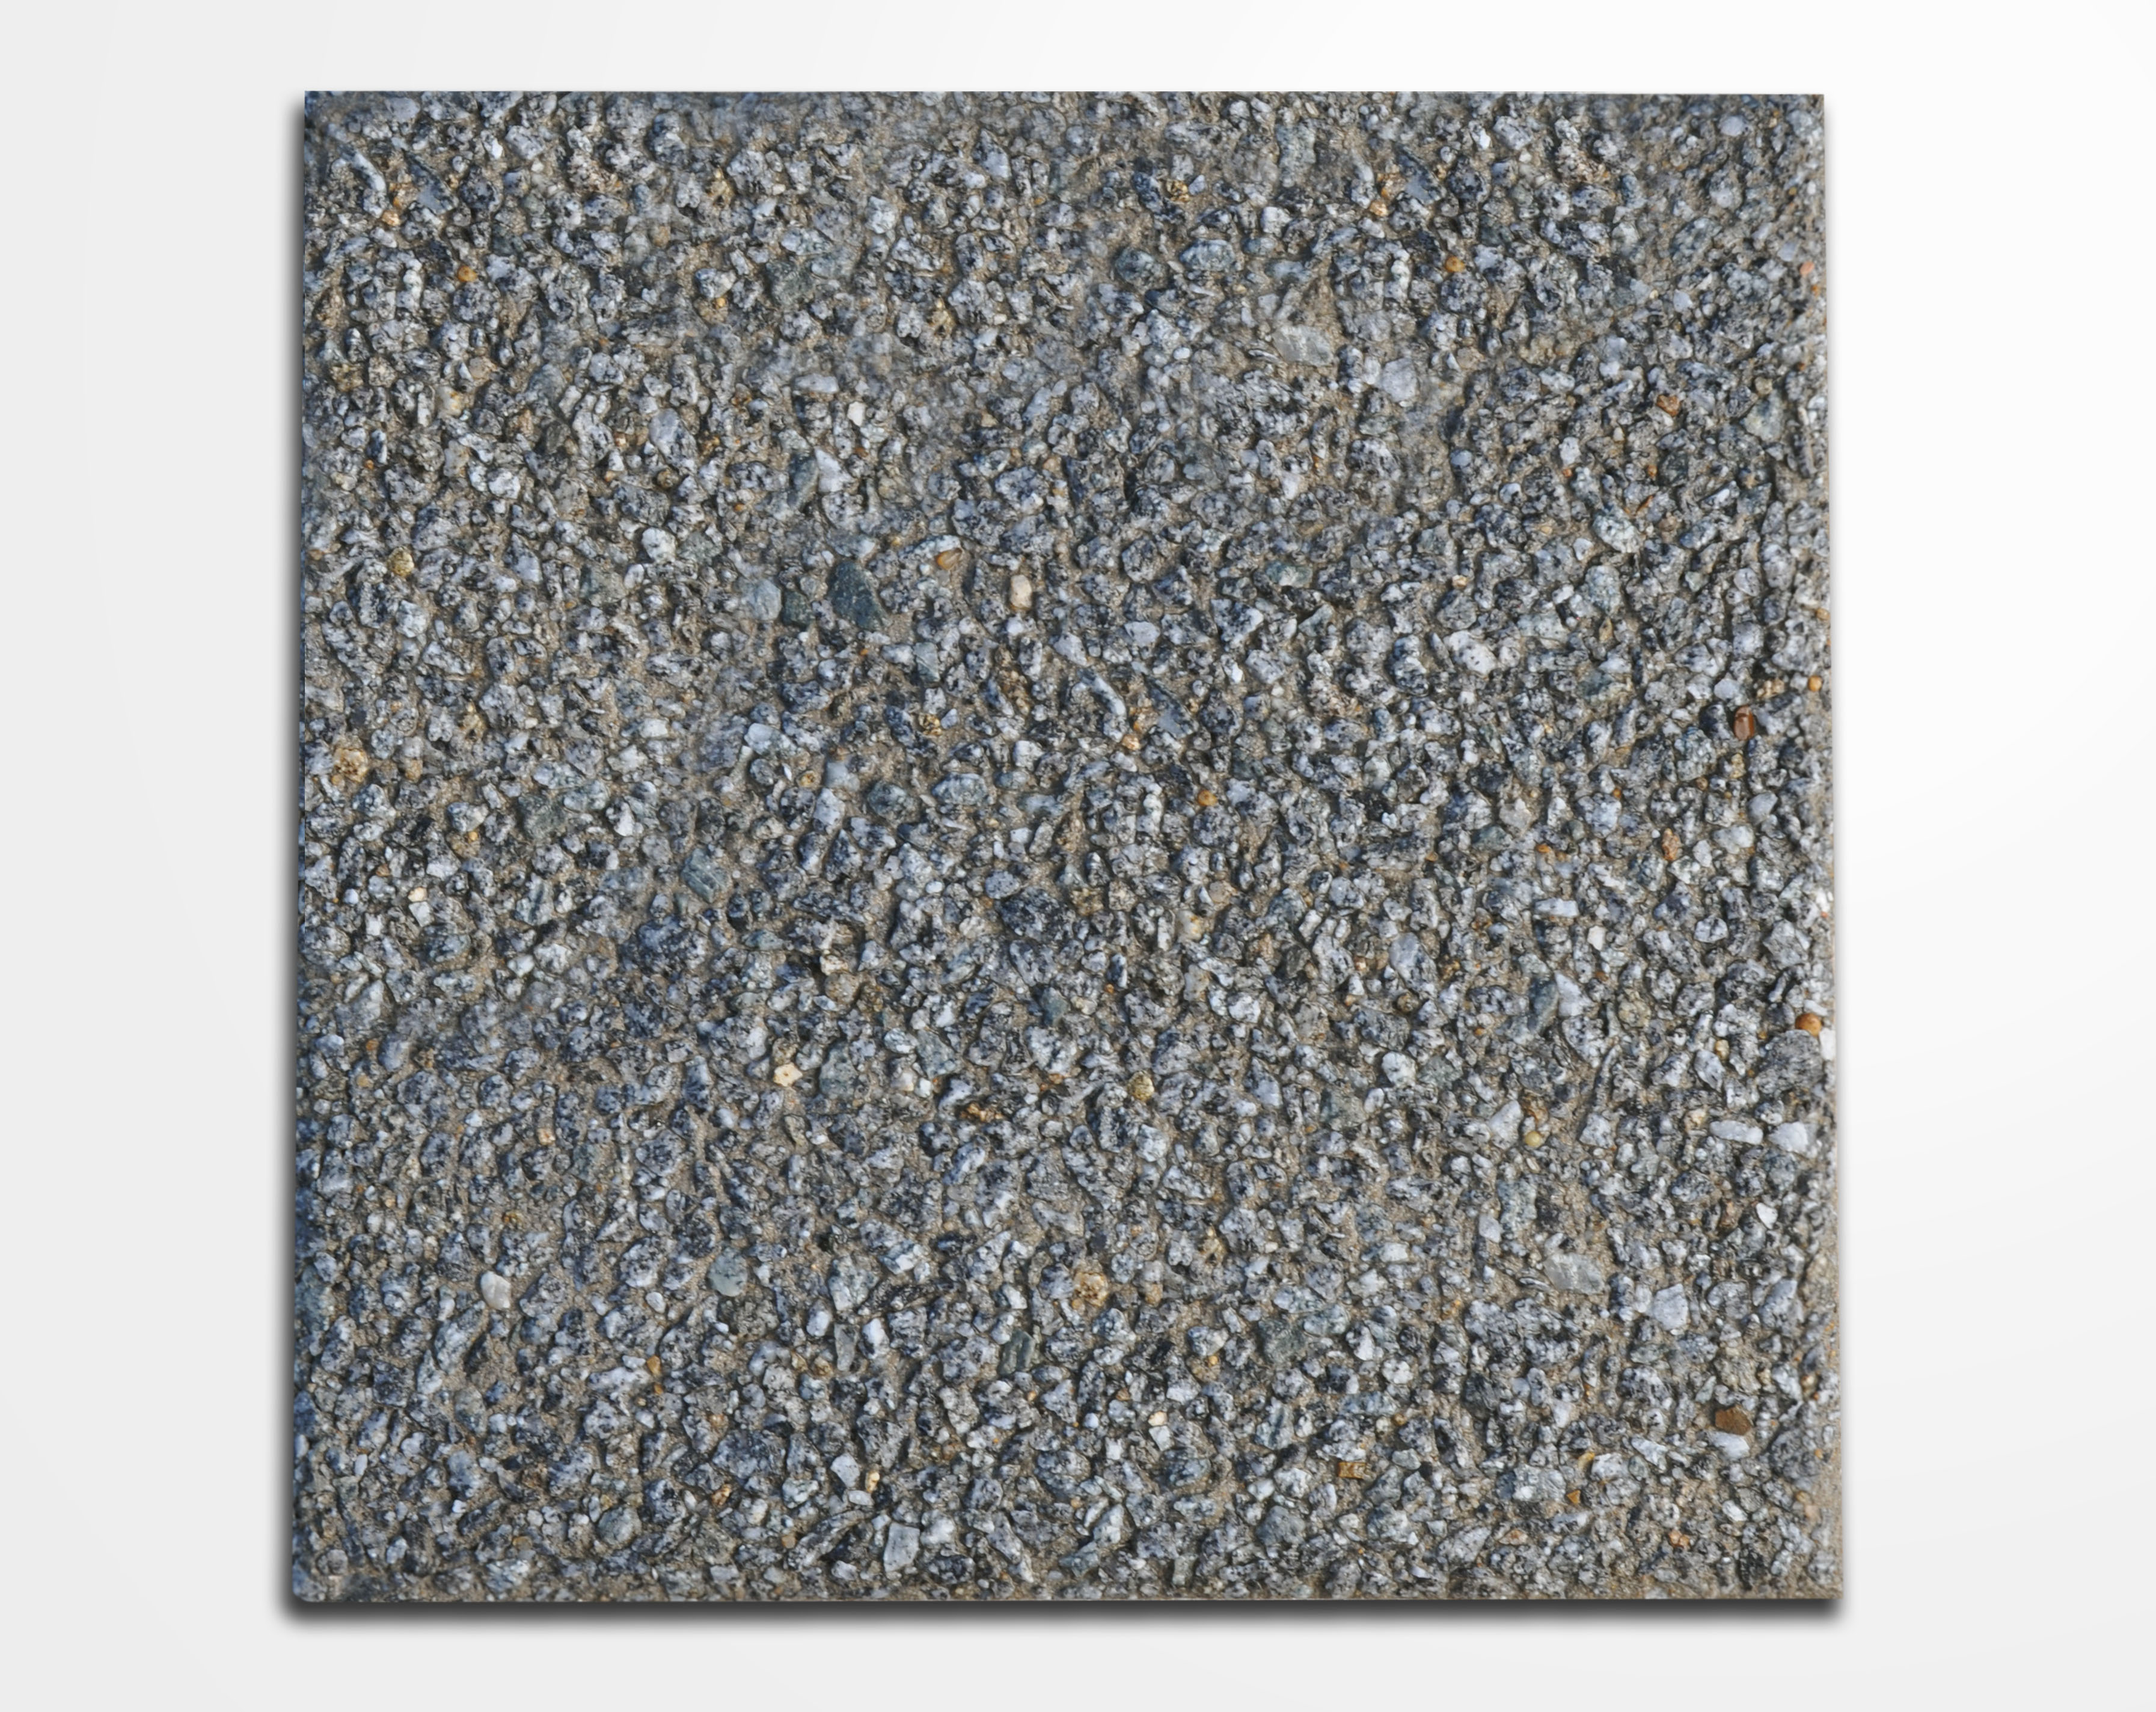
Tandil Gray
Details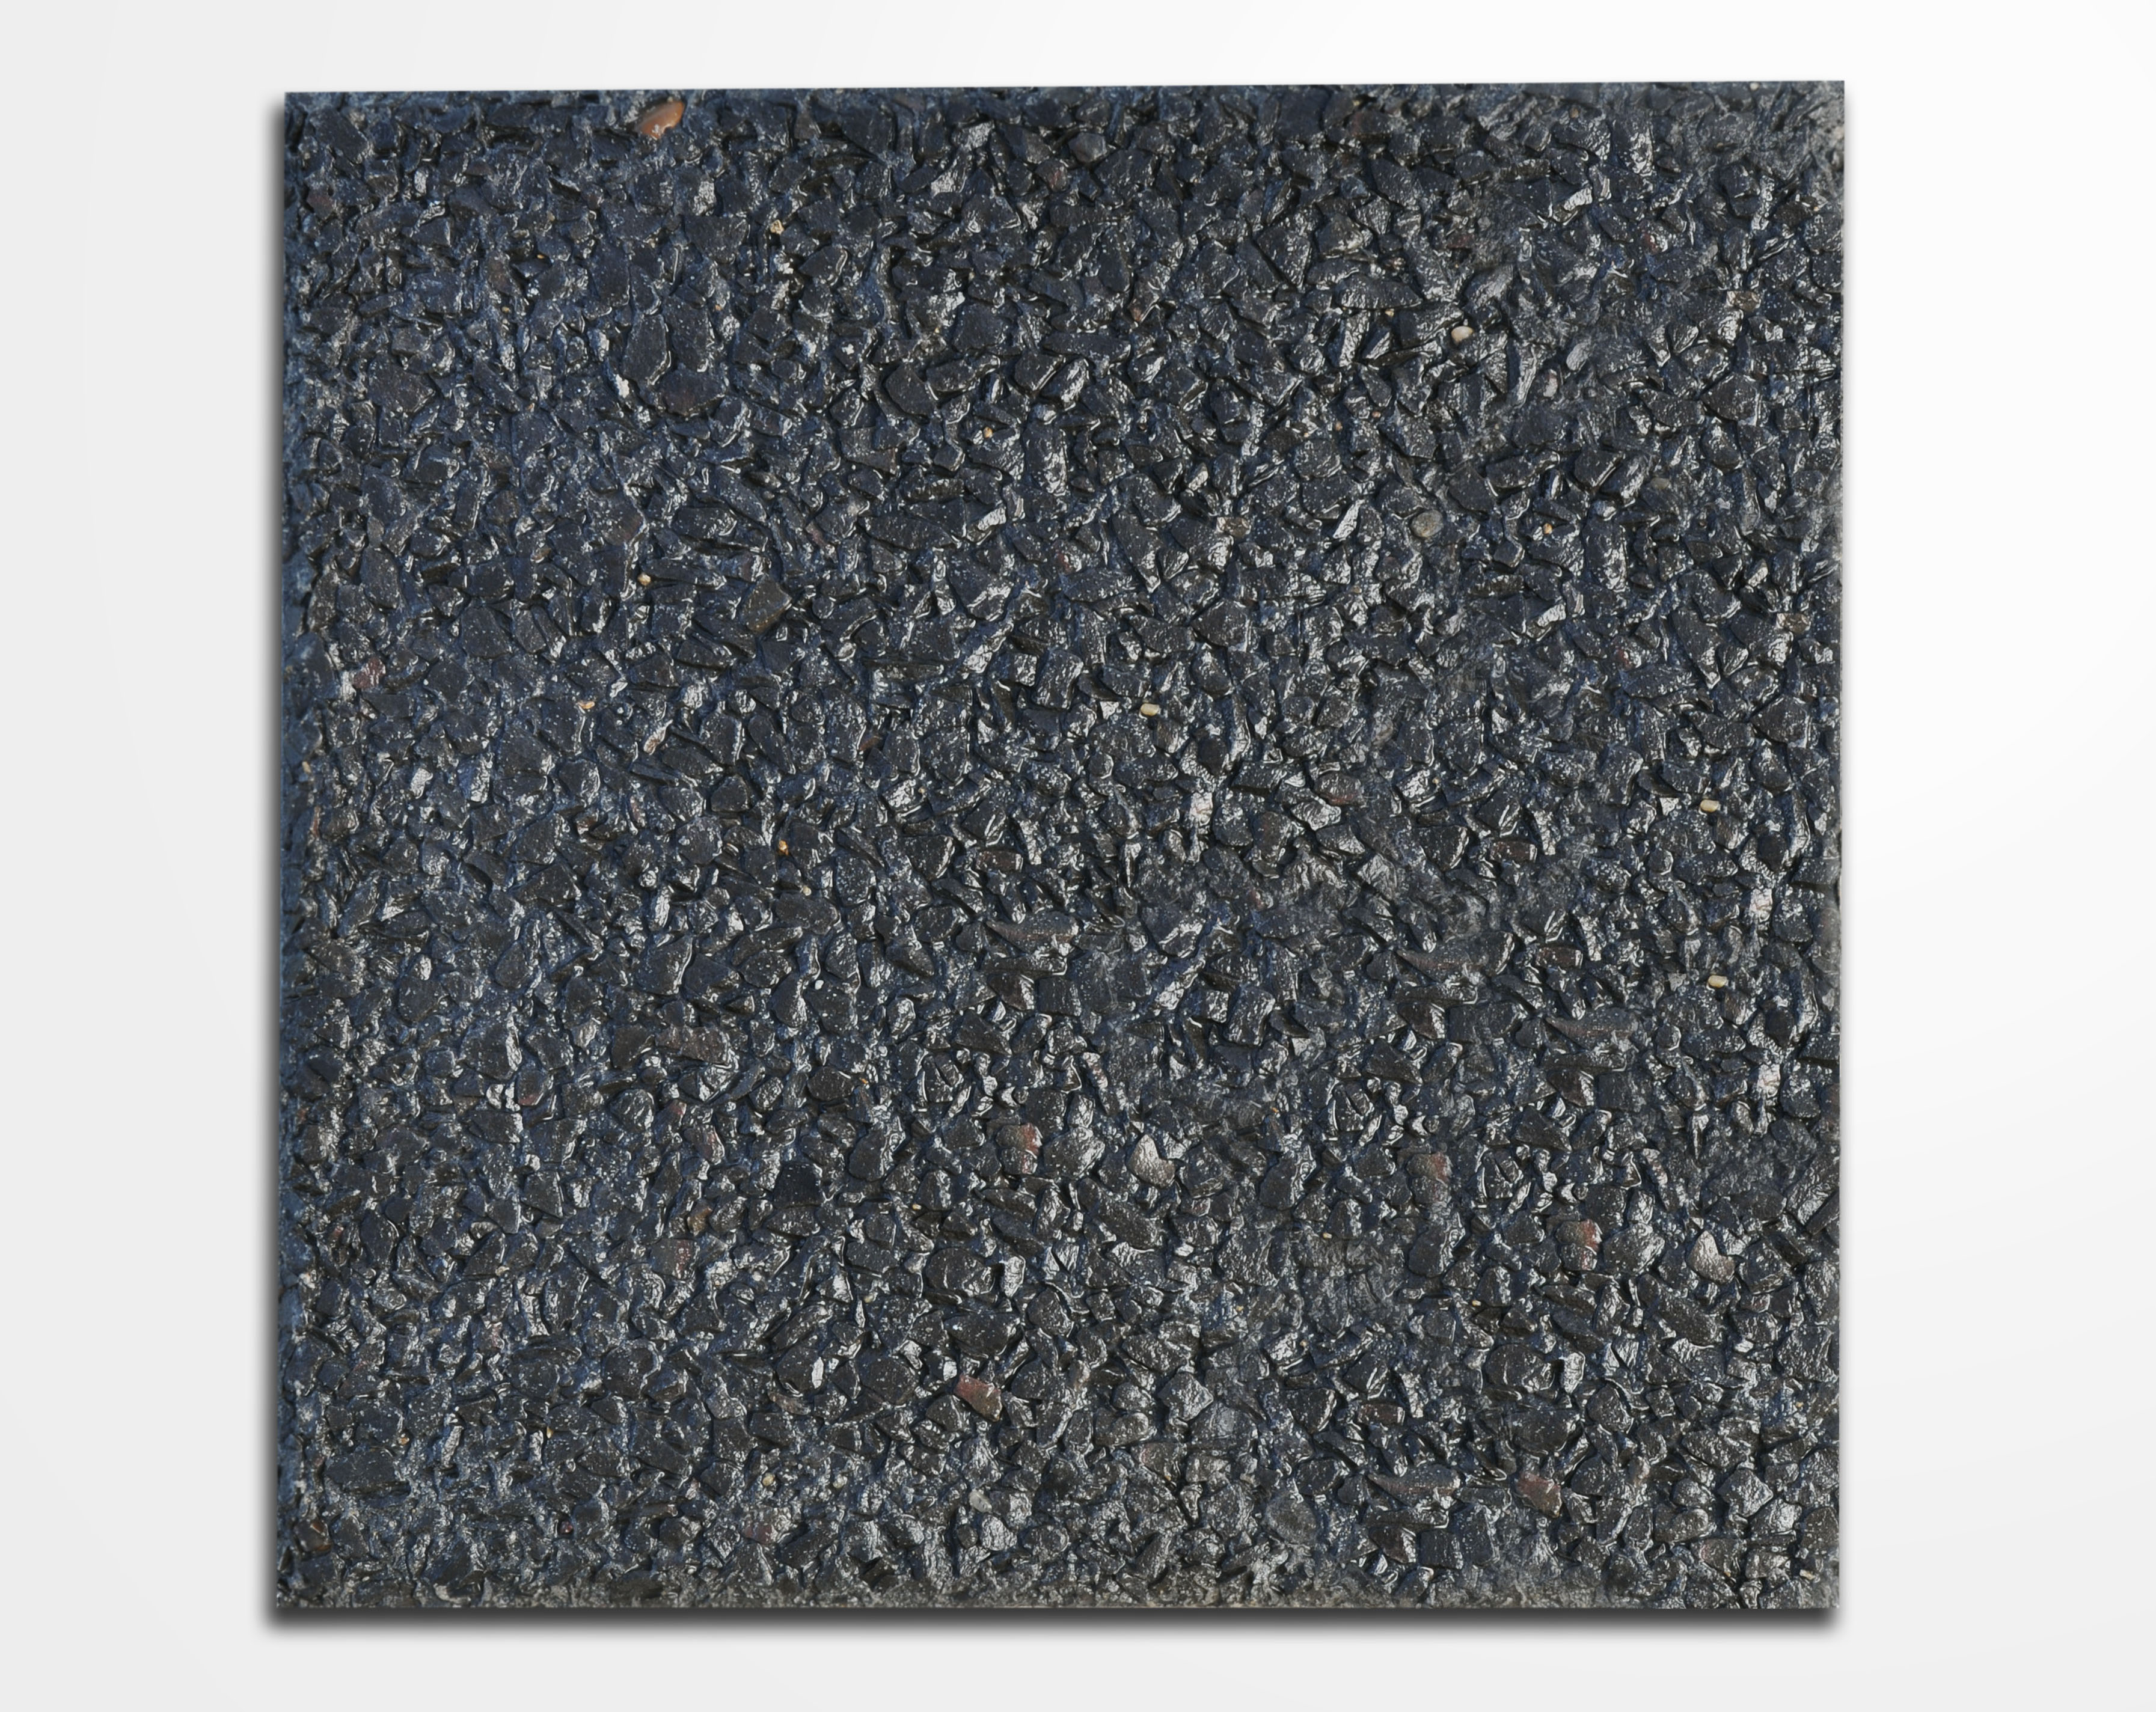
Cordoba Black
Details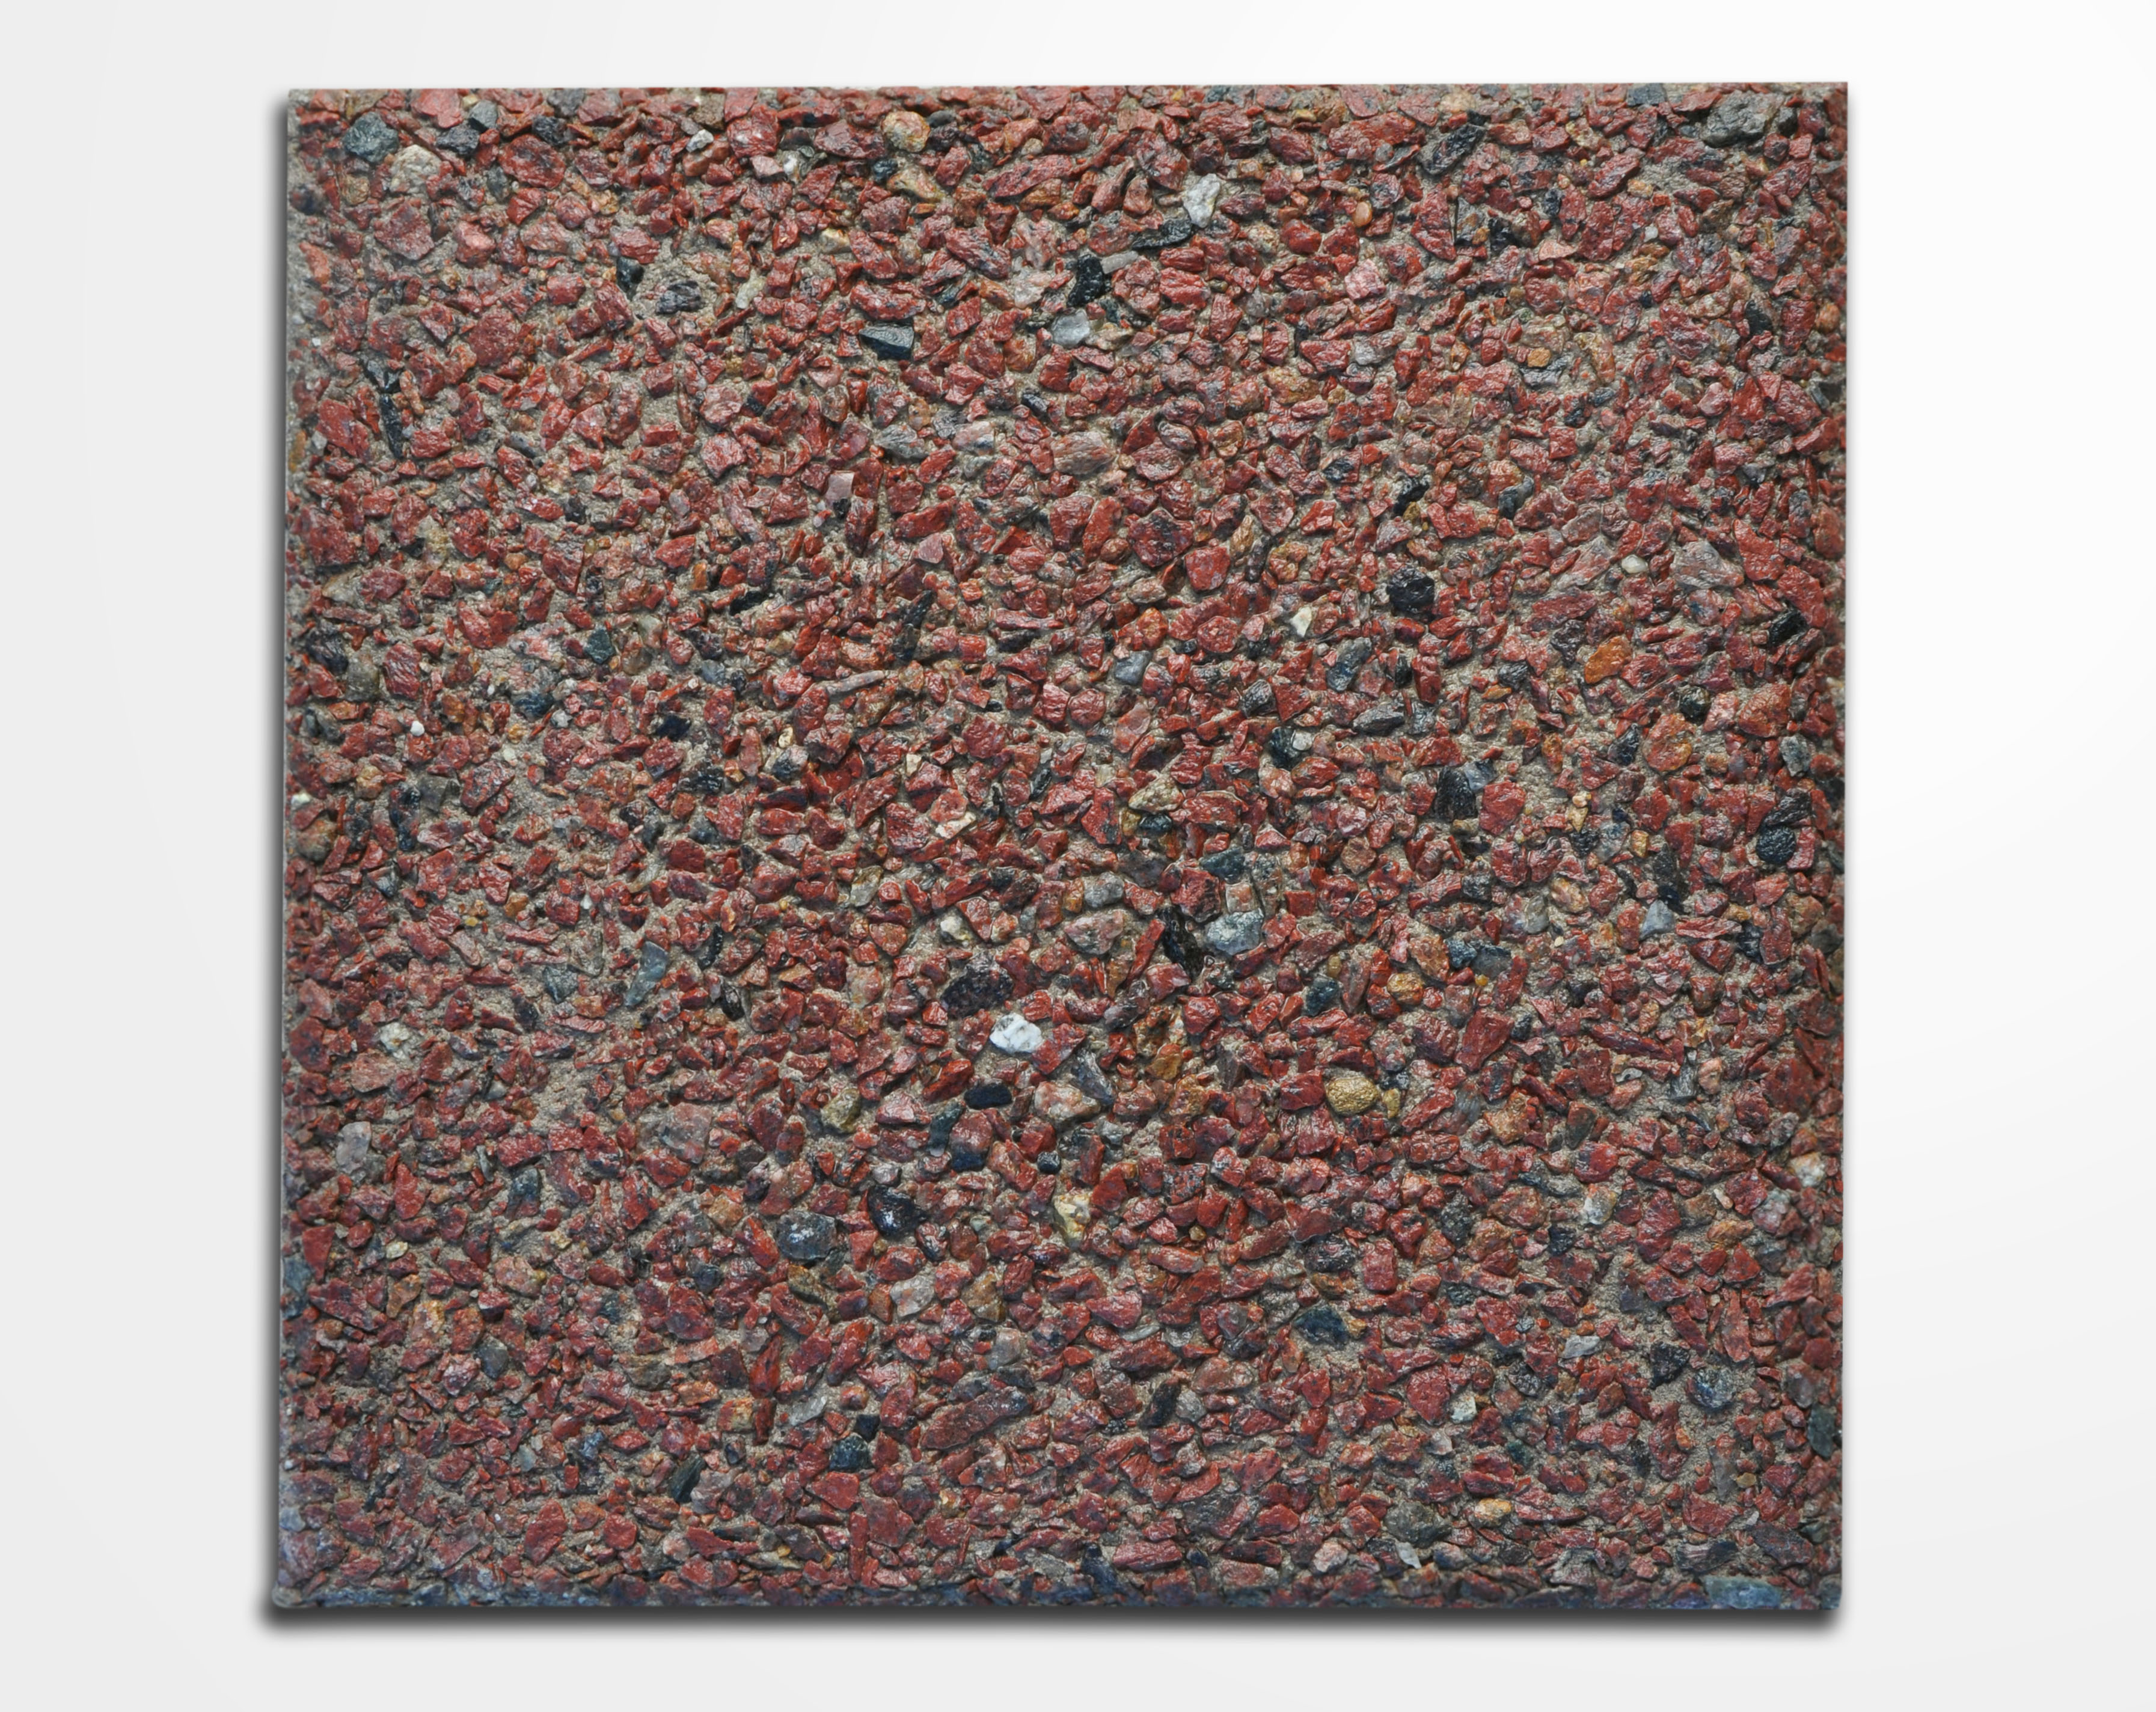
Olavarria Red with Gray Background
Details
Olavarria Red with Red Background
Details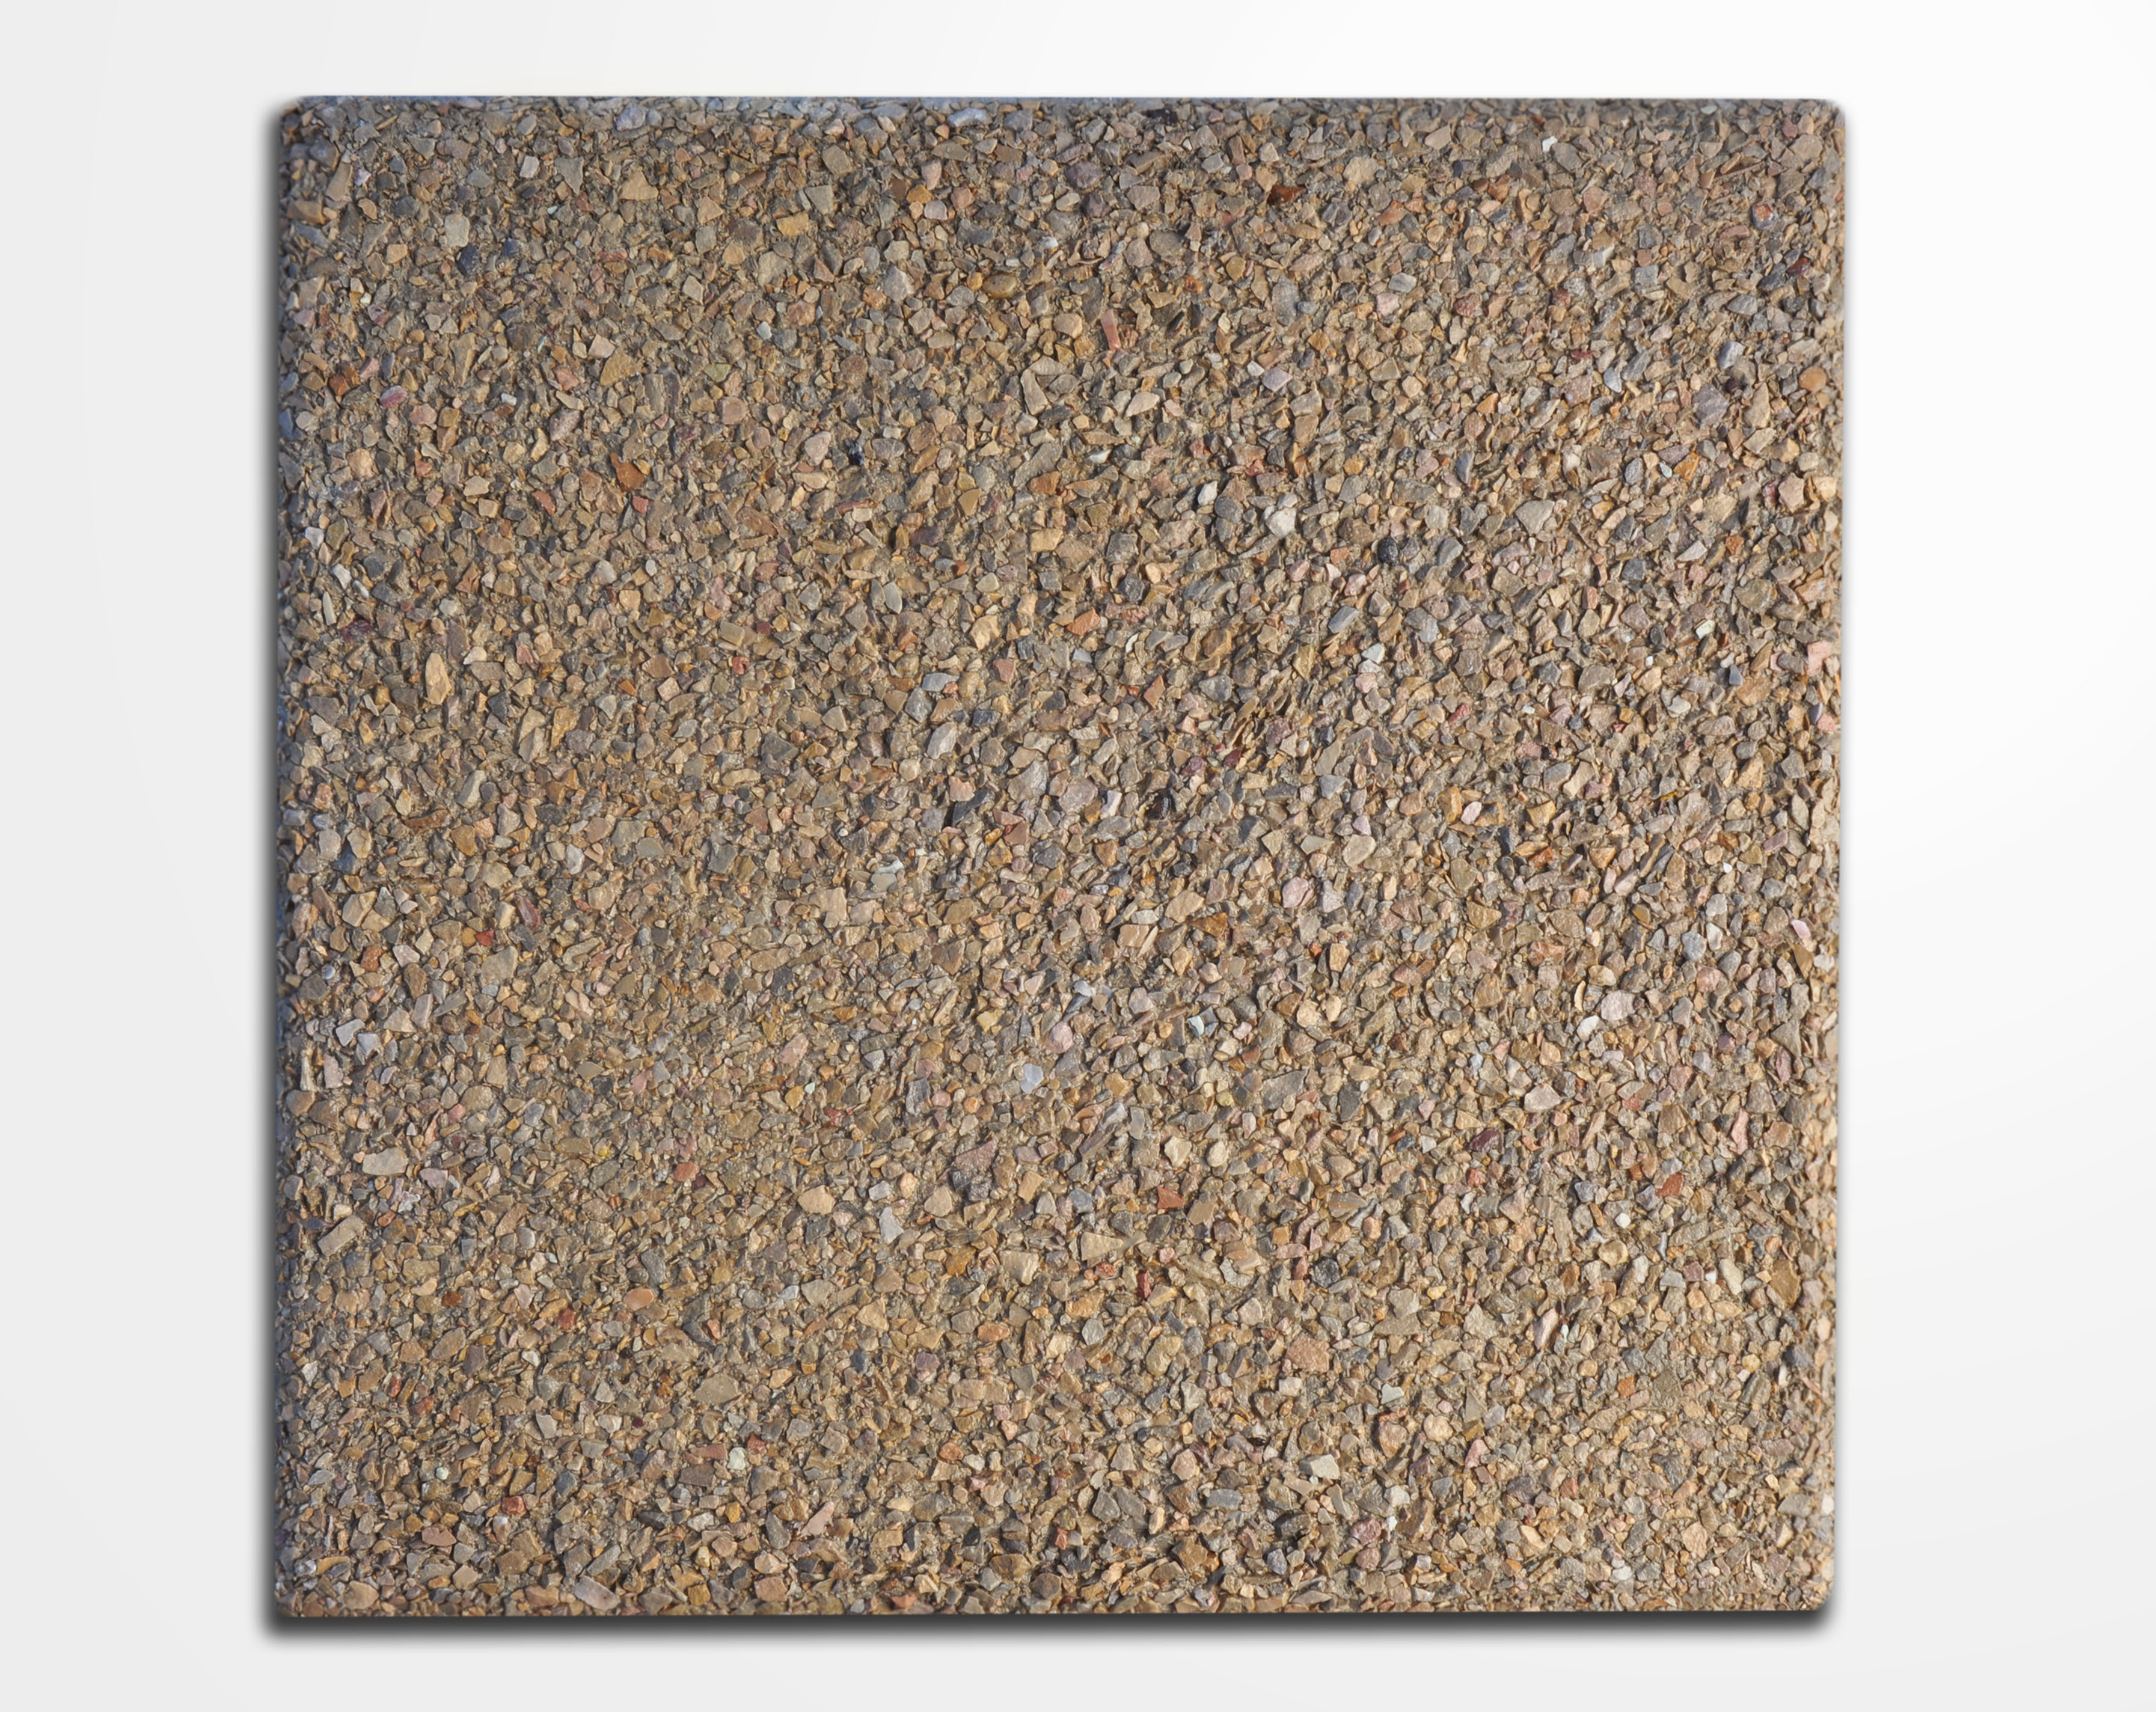
Sierras Bayas
Details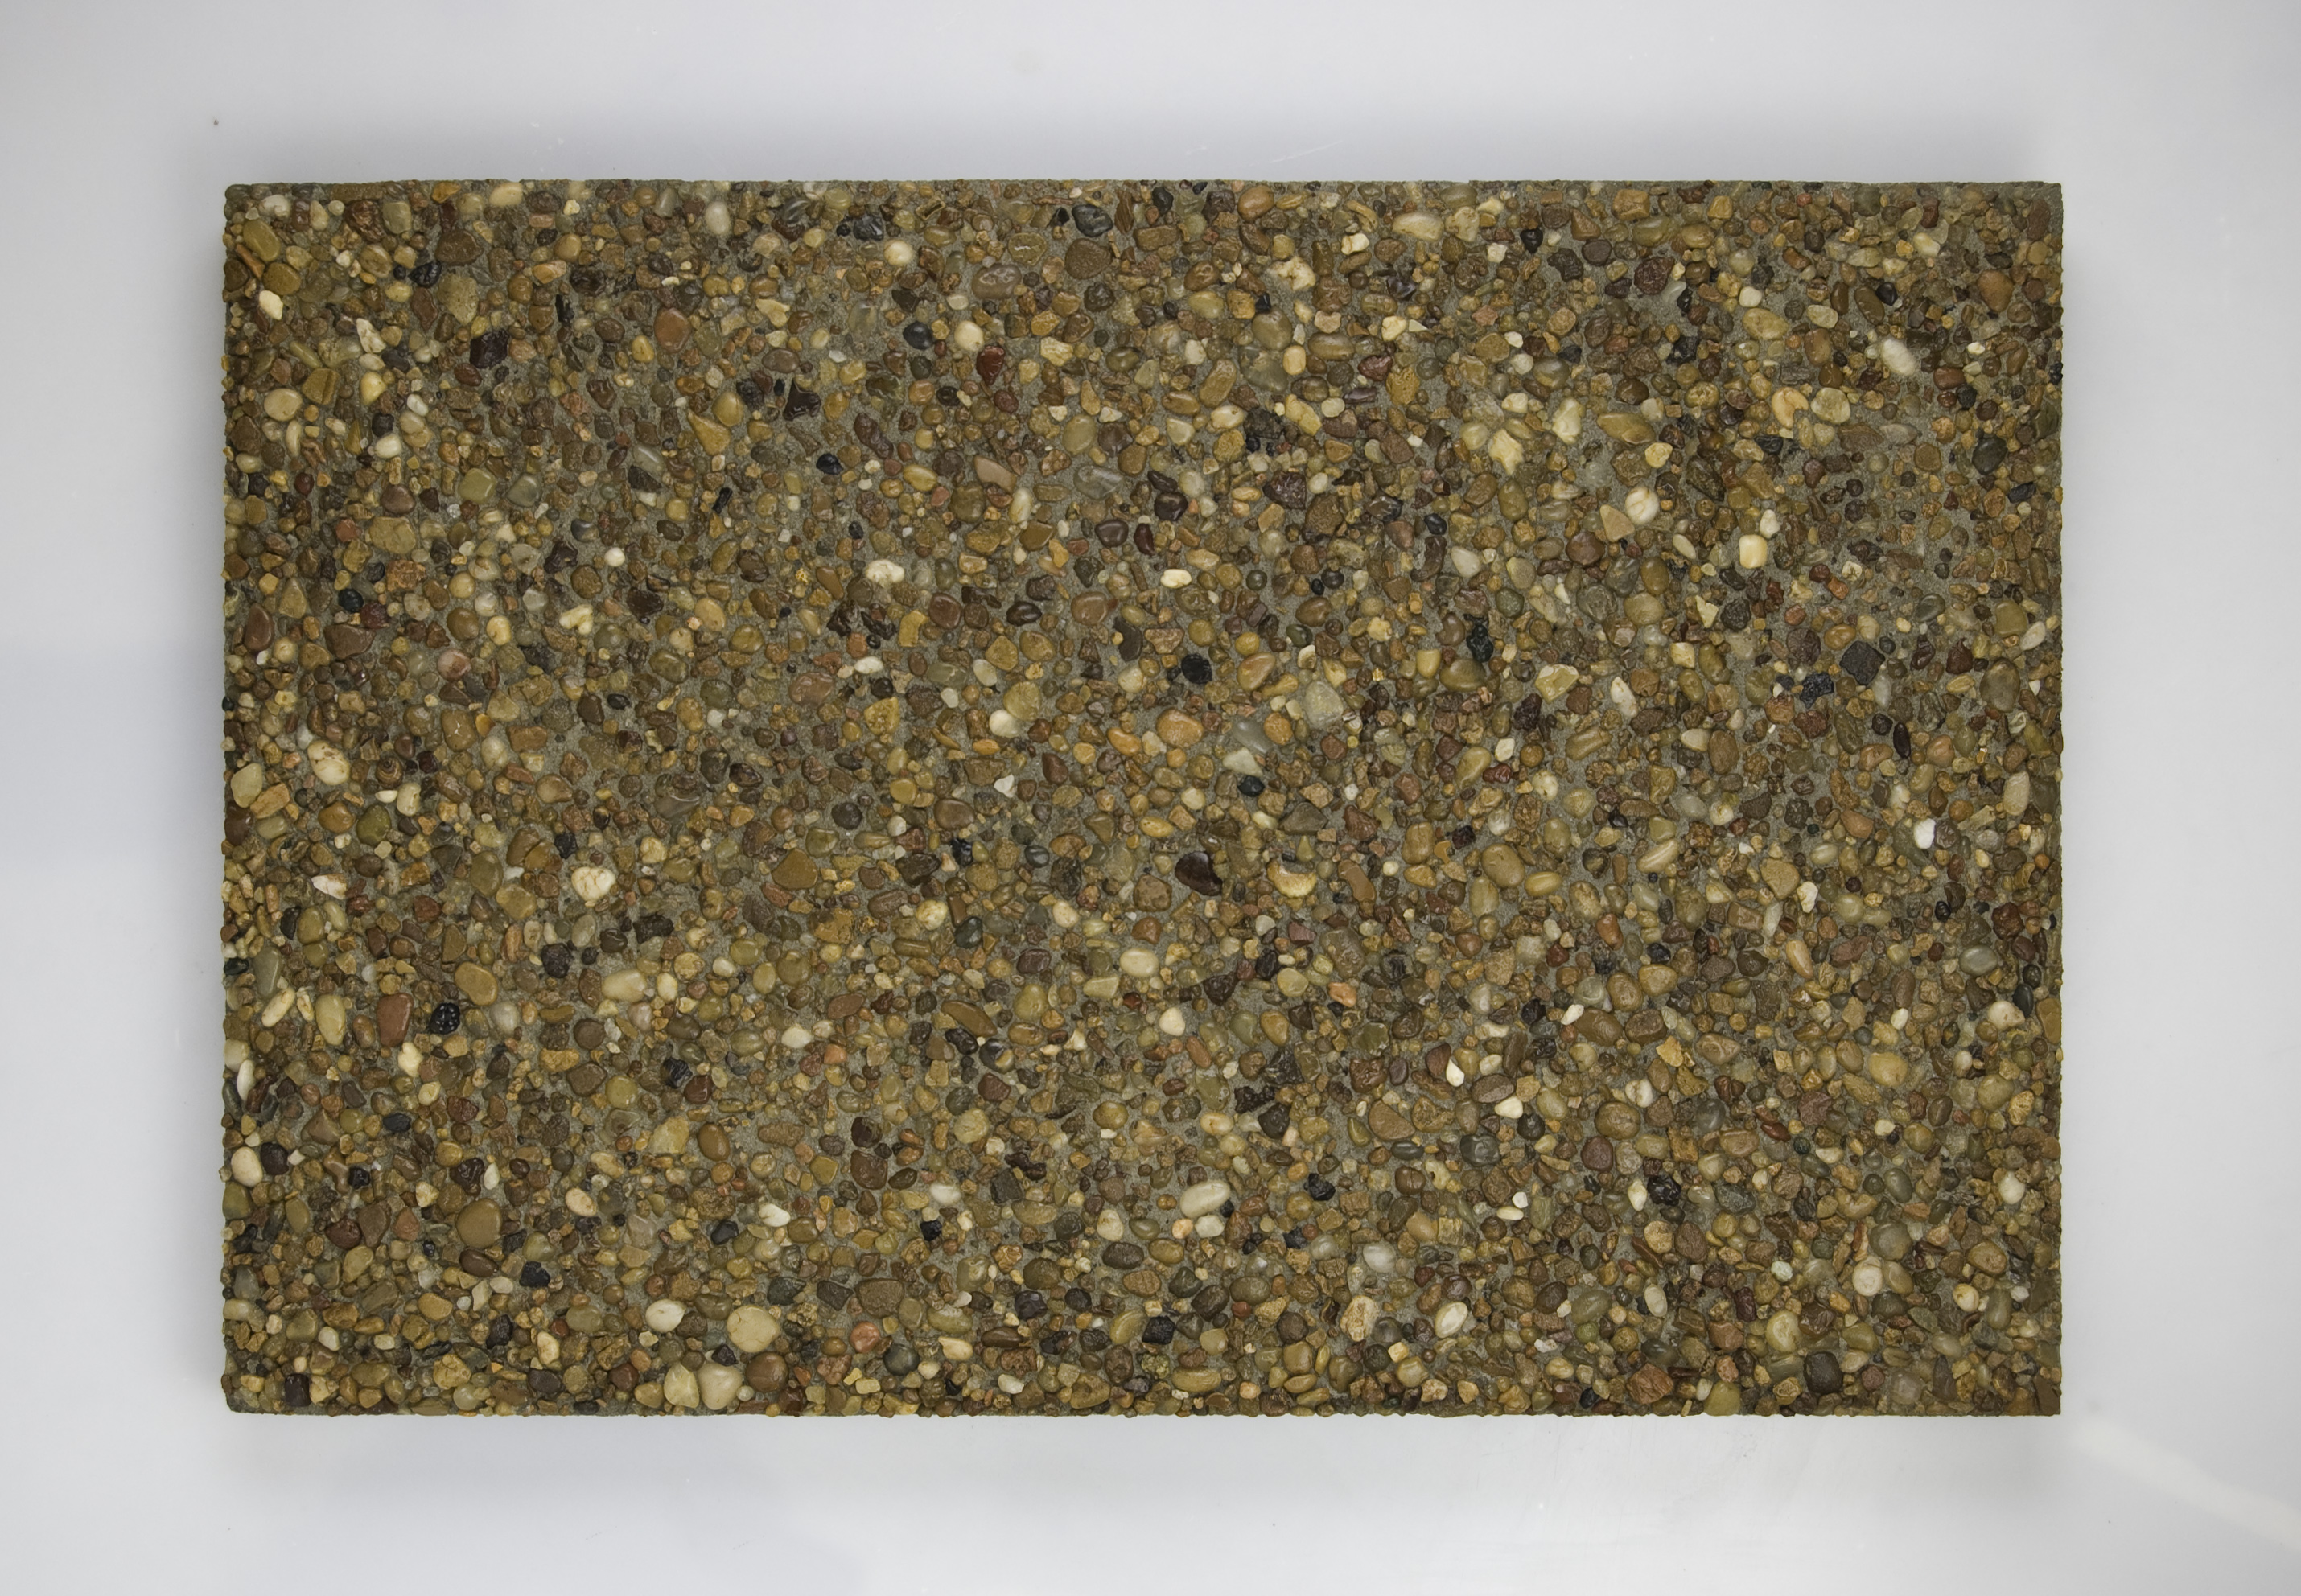
60X40 - Gray Background
Details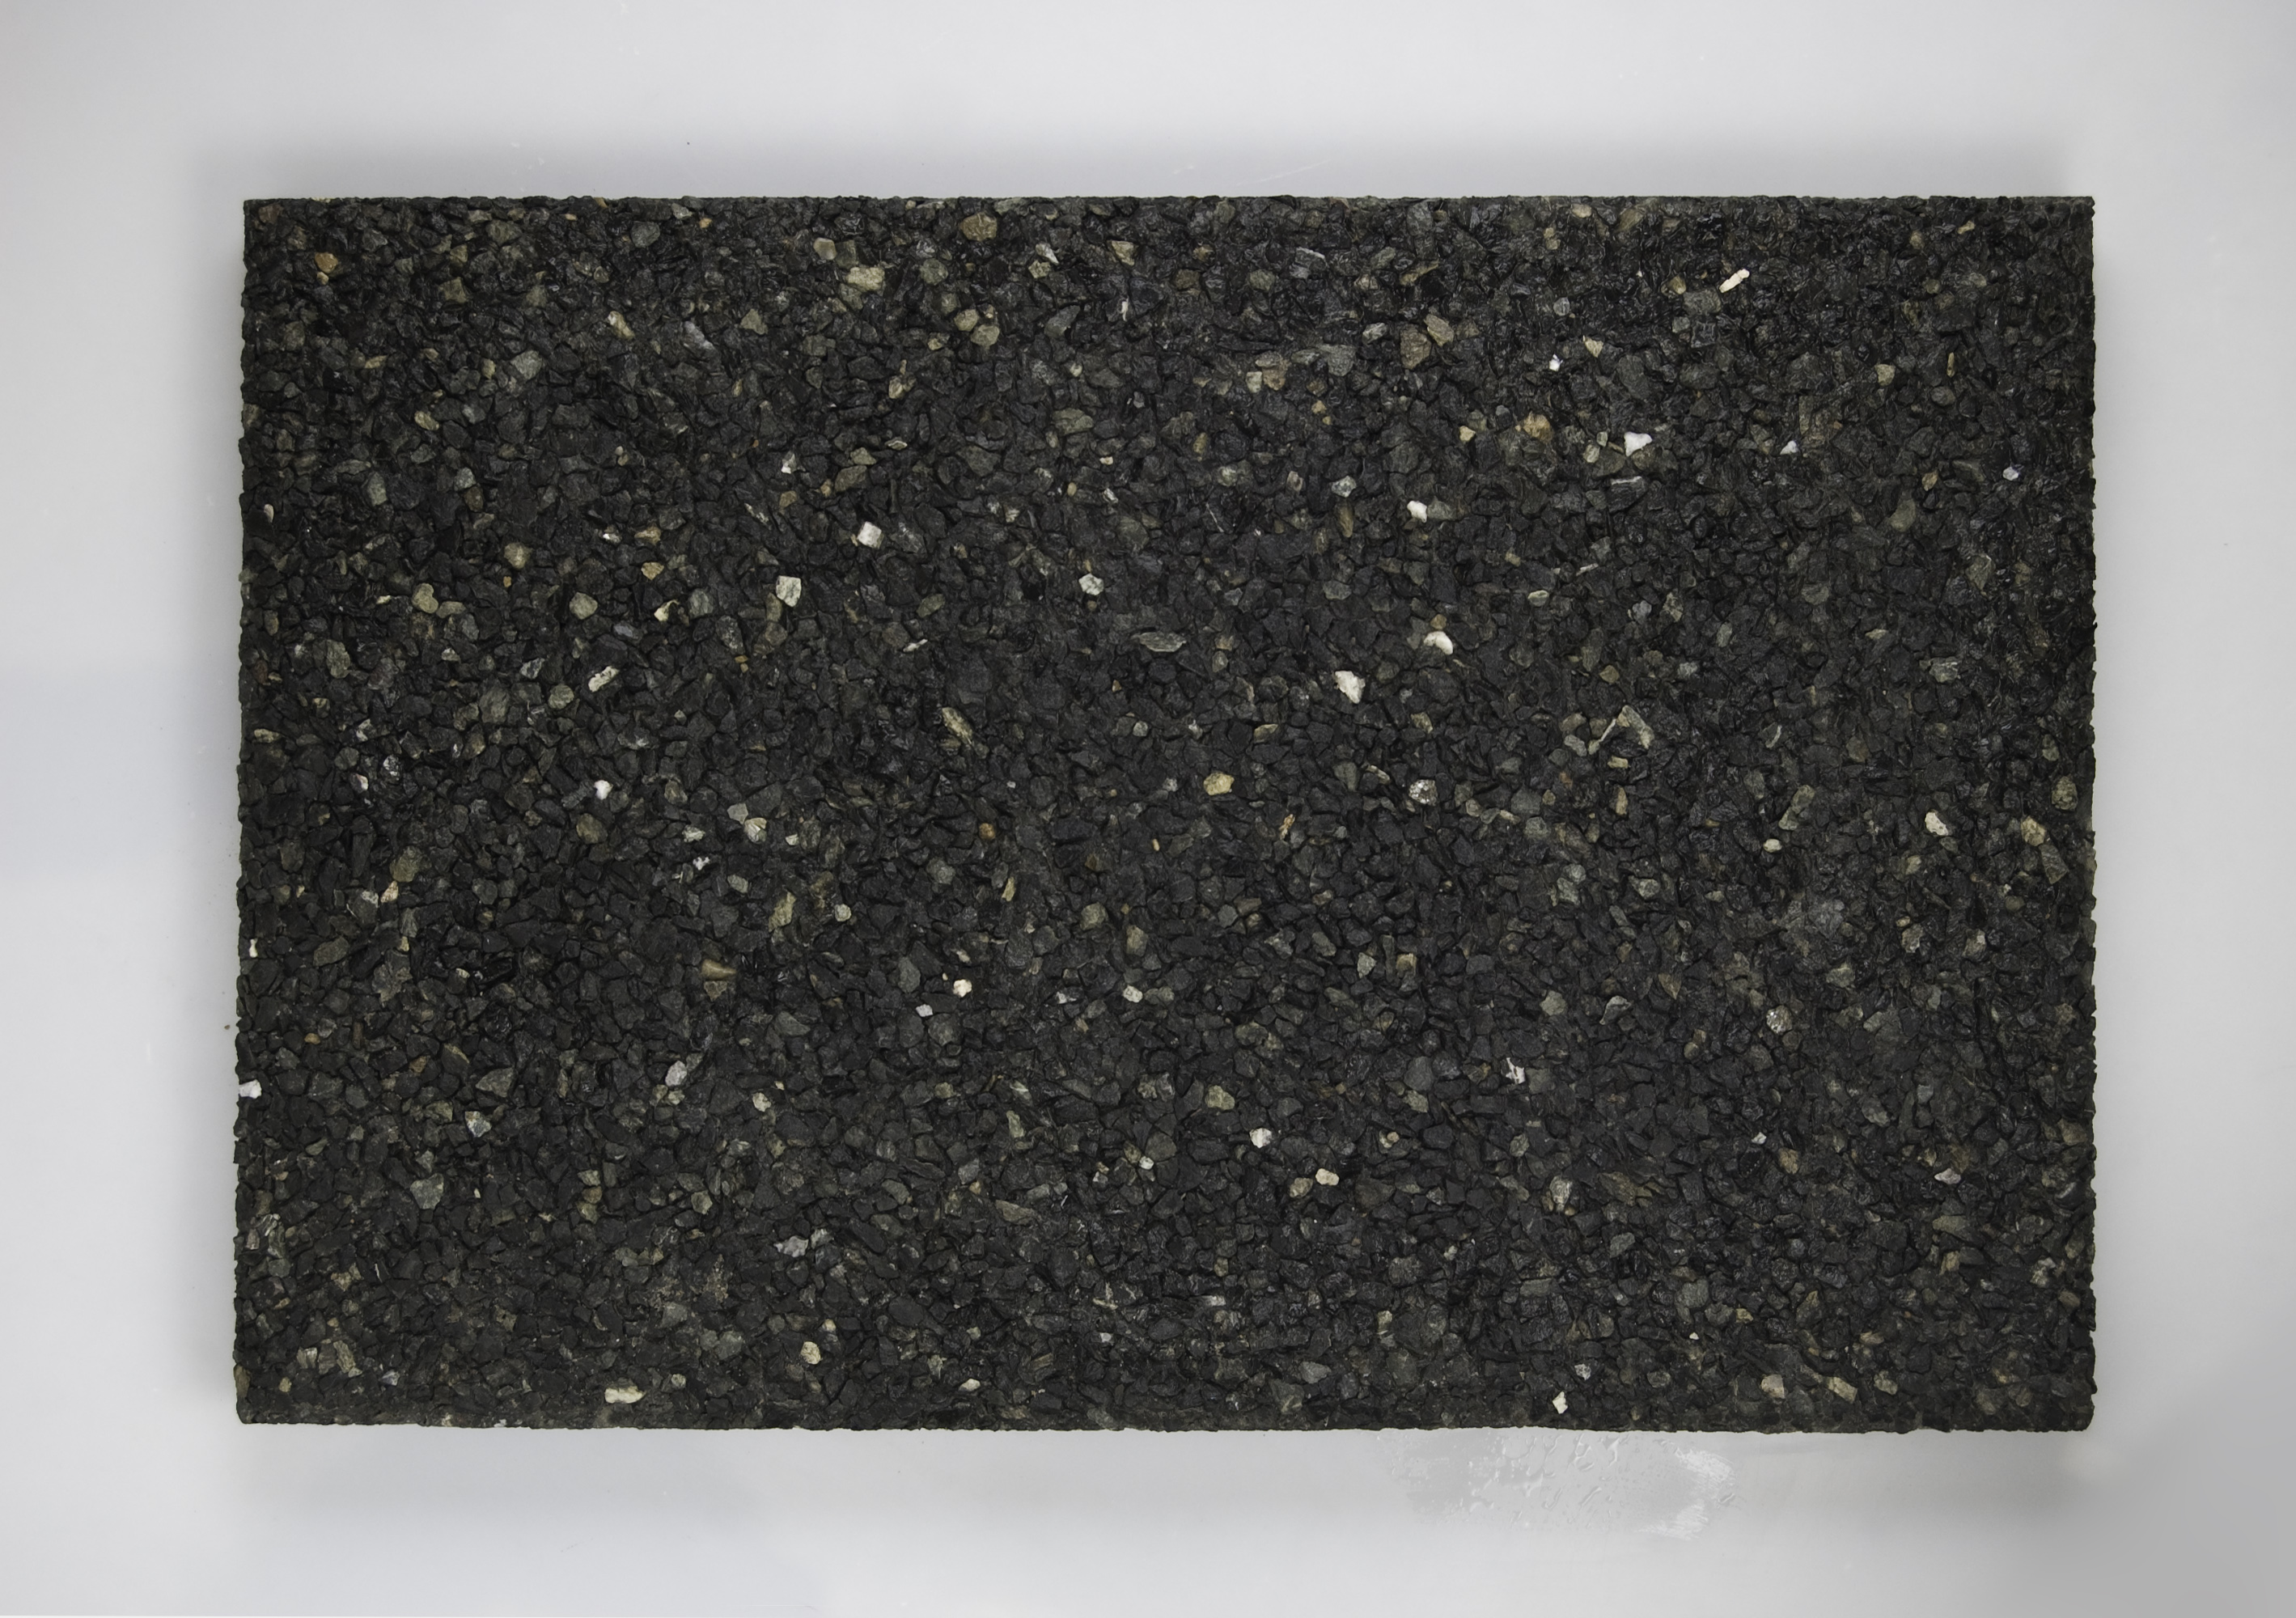
60x40 - Cordoba Black
DetailsINSTALLATION OF WASH STONE
Installation of WASH STONE® over concrete base with Flexible Glue
THIN COMPACT ARGENTINA recommends the installation of its floors with THIN COMPACT® FLEXIBLE GLUE
- Spread a layer of FLEXIBLE glue with a 14 mm notched trowel in order to maximize the properties of the slab.
- Lay the slabs with grout joints of at least 1.5 mm.
- Apply gentle, even pressure on the slab to achieve maximum contact with the glue.
- It is recommended not to allow traffic to pass over the slab before 24 or 48 hours after its installation.
- Since our products are made with all-natural raw materials, there may be variations in the shades of the slabs displayed in our points of sale and those that are eventually delivered.
Installation of WASH STONE® over traditional subflooring with Traditional mix
- Use a mixture of 1:1:5 (Cement-Lime-Sand) and one part, in 20 l. of water, of a plastic binder in the preparation; this provides an adequate plastic consistency improving the mortar and ensures a better adhesion.
- Paint, with a diluted pure cement slurry, the back of the slab and the subfloor without letting it dry. That is, the slab and the subfloor, one by one.
- Spread the mixture with a mason's spoon to a thickness of no more than 2 cm.
- Lay the slabs with grout joints of at least 1.5 mm.
- Apply gentle, even pressure on the slab to achieve maximum contact with the mixture.
- It is recommended not to allow traffic to pass over the slab before 24 or 48 hours after its installation.
Grouting joints in both installation methods
Grouting joints is very important as it complements the filling of the gaps that the glue or mortar did not cover.
- To grout joints, verify that the grooves are clean and that 24 hours have elapsed after their installation.
- Mix two parts of grout and one part of water to obtain a light paste suitable to be inserted in the joints.
- Distribute the preparation using a container with a suitable spout so that the grout does not stain the tiles and penetrates into all the grooves.
- Grouting joints for this type of slabs requires special care since the surface with grooves and patterns has greater absorption and if not cleaned immediately, unwanted stains may remain.
- As the grout thickens, more water should be added to thin it again. If this is not done, the grout will not penetrate the joint and will only cover the top part, leaving air voids. This will cause the slabs to pop out.
- Once the joint has been properly filled, proceed to clean all the excess from both the joints and the slabs.
- It is recommended to wet the material applied in the joints with a sponge every 3 or 4 hours to avoid cracking.
Curing of WASH STONE® slabs
- After installation, it is necessary to wash the surface to be treated with water and, if necessary, use a cleaner, which helps to remove the remains of dirt and dust. Then rinse with plenty of water and let it dry.
- WASH STONE® slabs do not require any type of curing.