
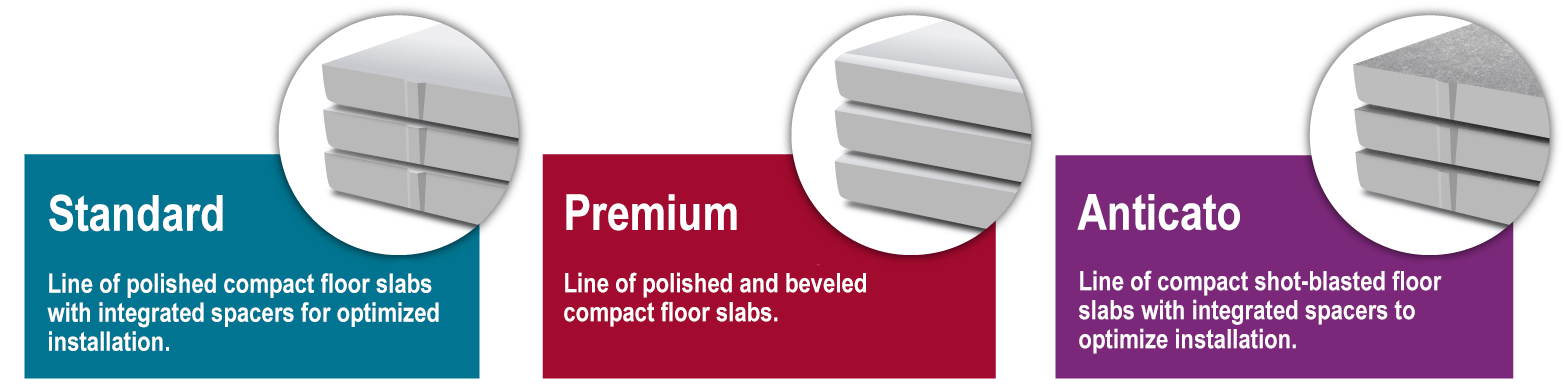
LINE OF POLISHED FLOOR SLABS FOR INDOOR USE
THIN COMPACT® is a product designed to meet the highest design and quality requirements. It is manufactured in Argentina in accordance with the requirements of IRAM 1522 standards, and its production processes are governed by strict ISO 9001 quality standards. THIN COMPACT®, due to its performance, quality and beauty, is a unique product destined to enhance contemporary architecture. THIN COMPACT® are compact slabs of polished granite of high resistance and low thickness, and its main characteristic is that its entire composition can be polished indefinite number of times. It is the only tile in the world with thicknesses of 13 mm for sizes 300 x 300 mm, and 17 mm for sizes 400 x 400 mm.
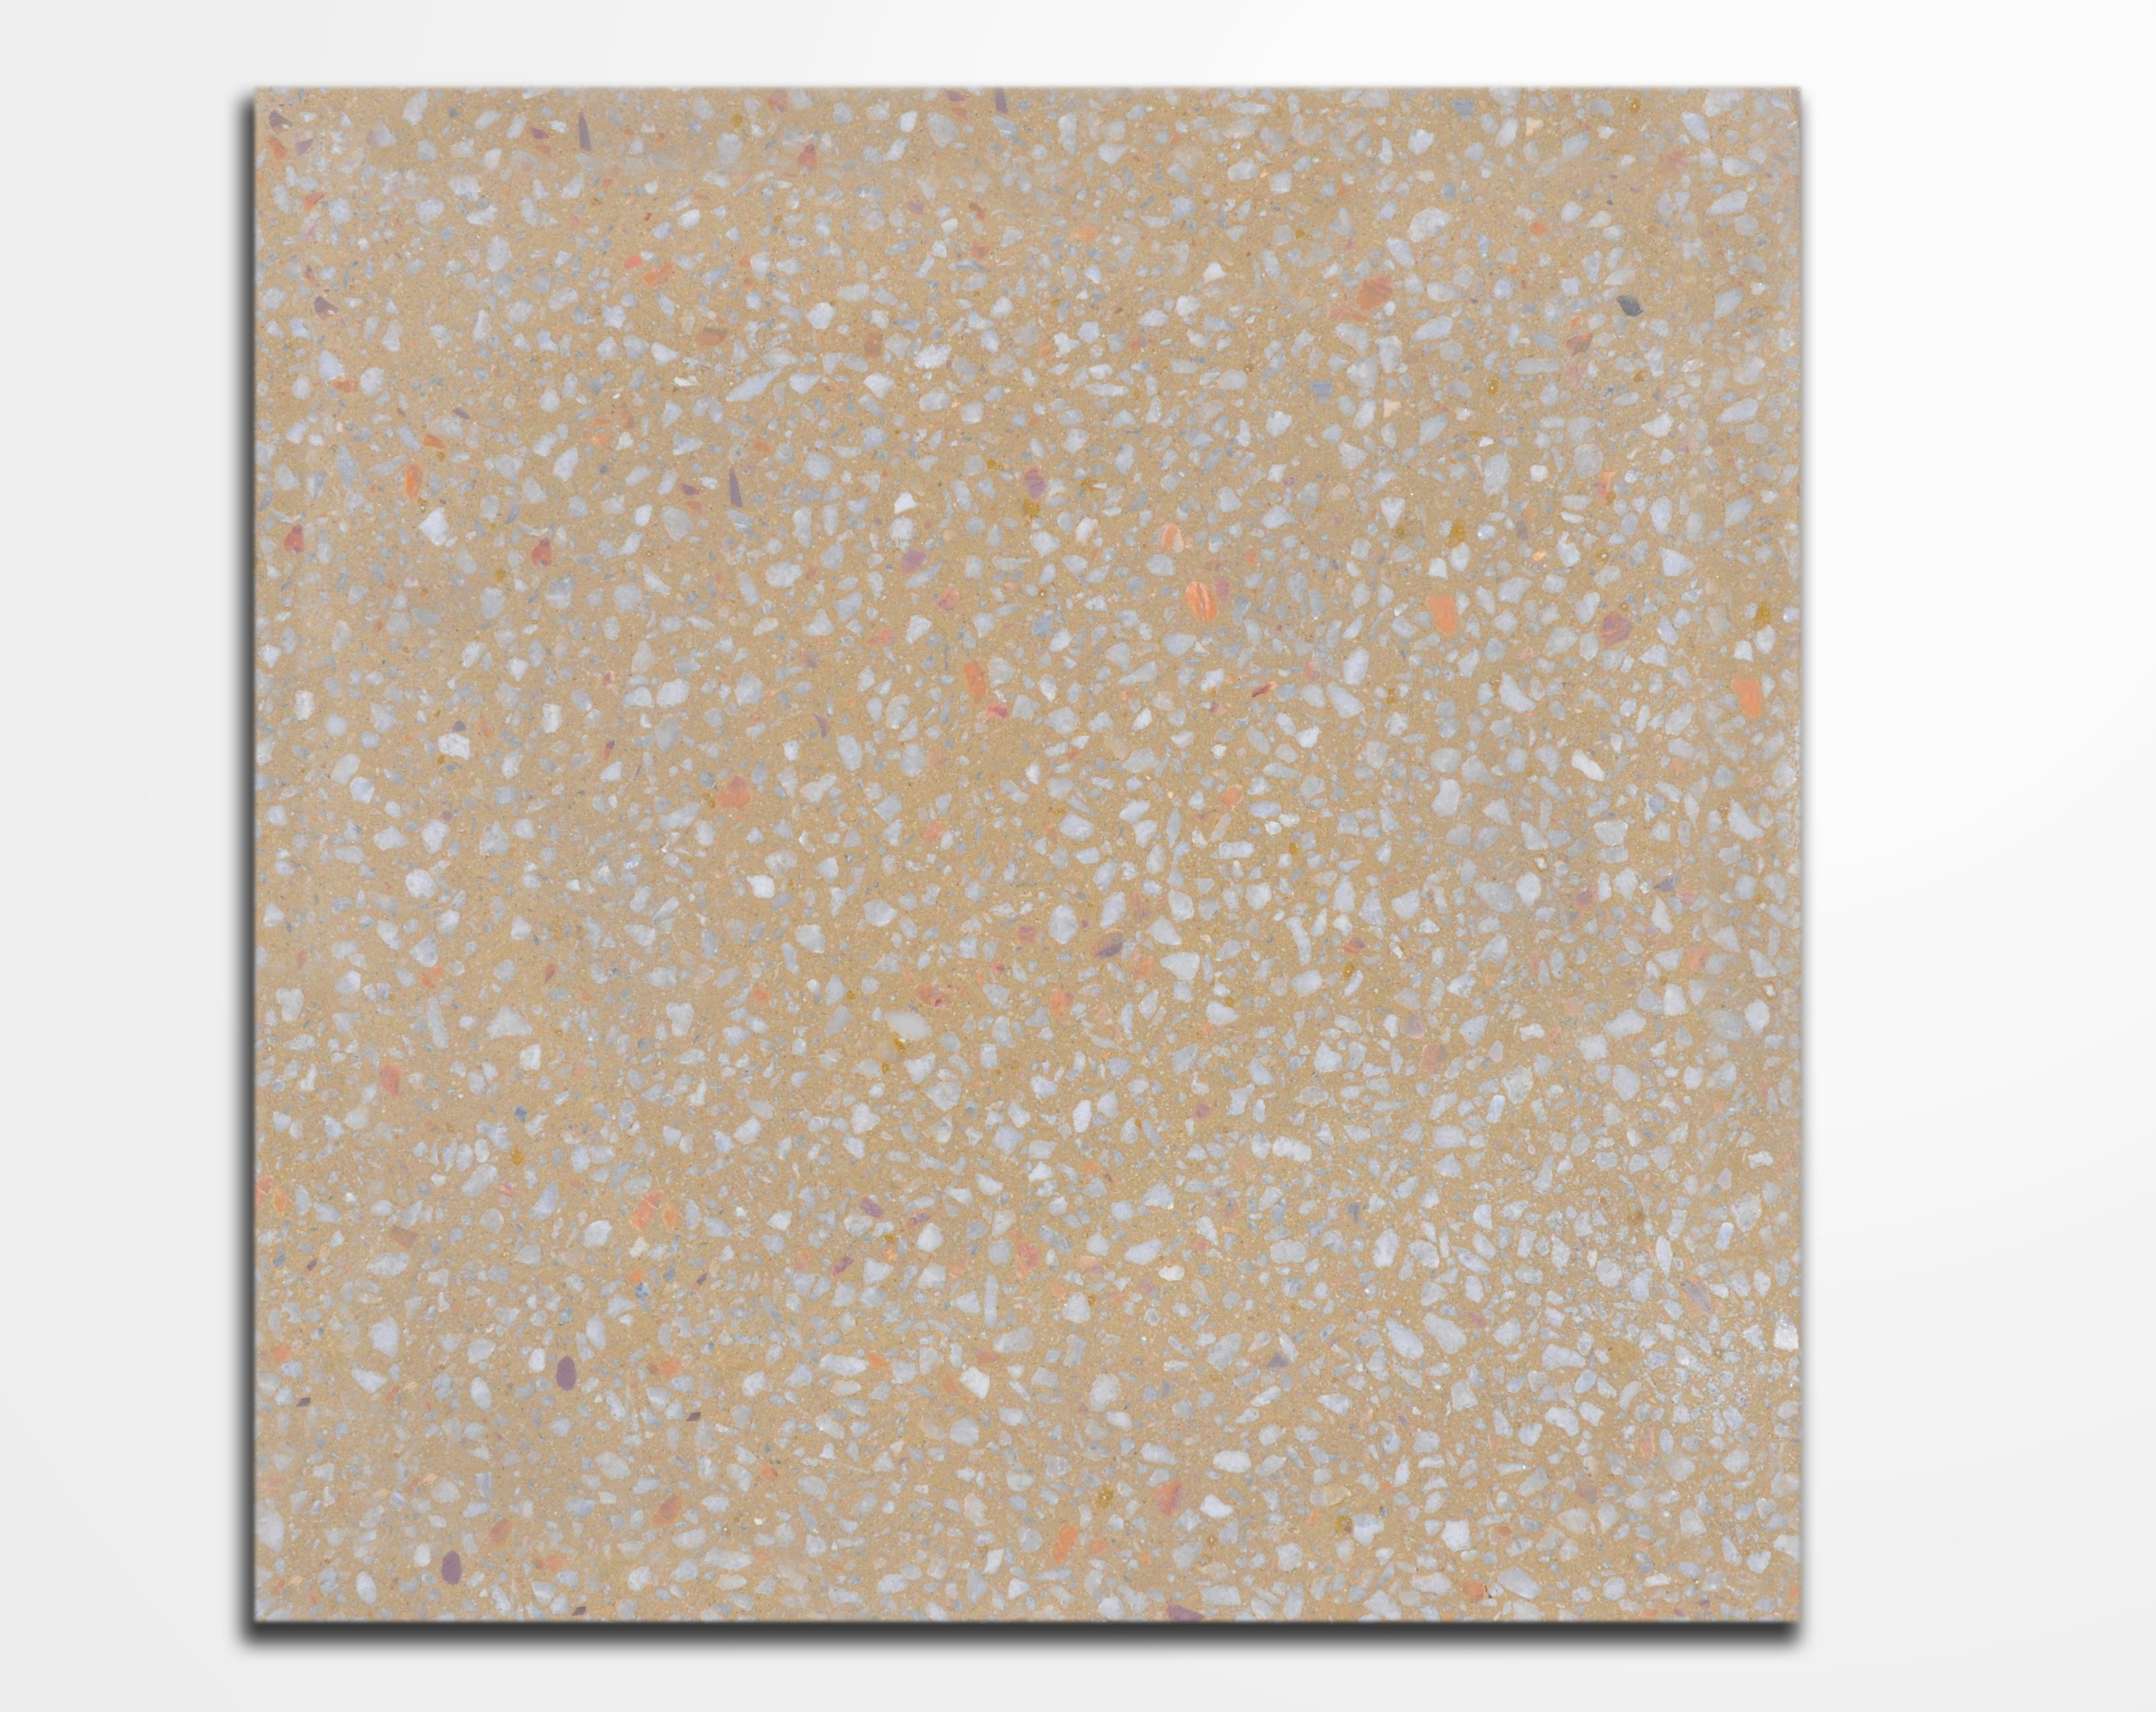
Arena
Details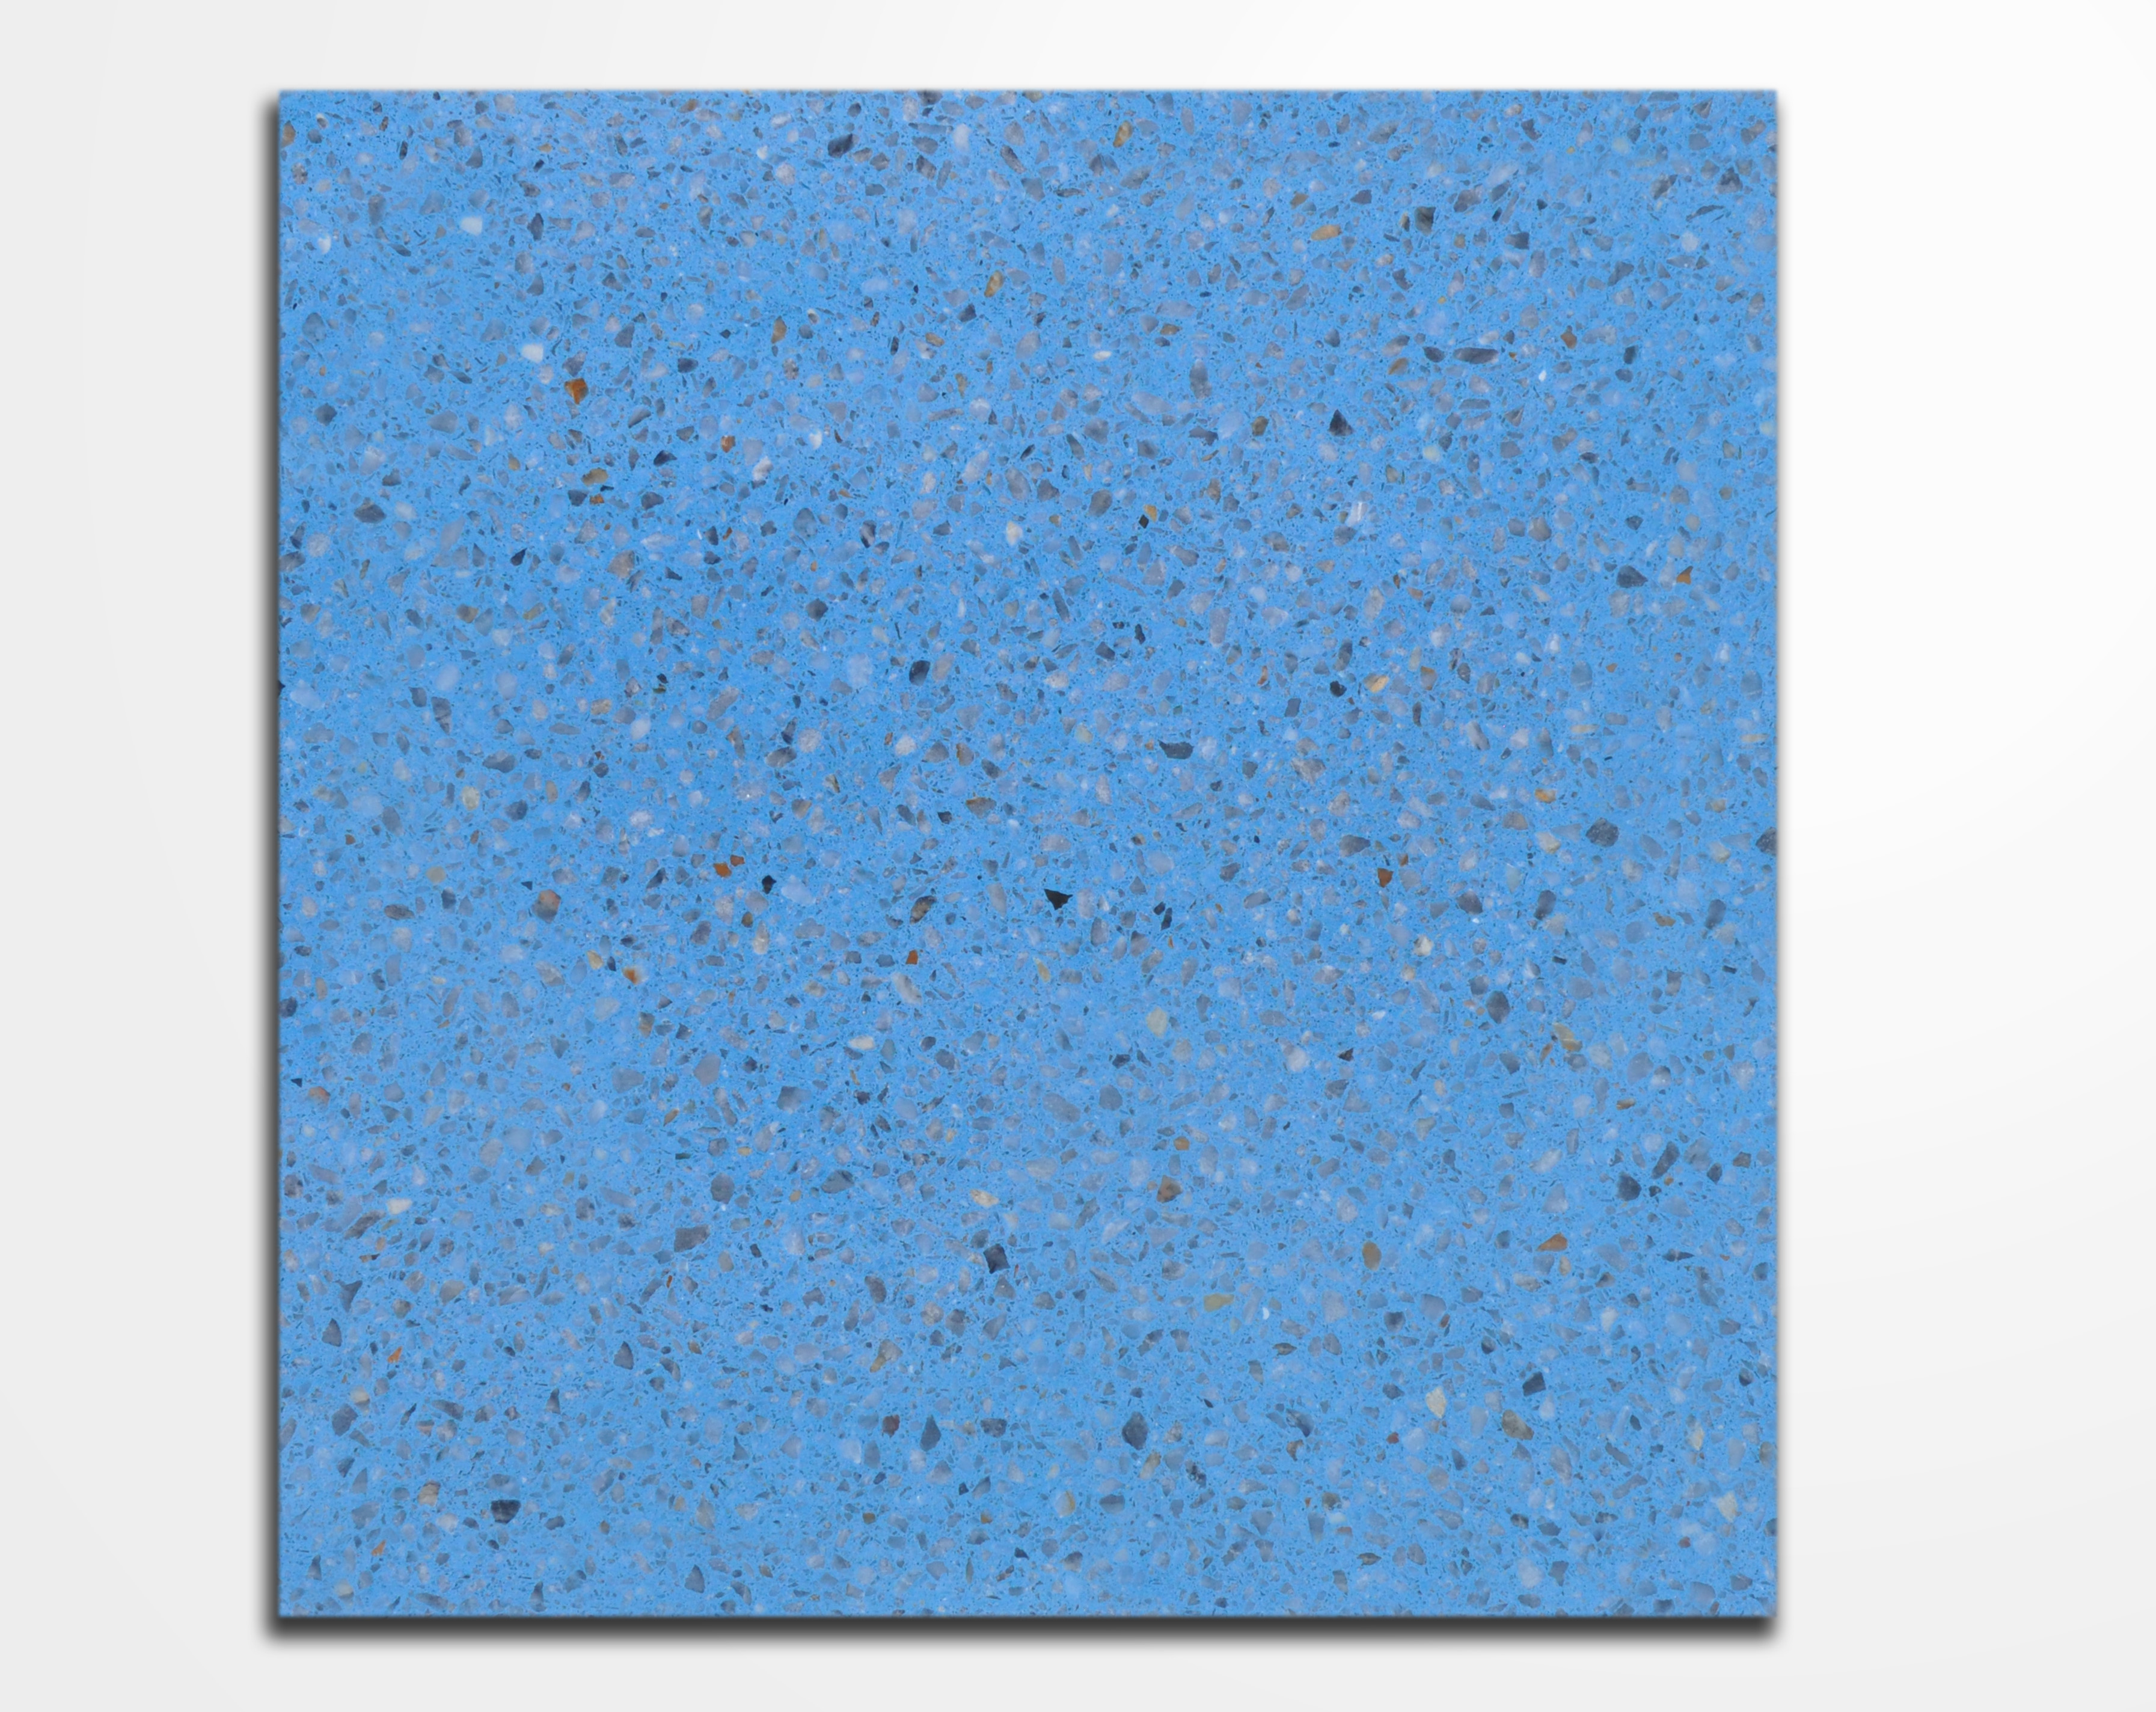
Azul Claro
Detalis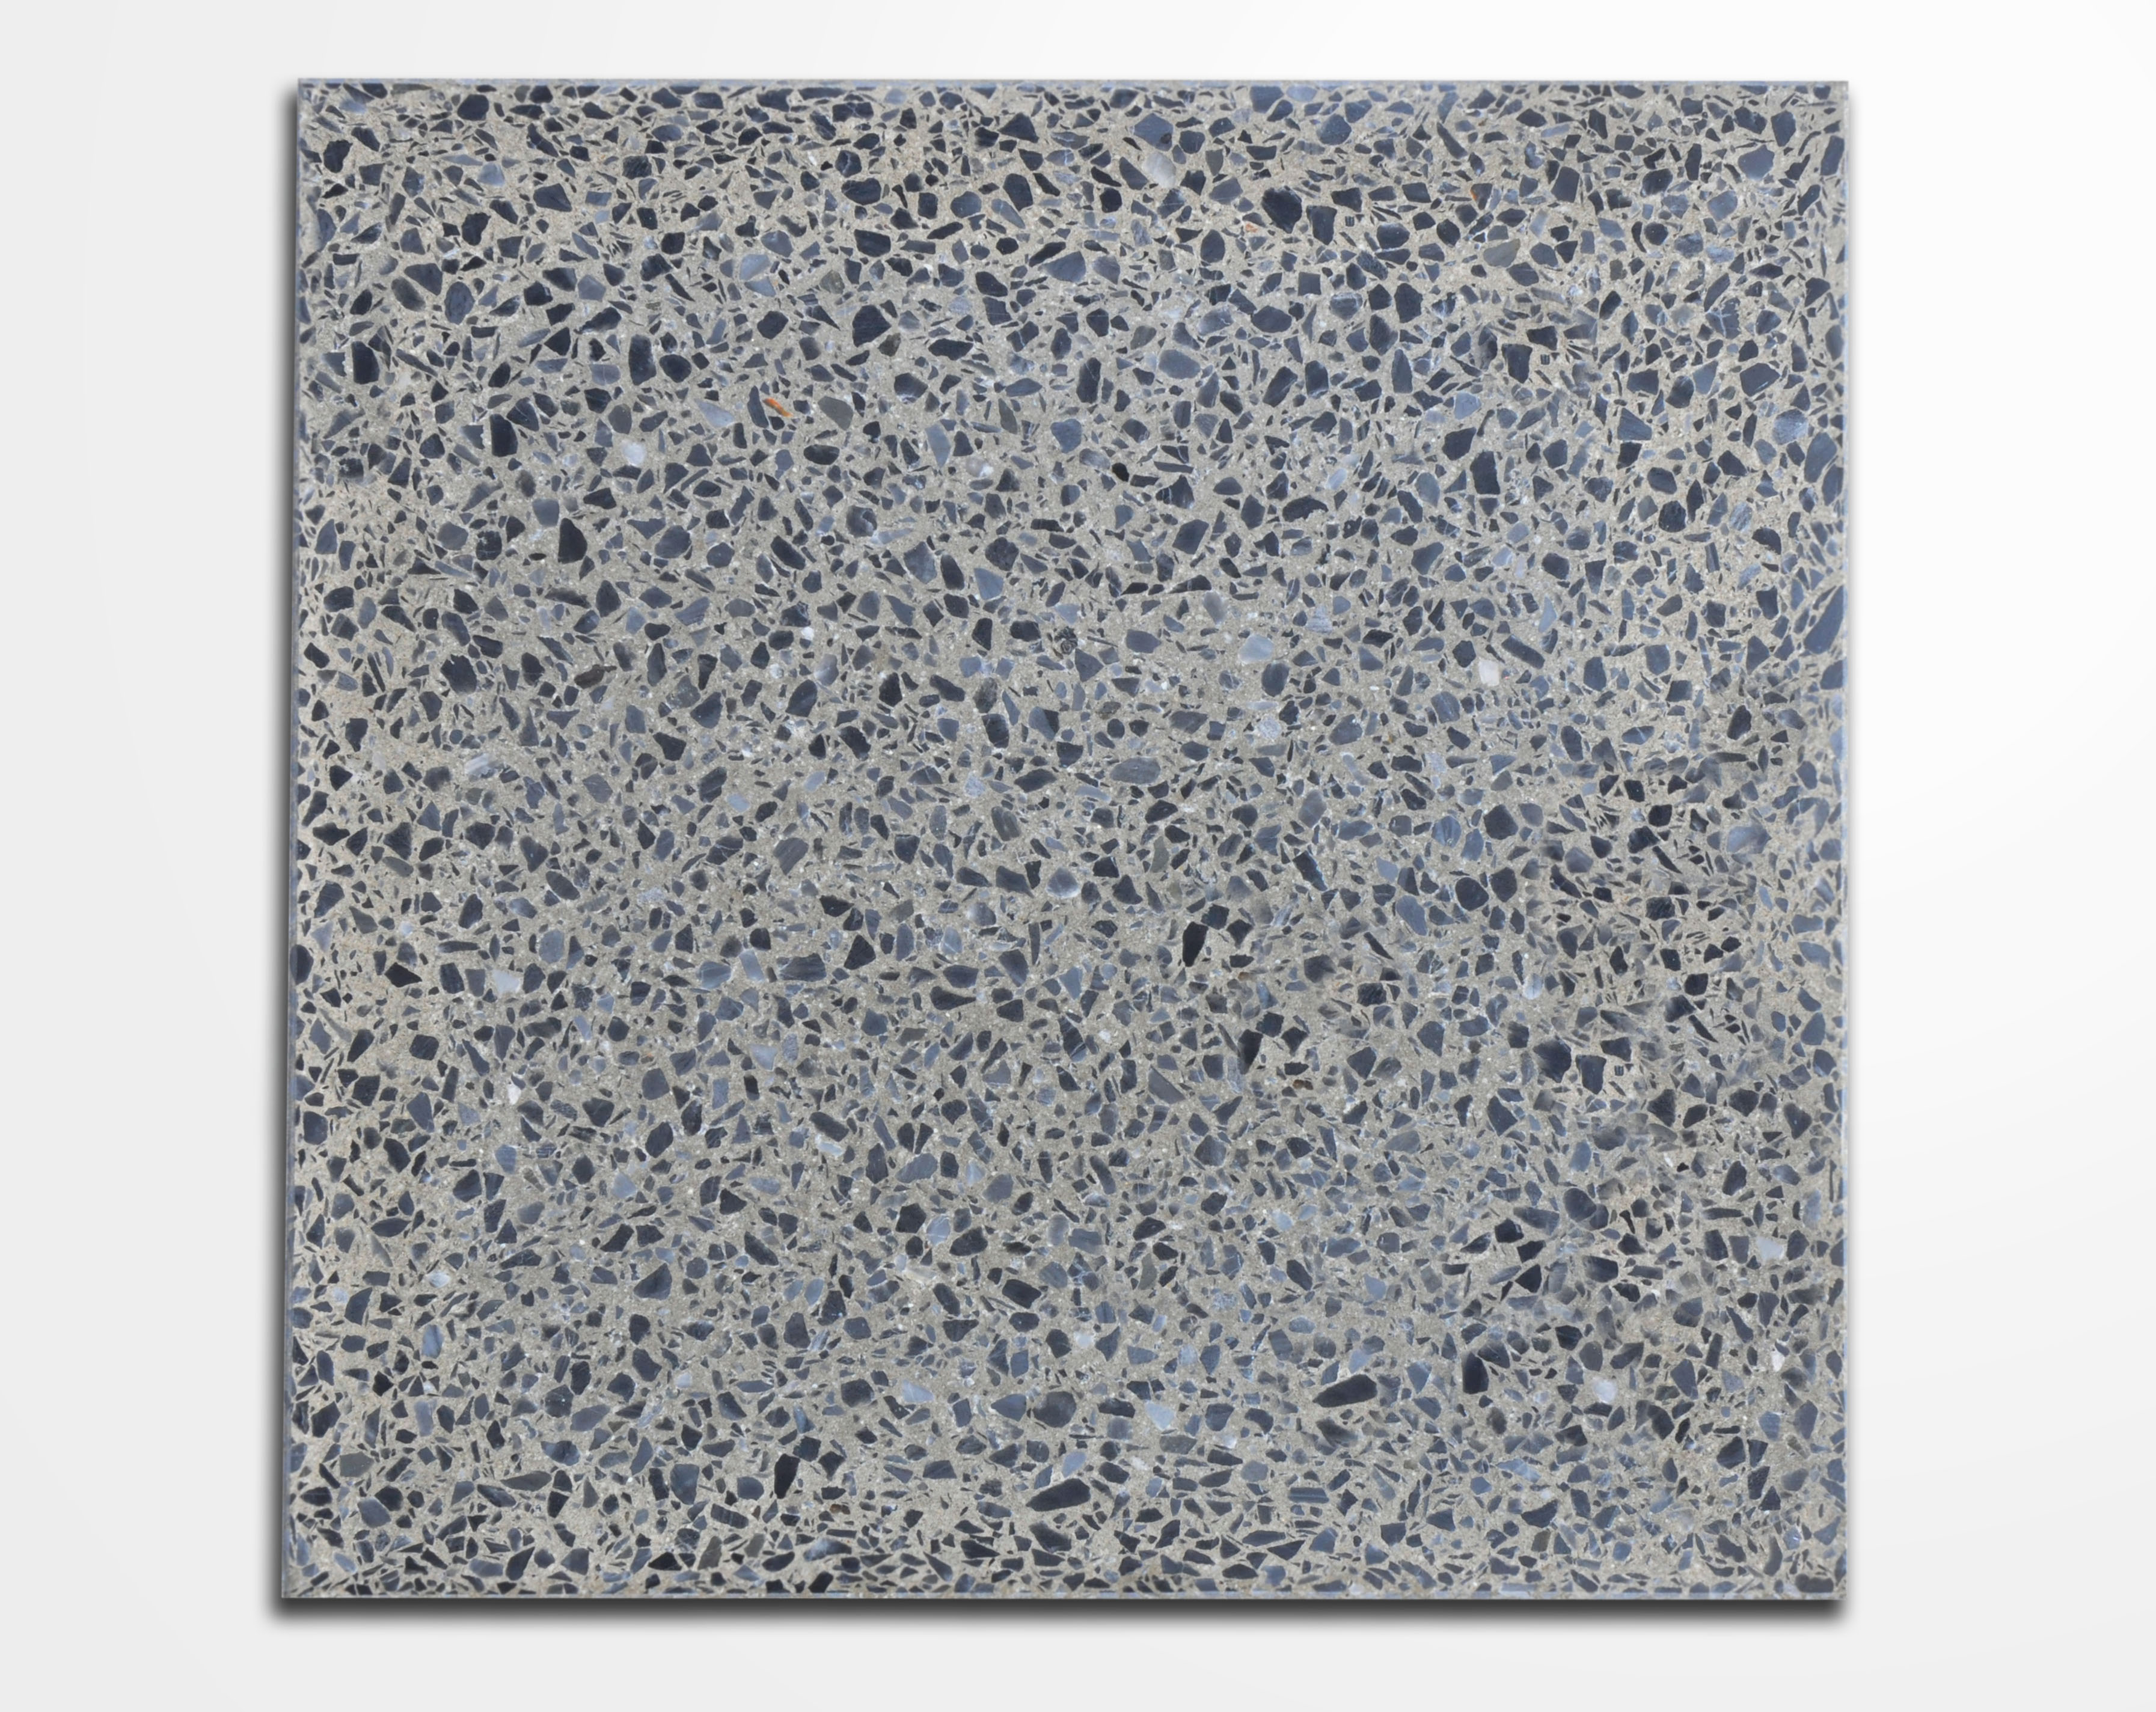
Bardiglio
Details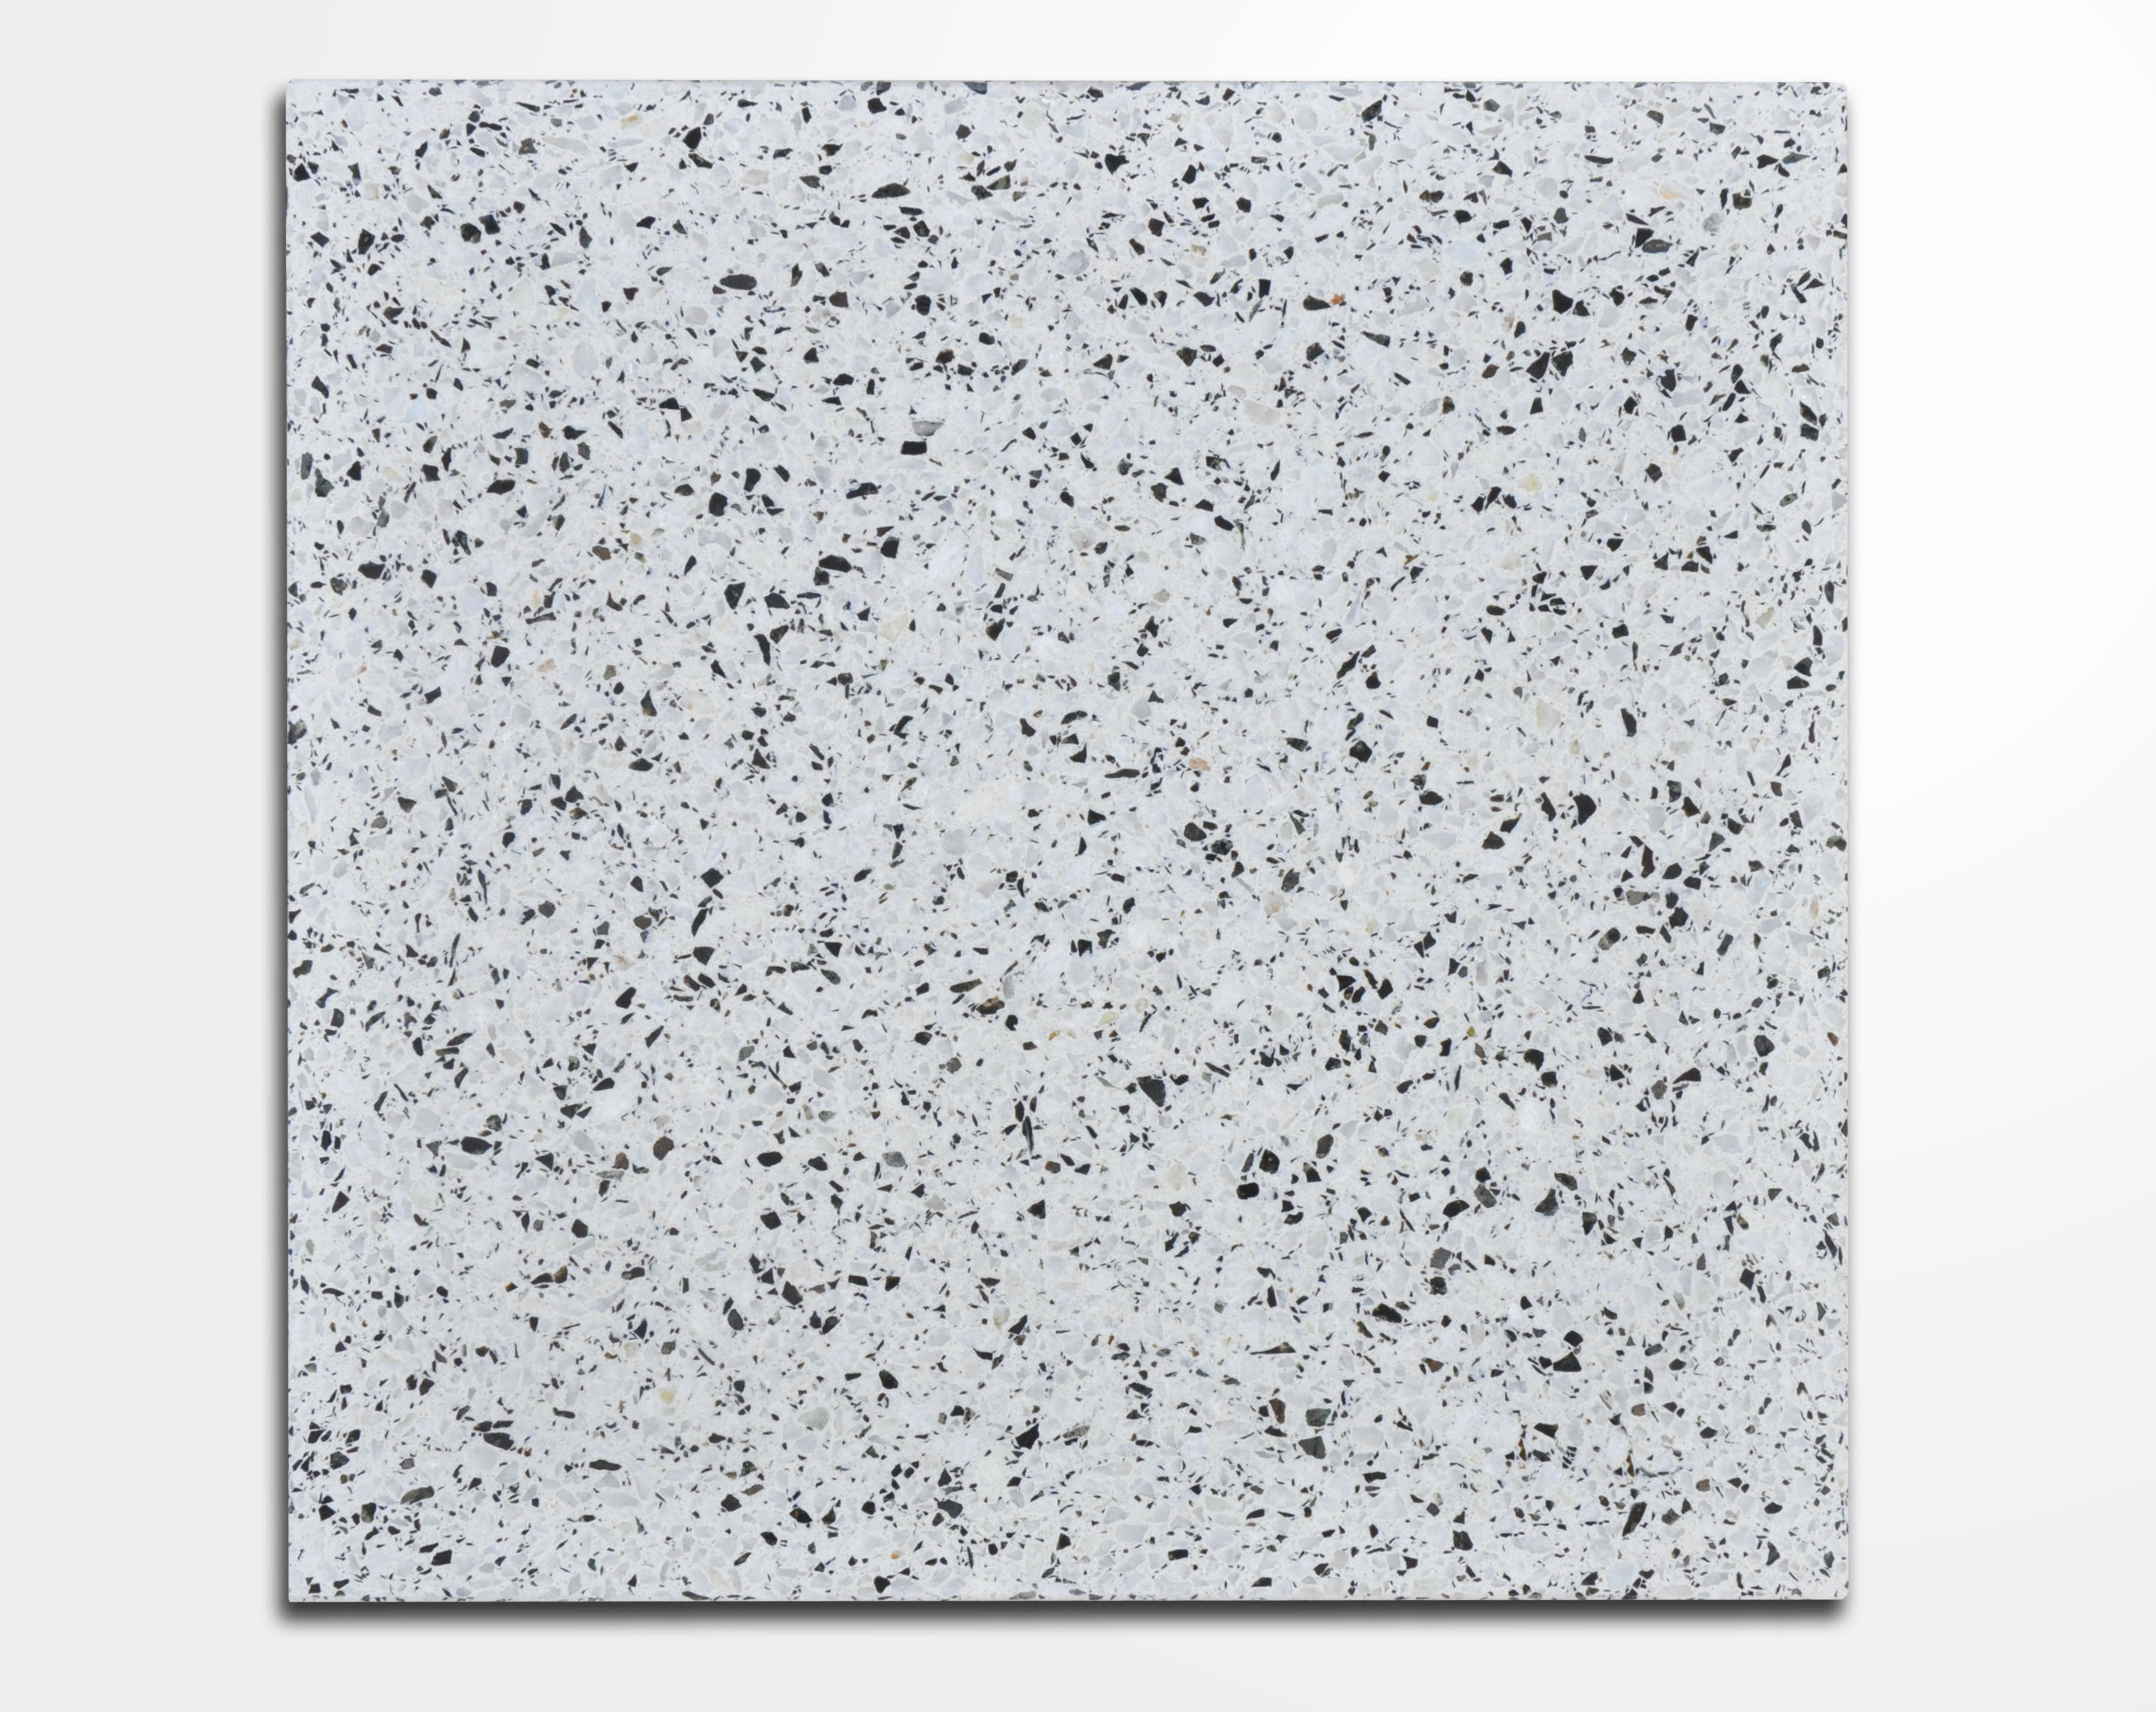
Blanco Breciato
Details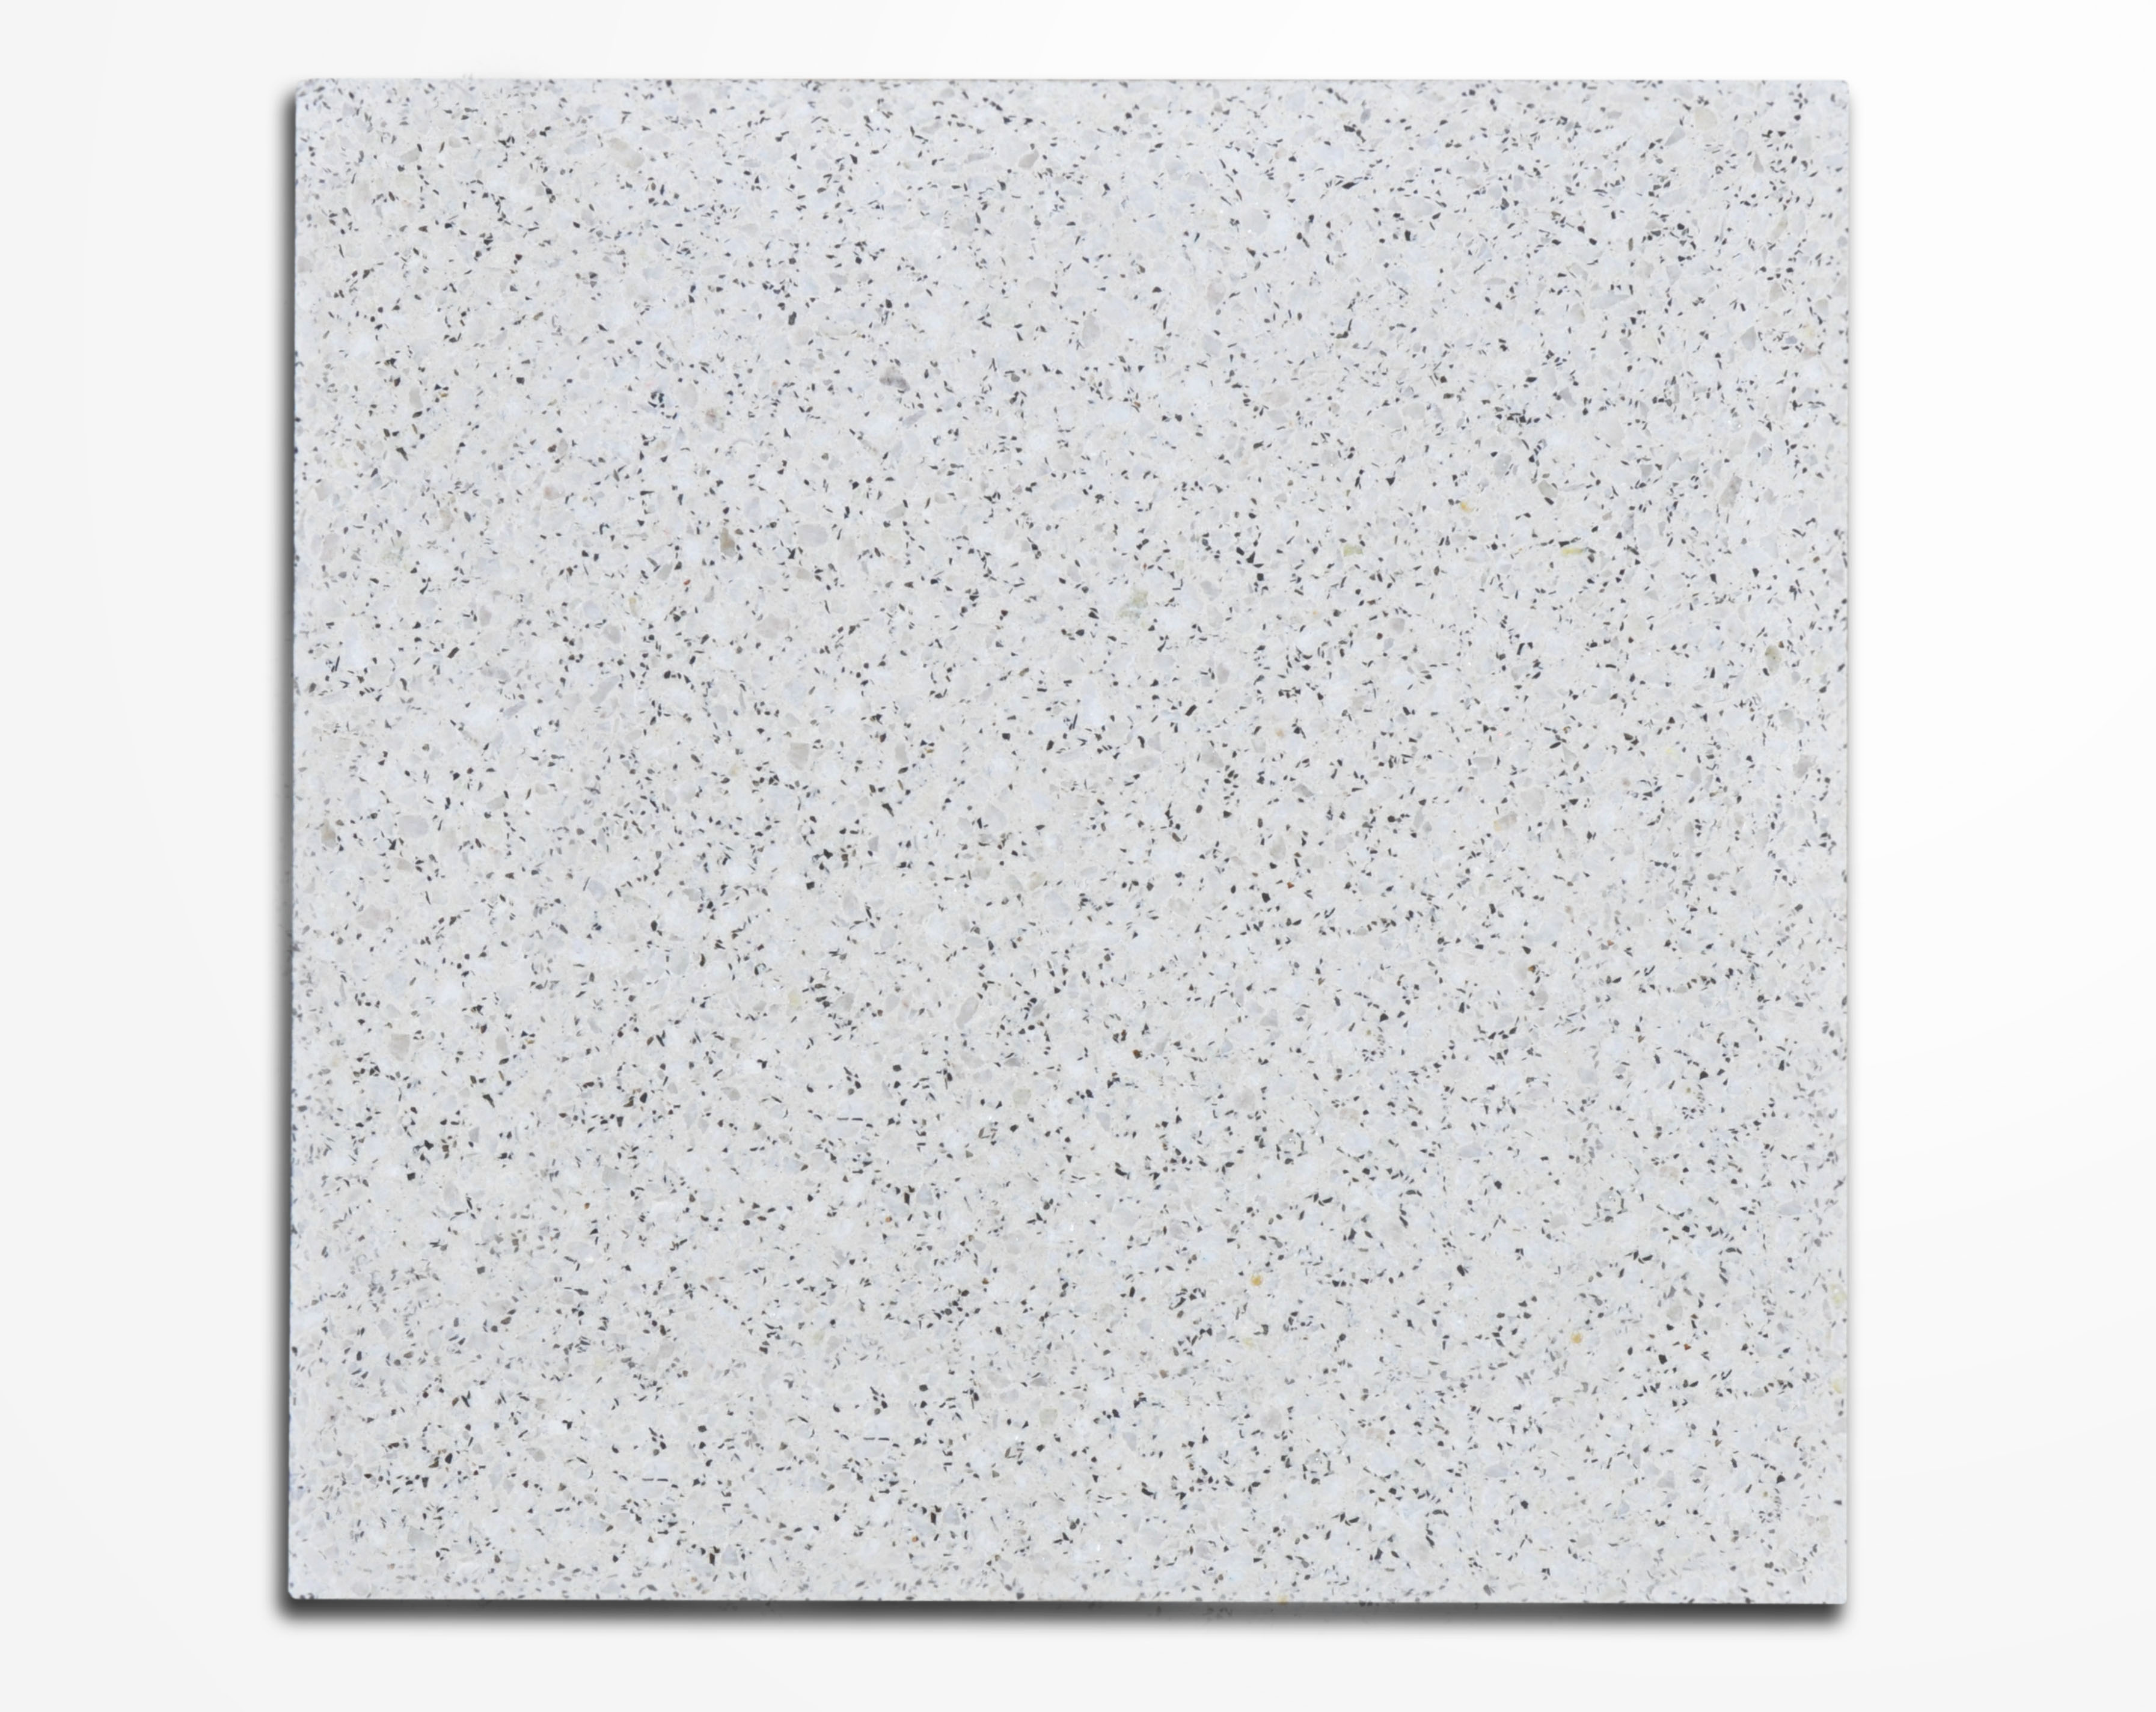
Blanco Carpatos
Details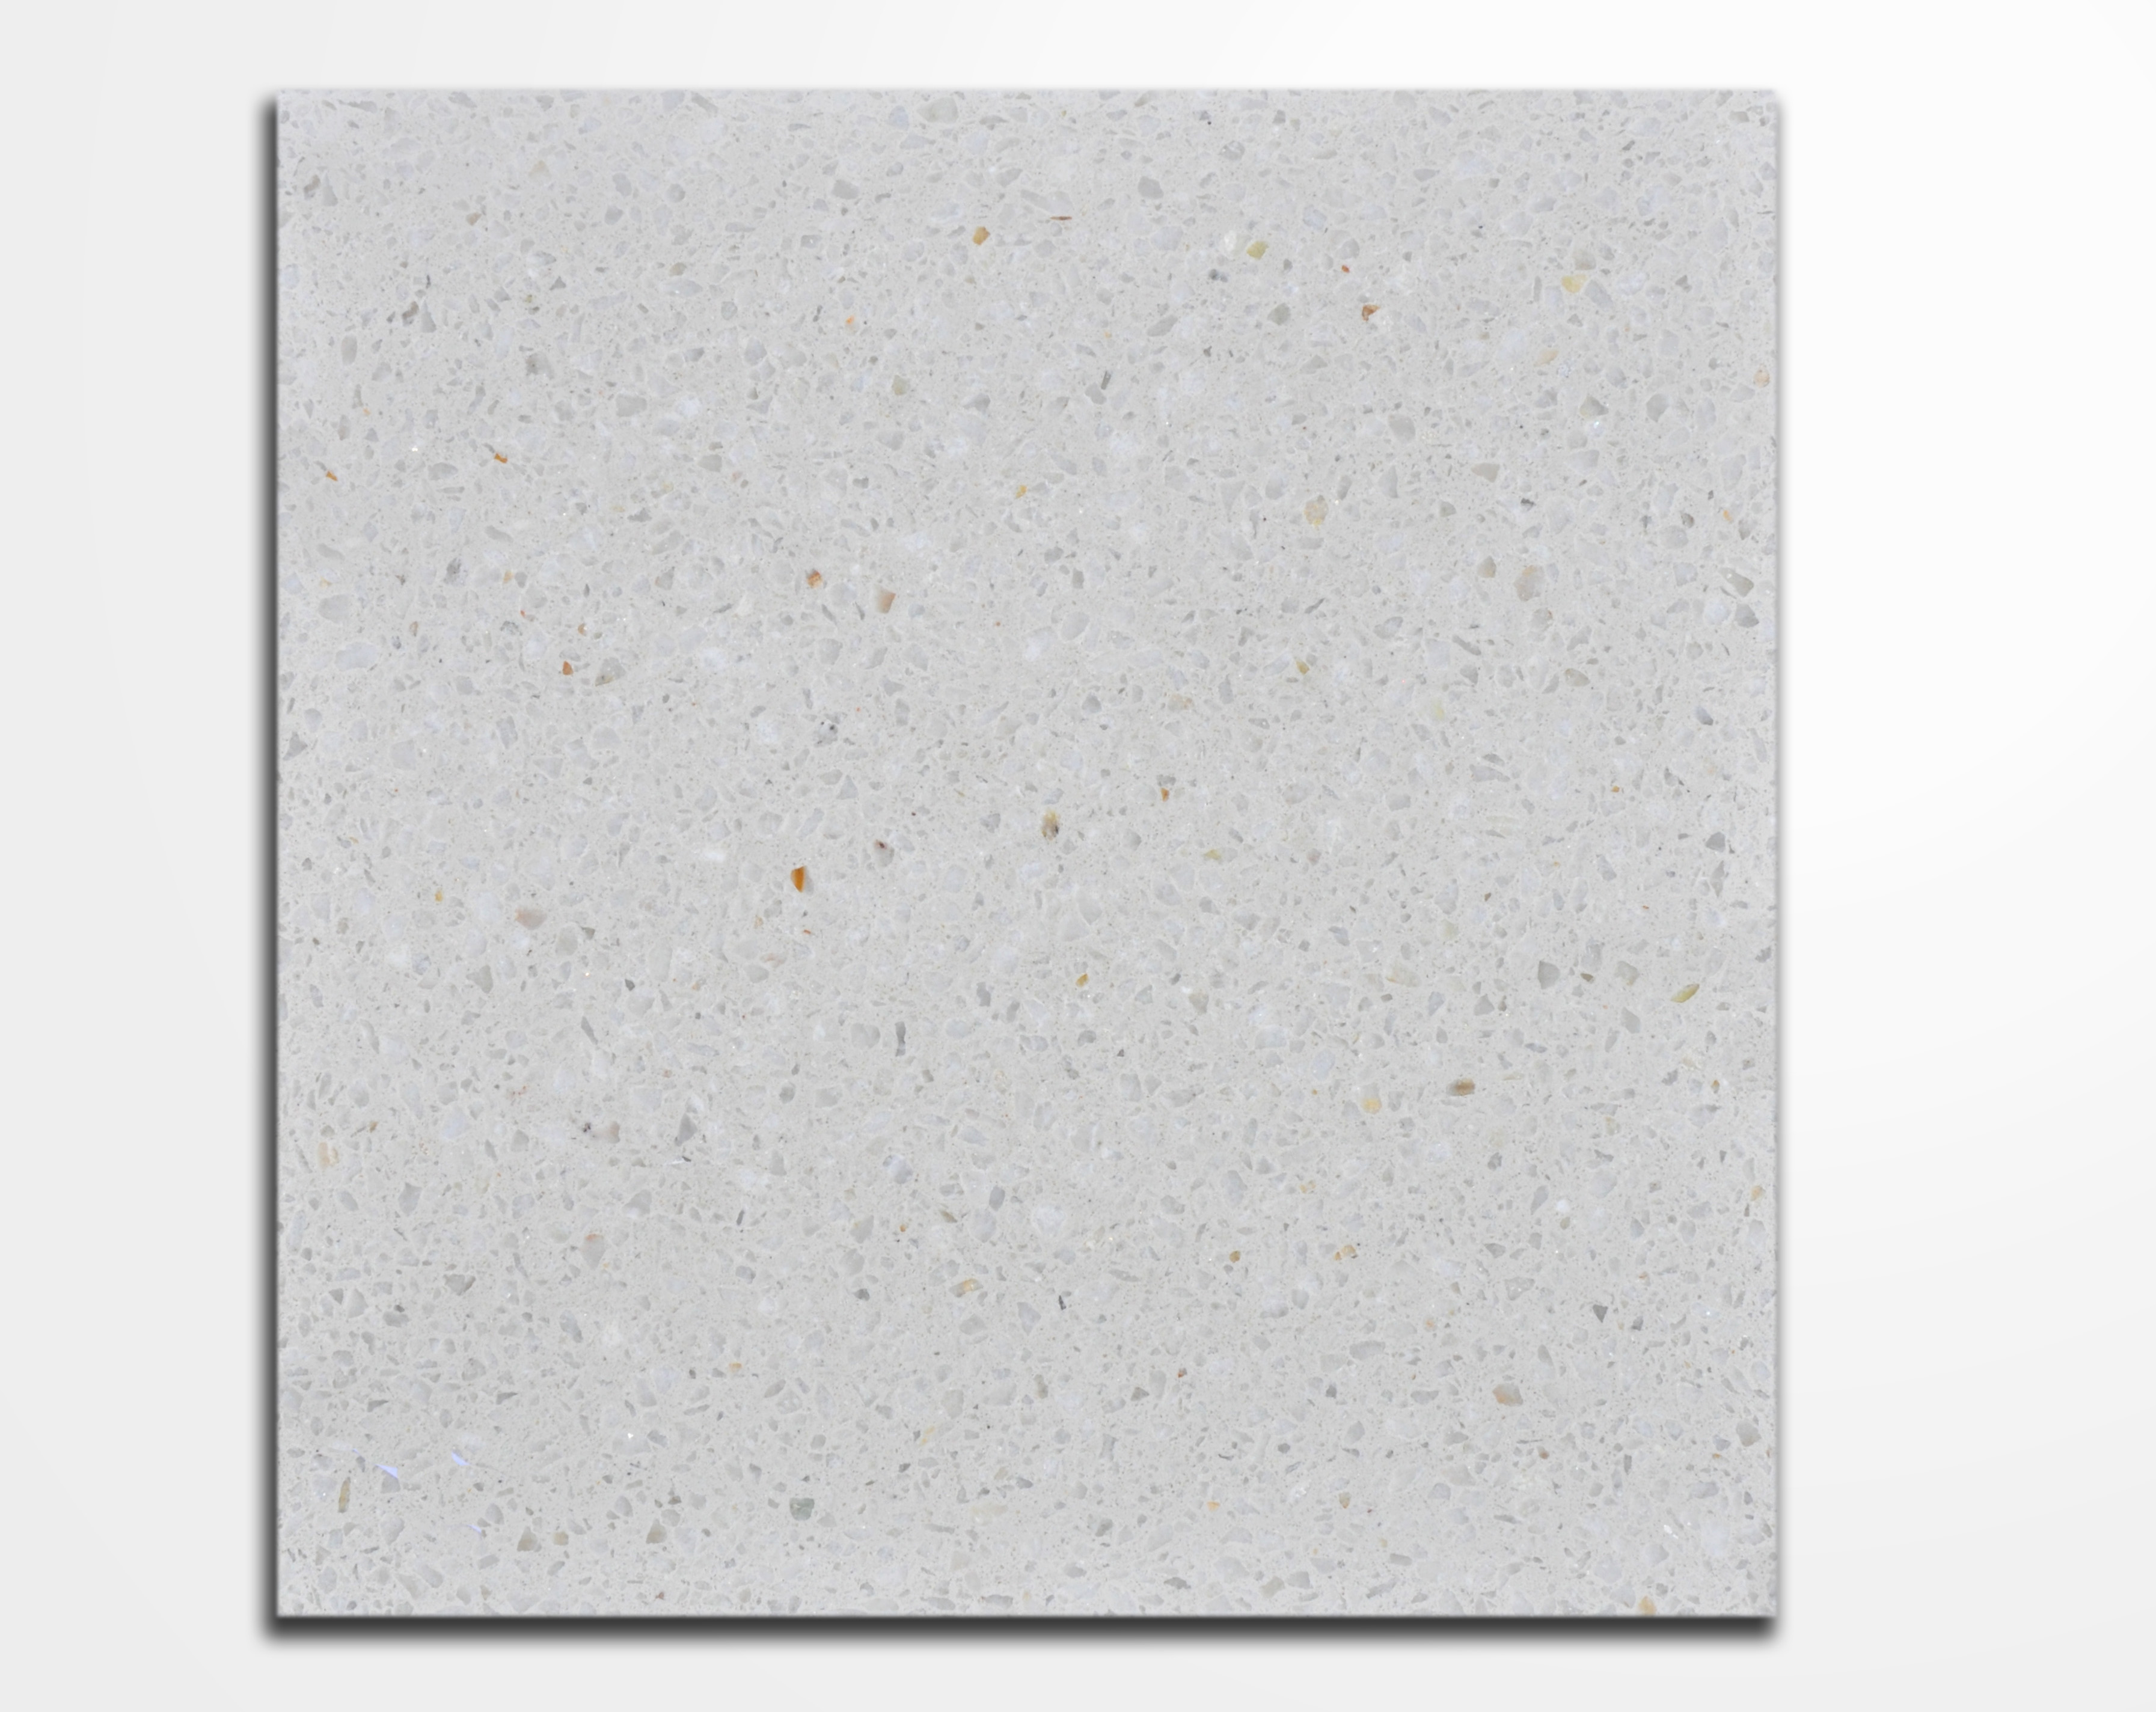
Blanco Glaciar
Details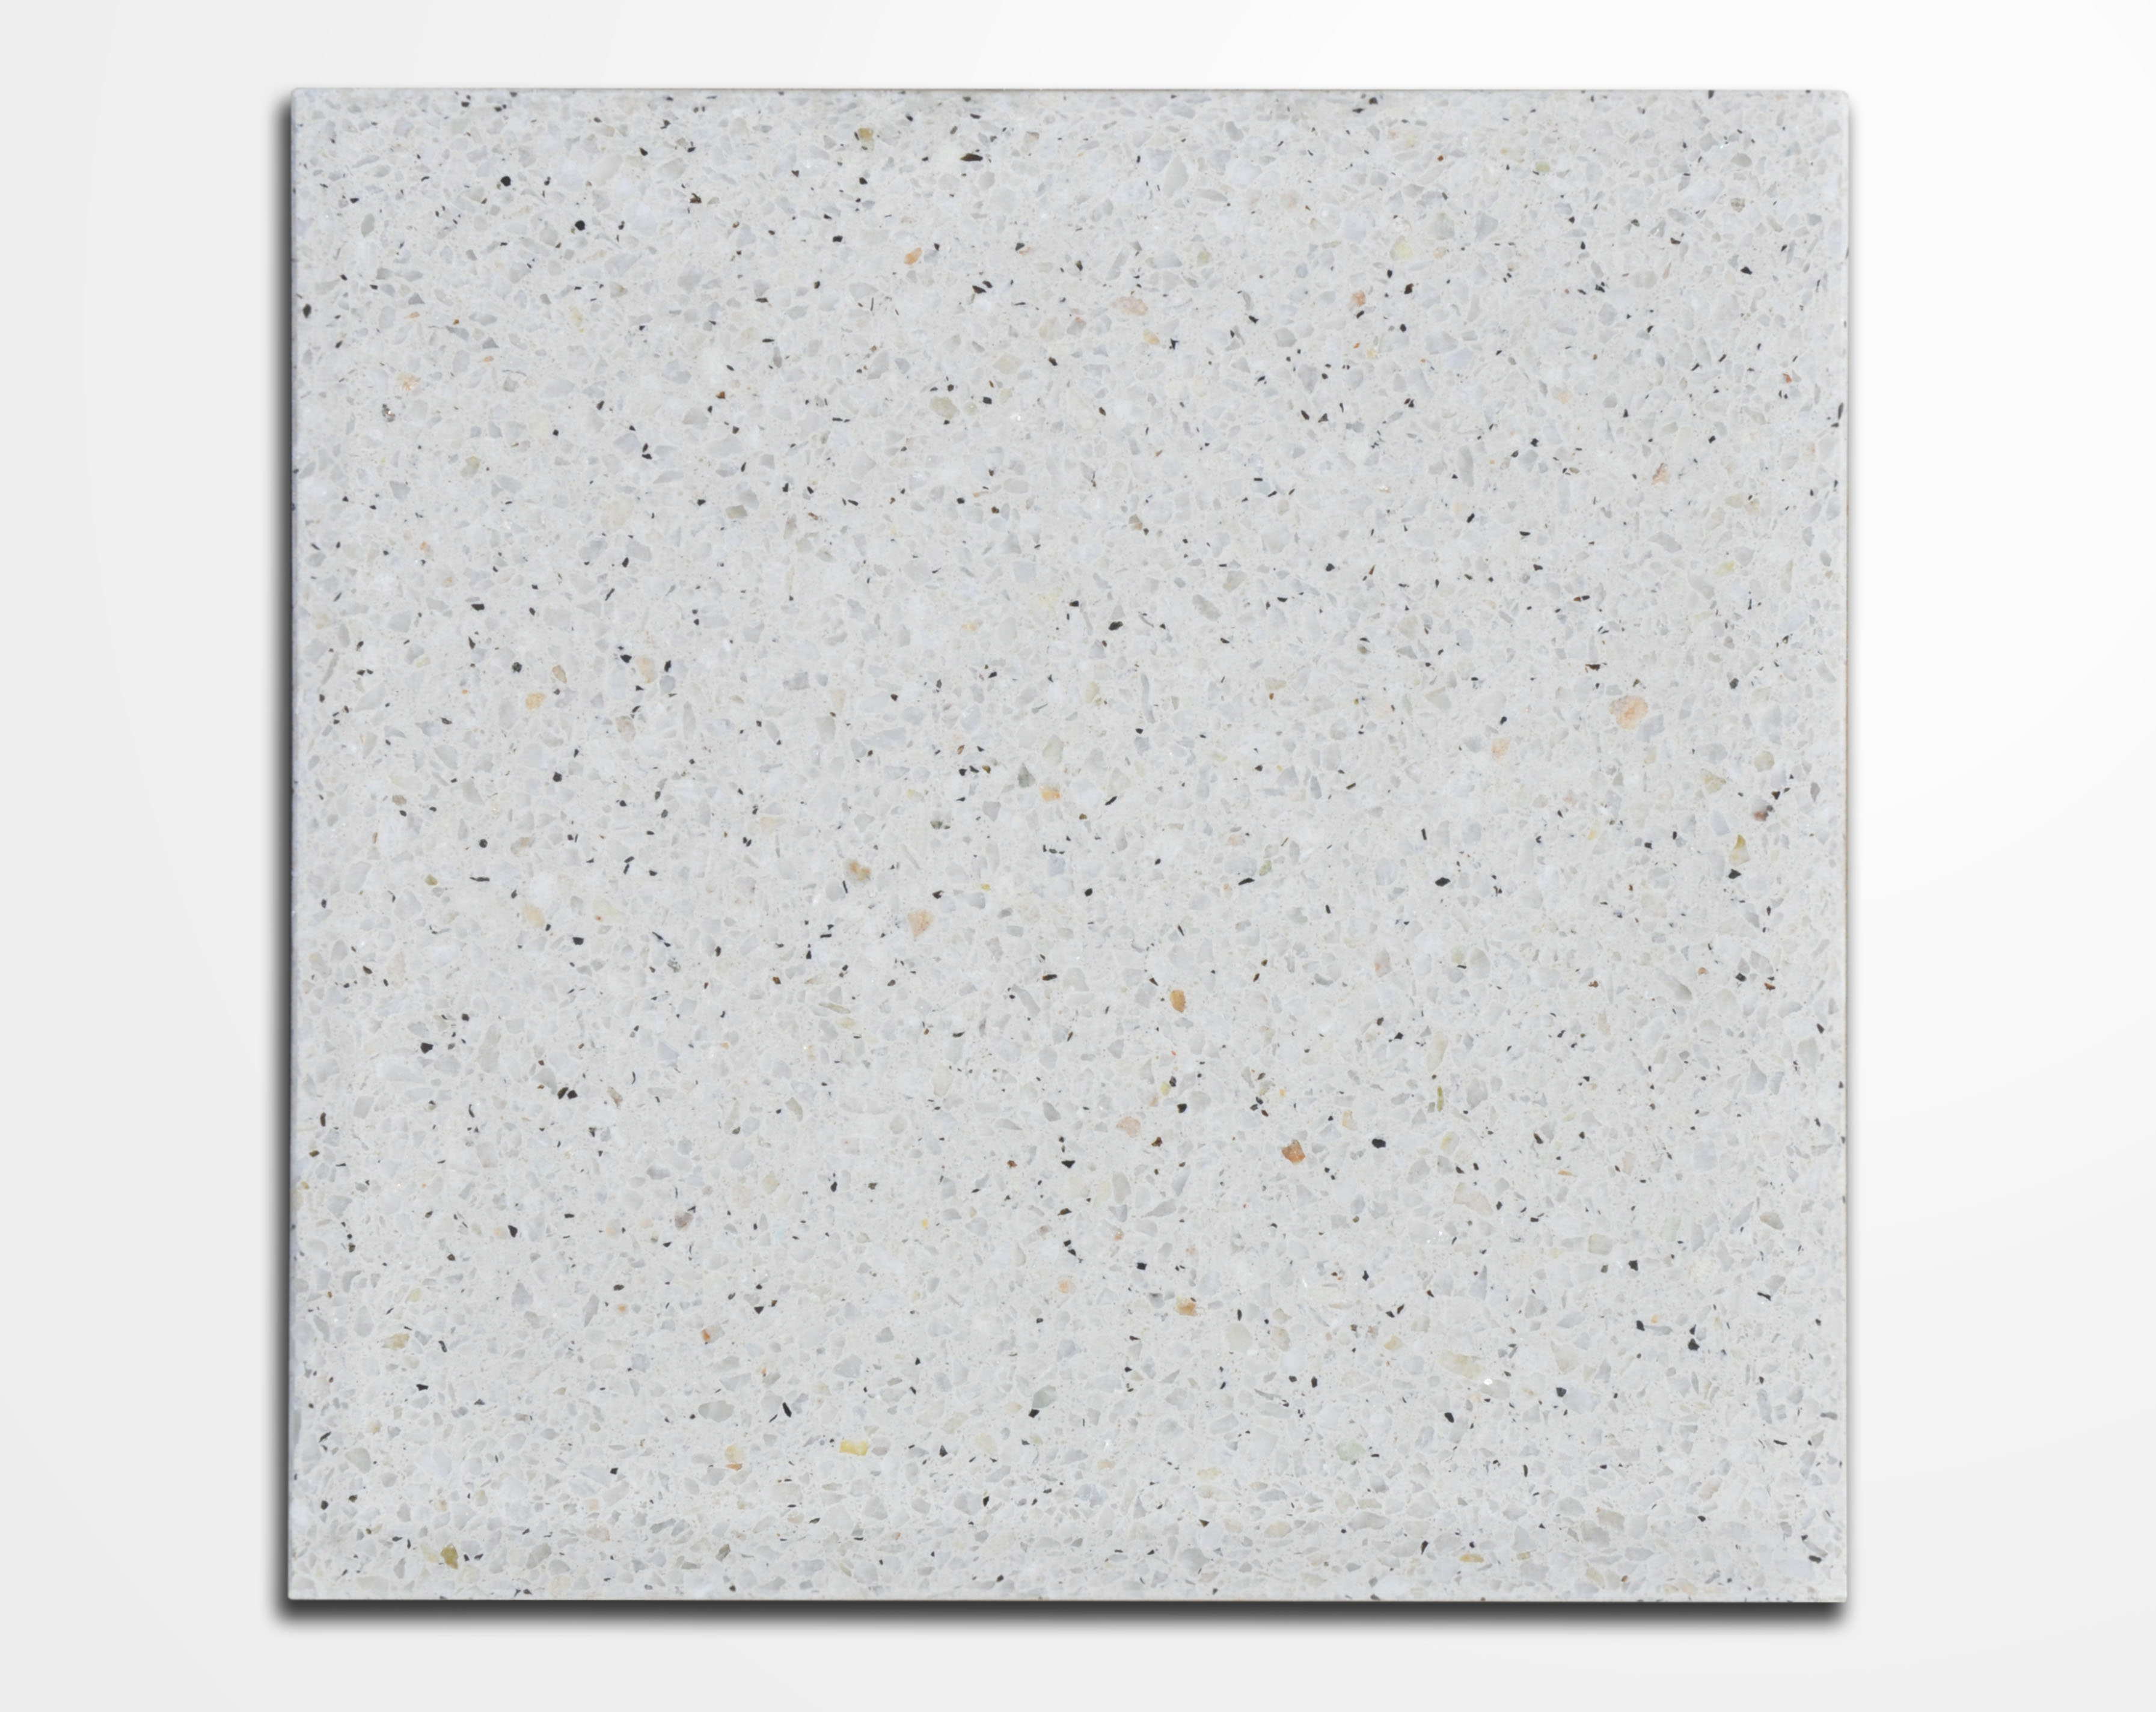
Blanco Torino
Details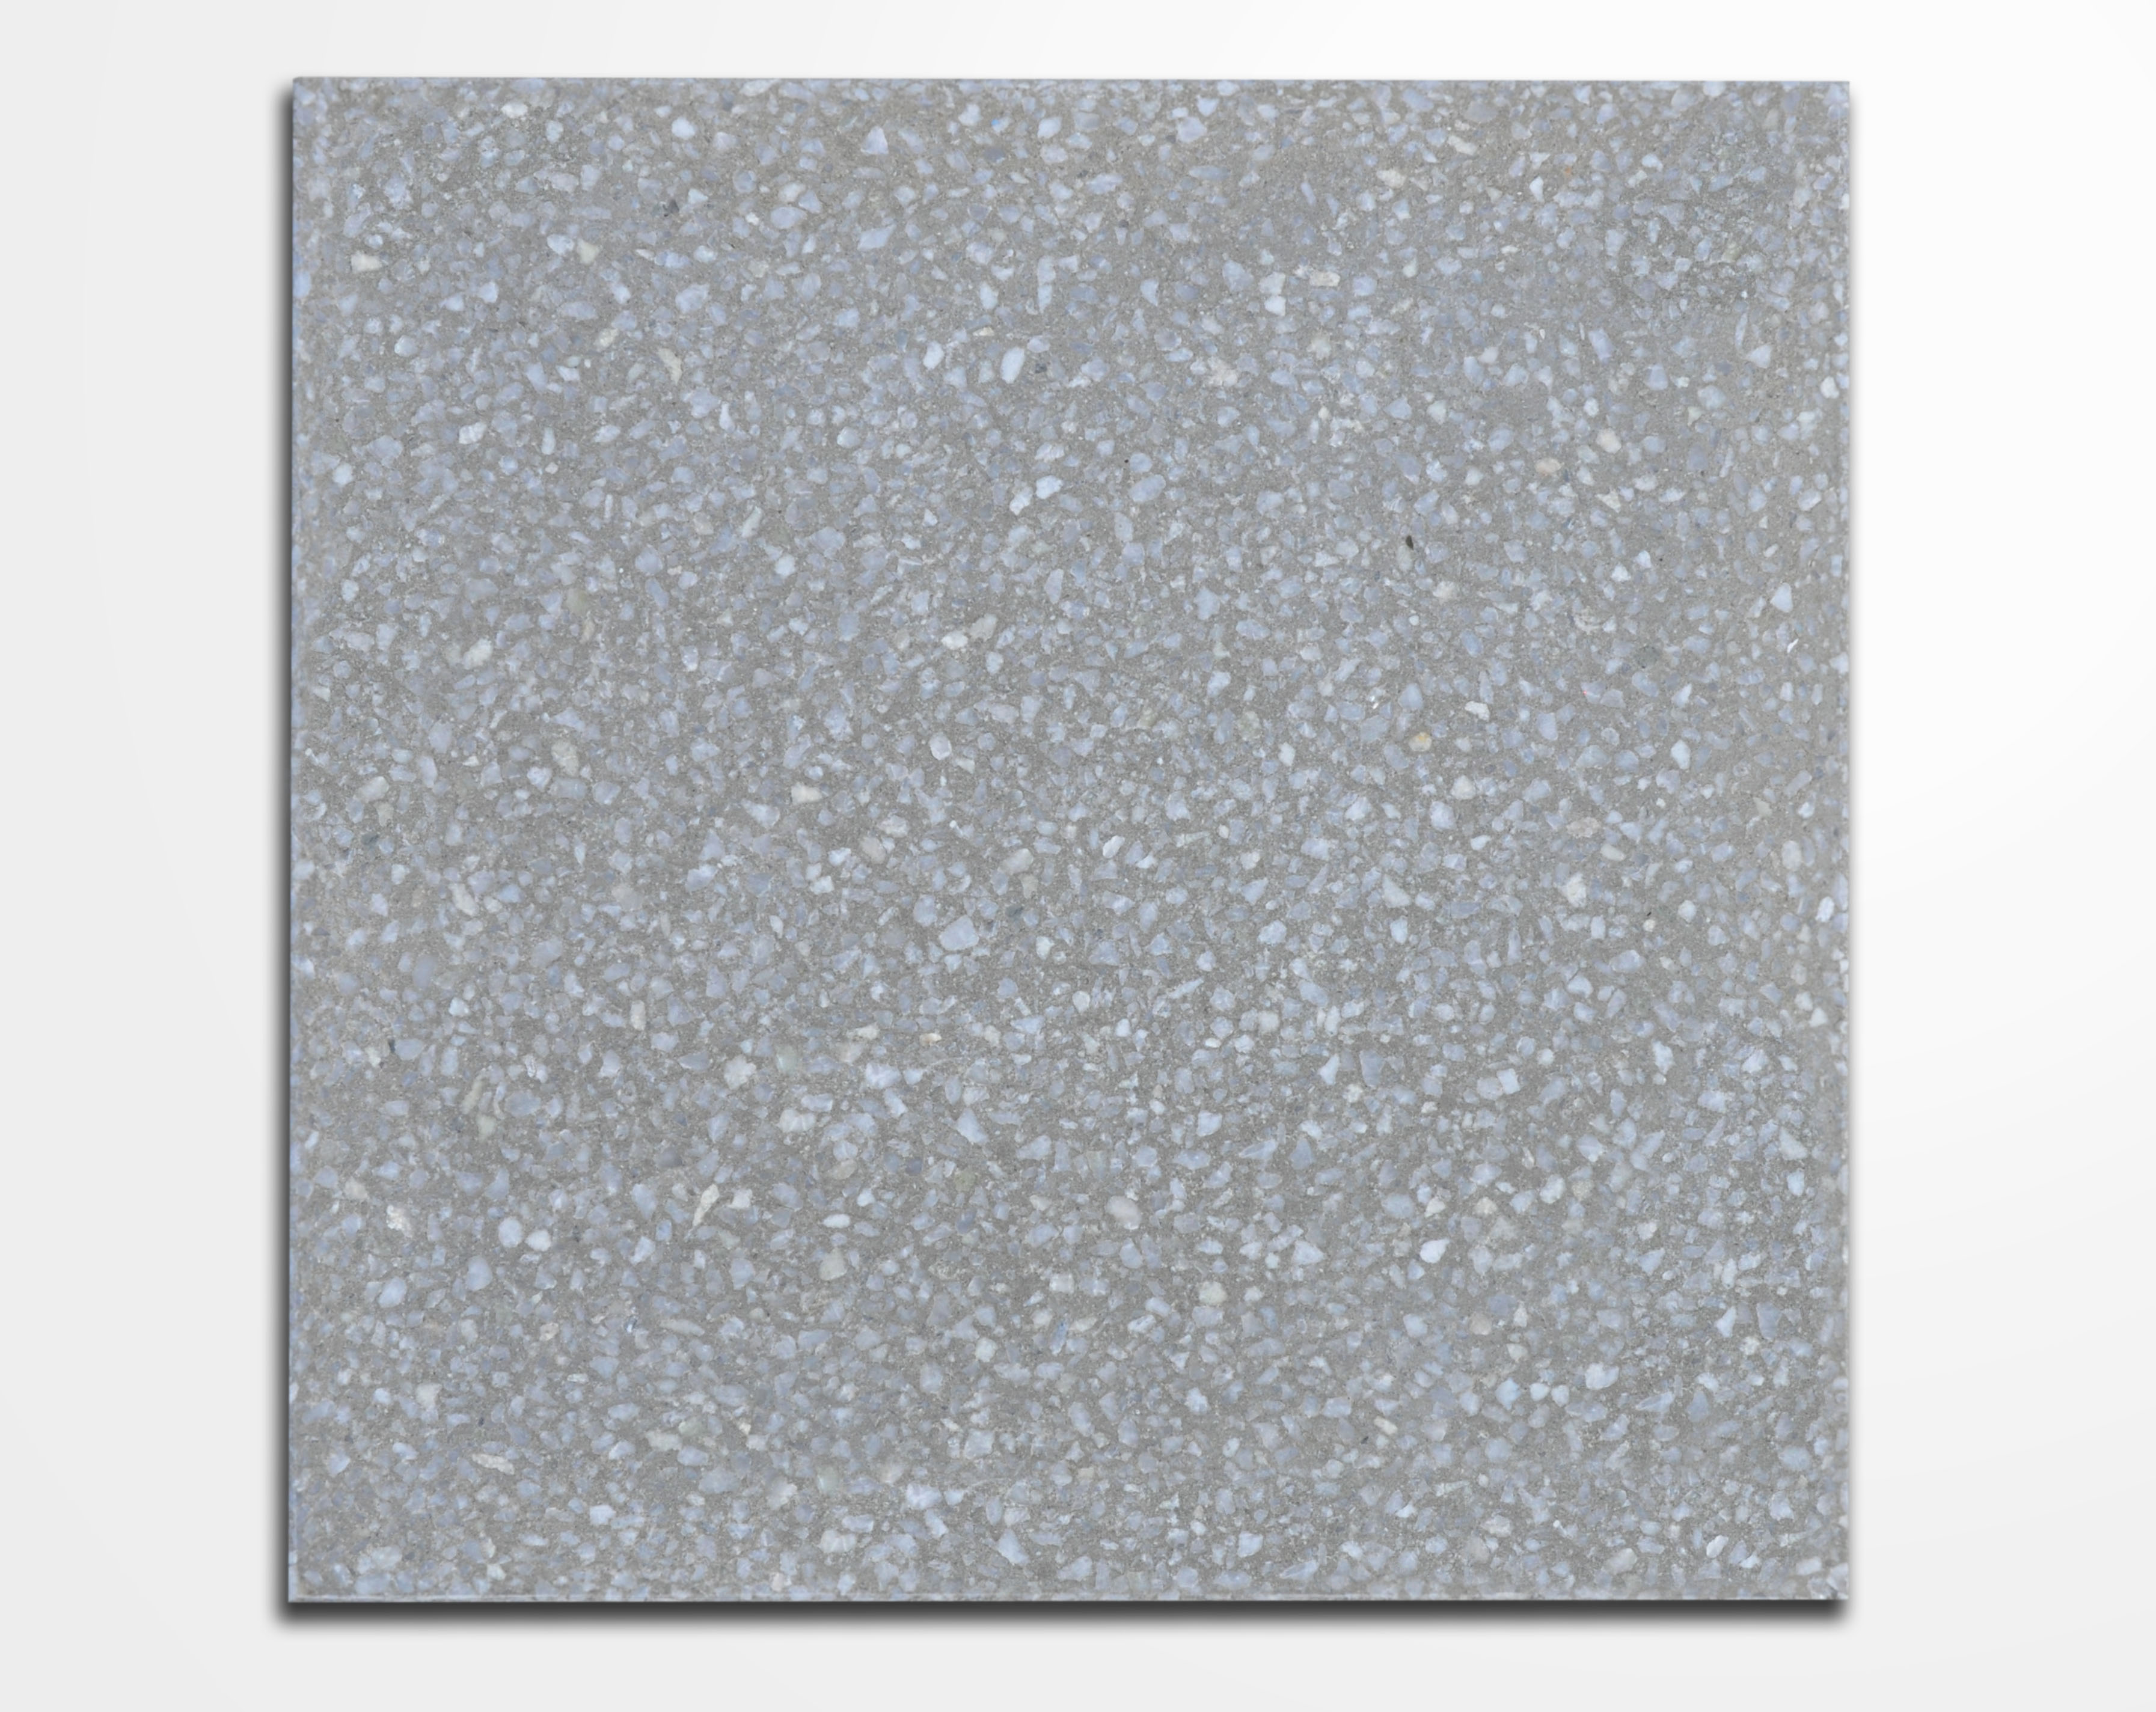
Gris Bison
Details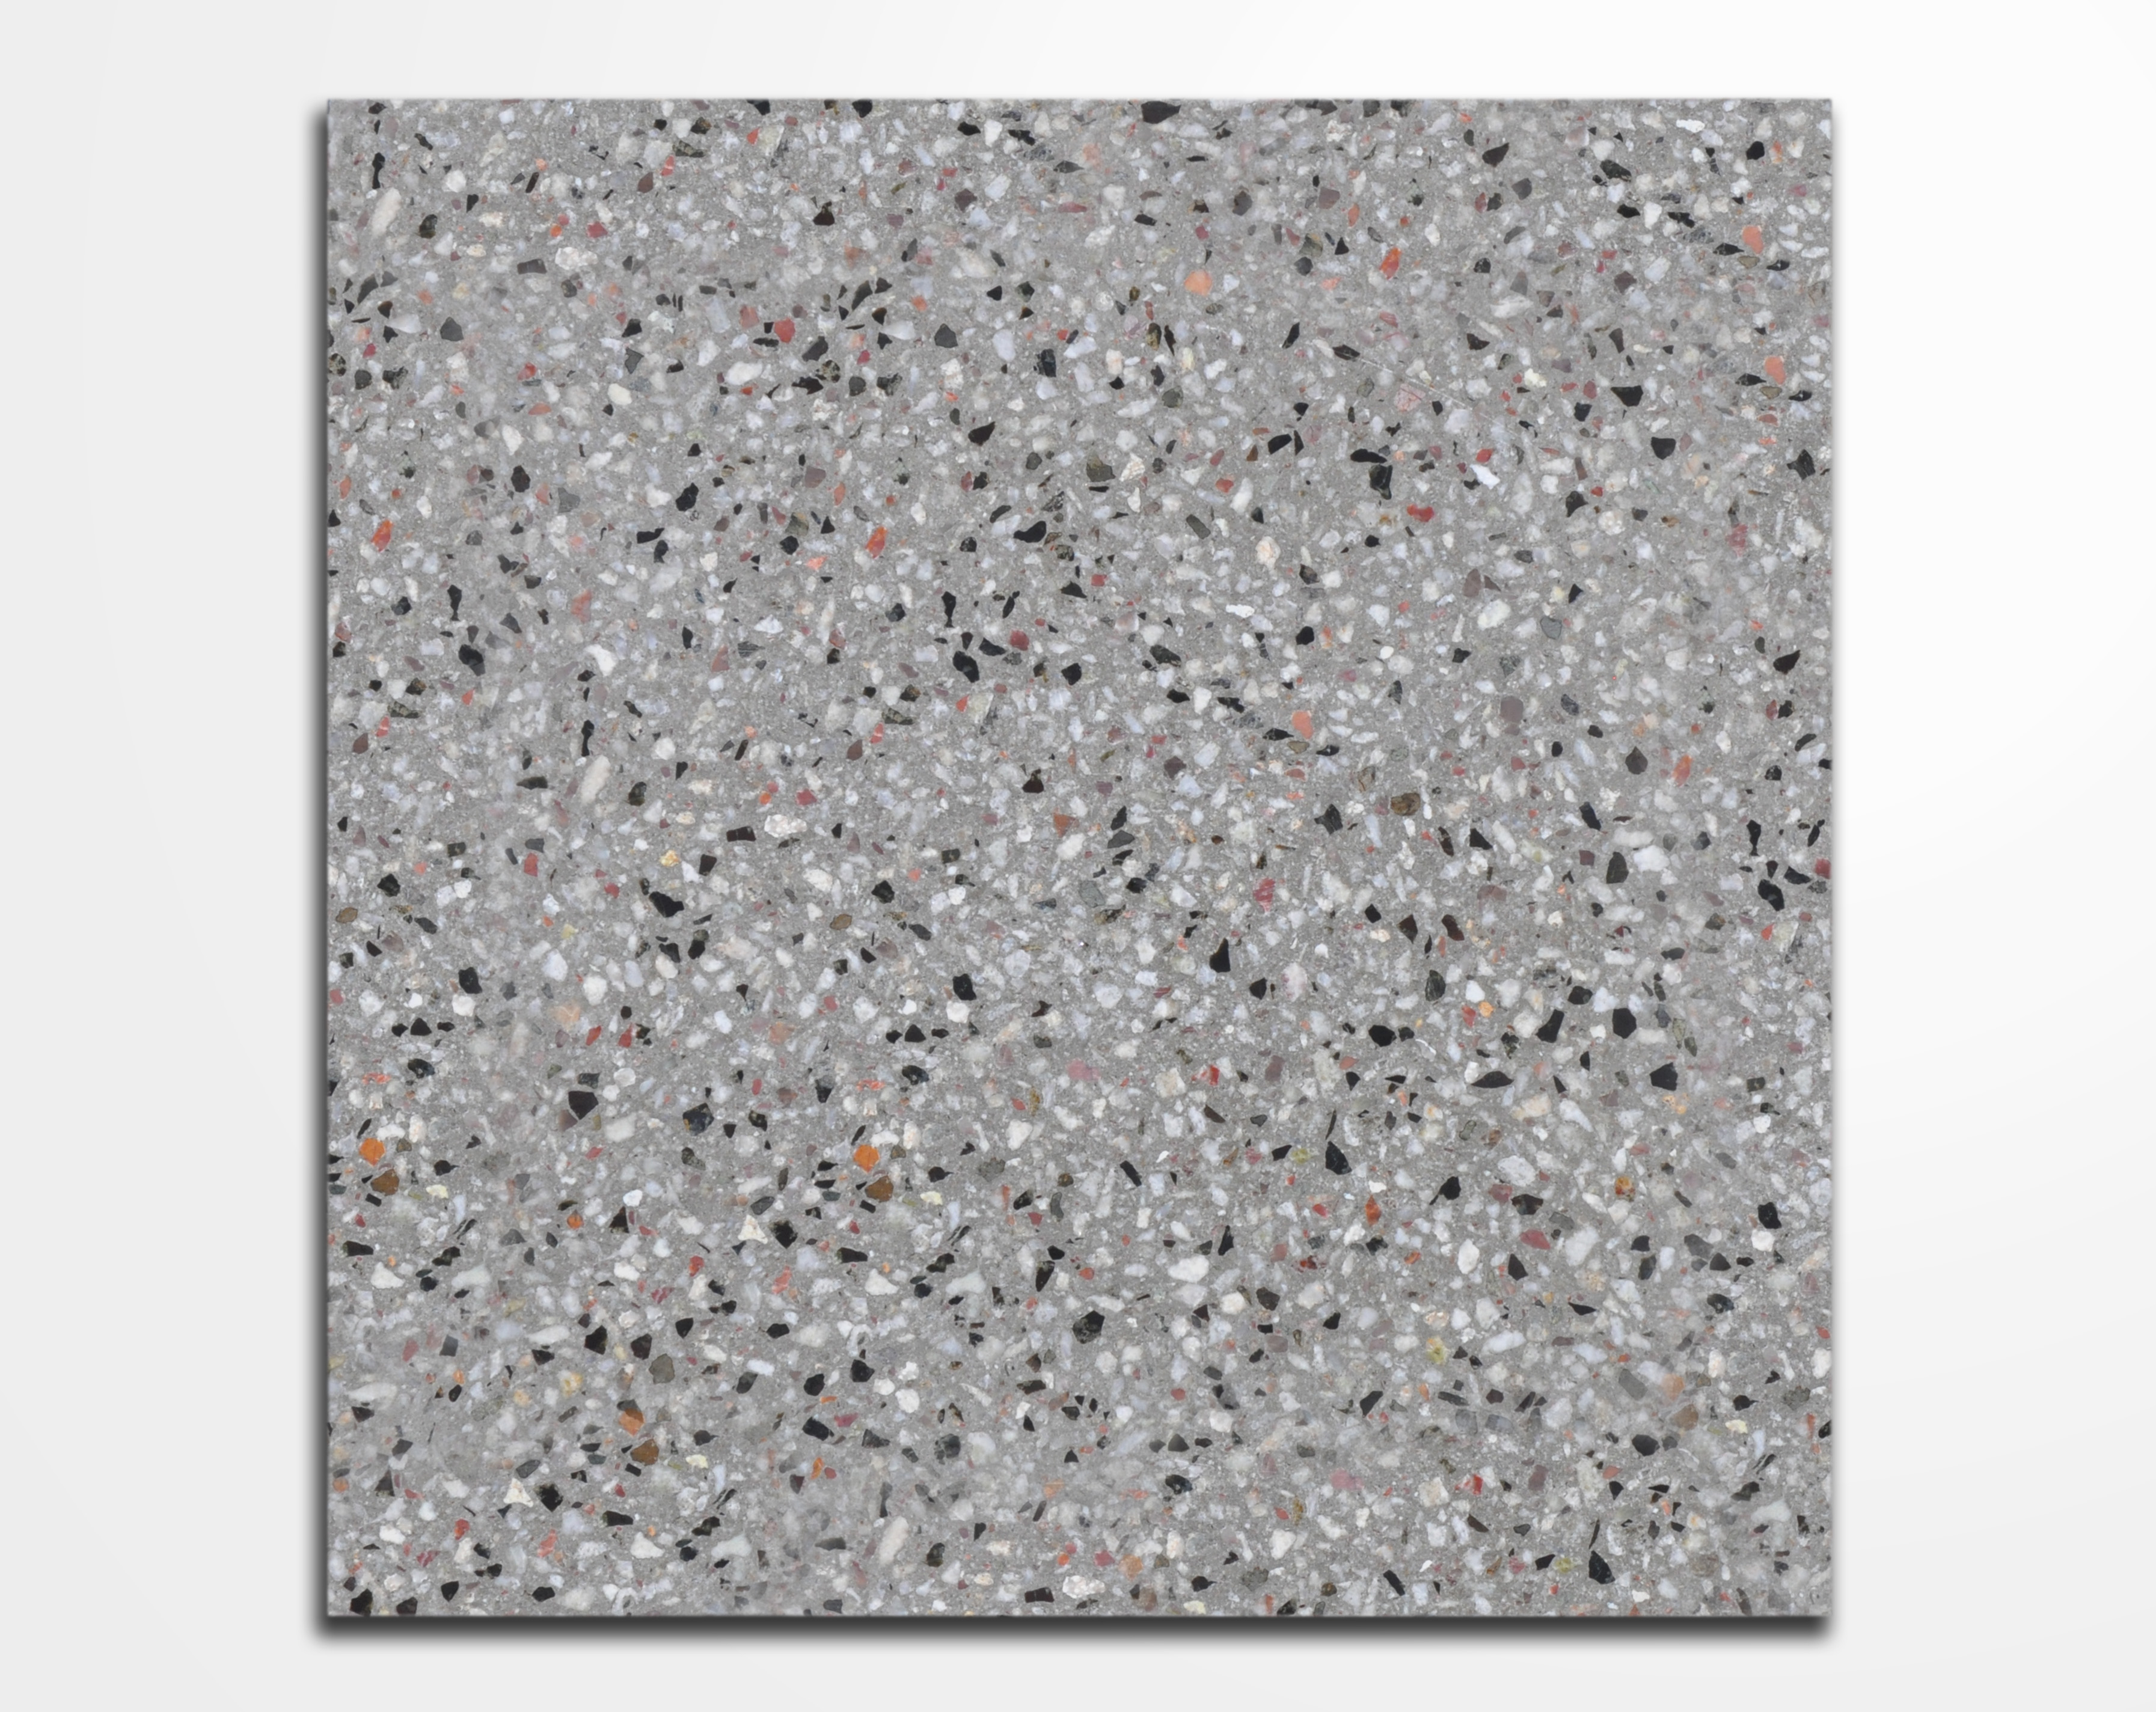
Gris Chiampo
Details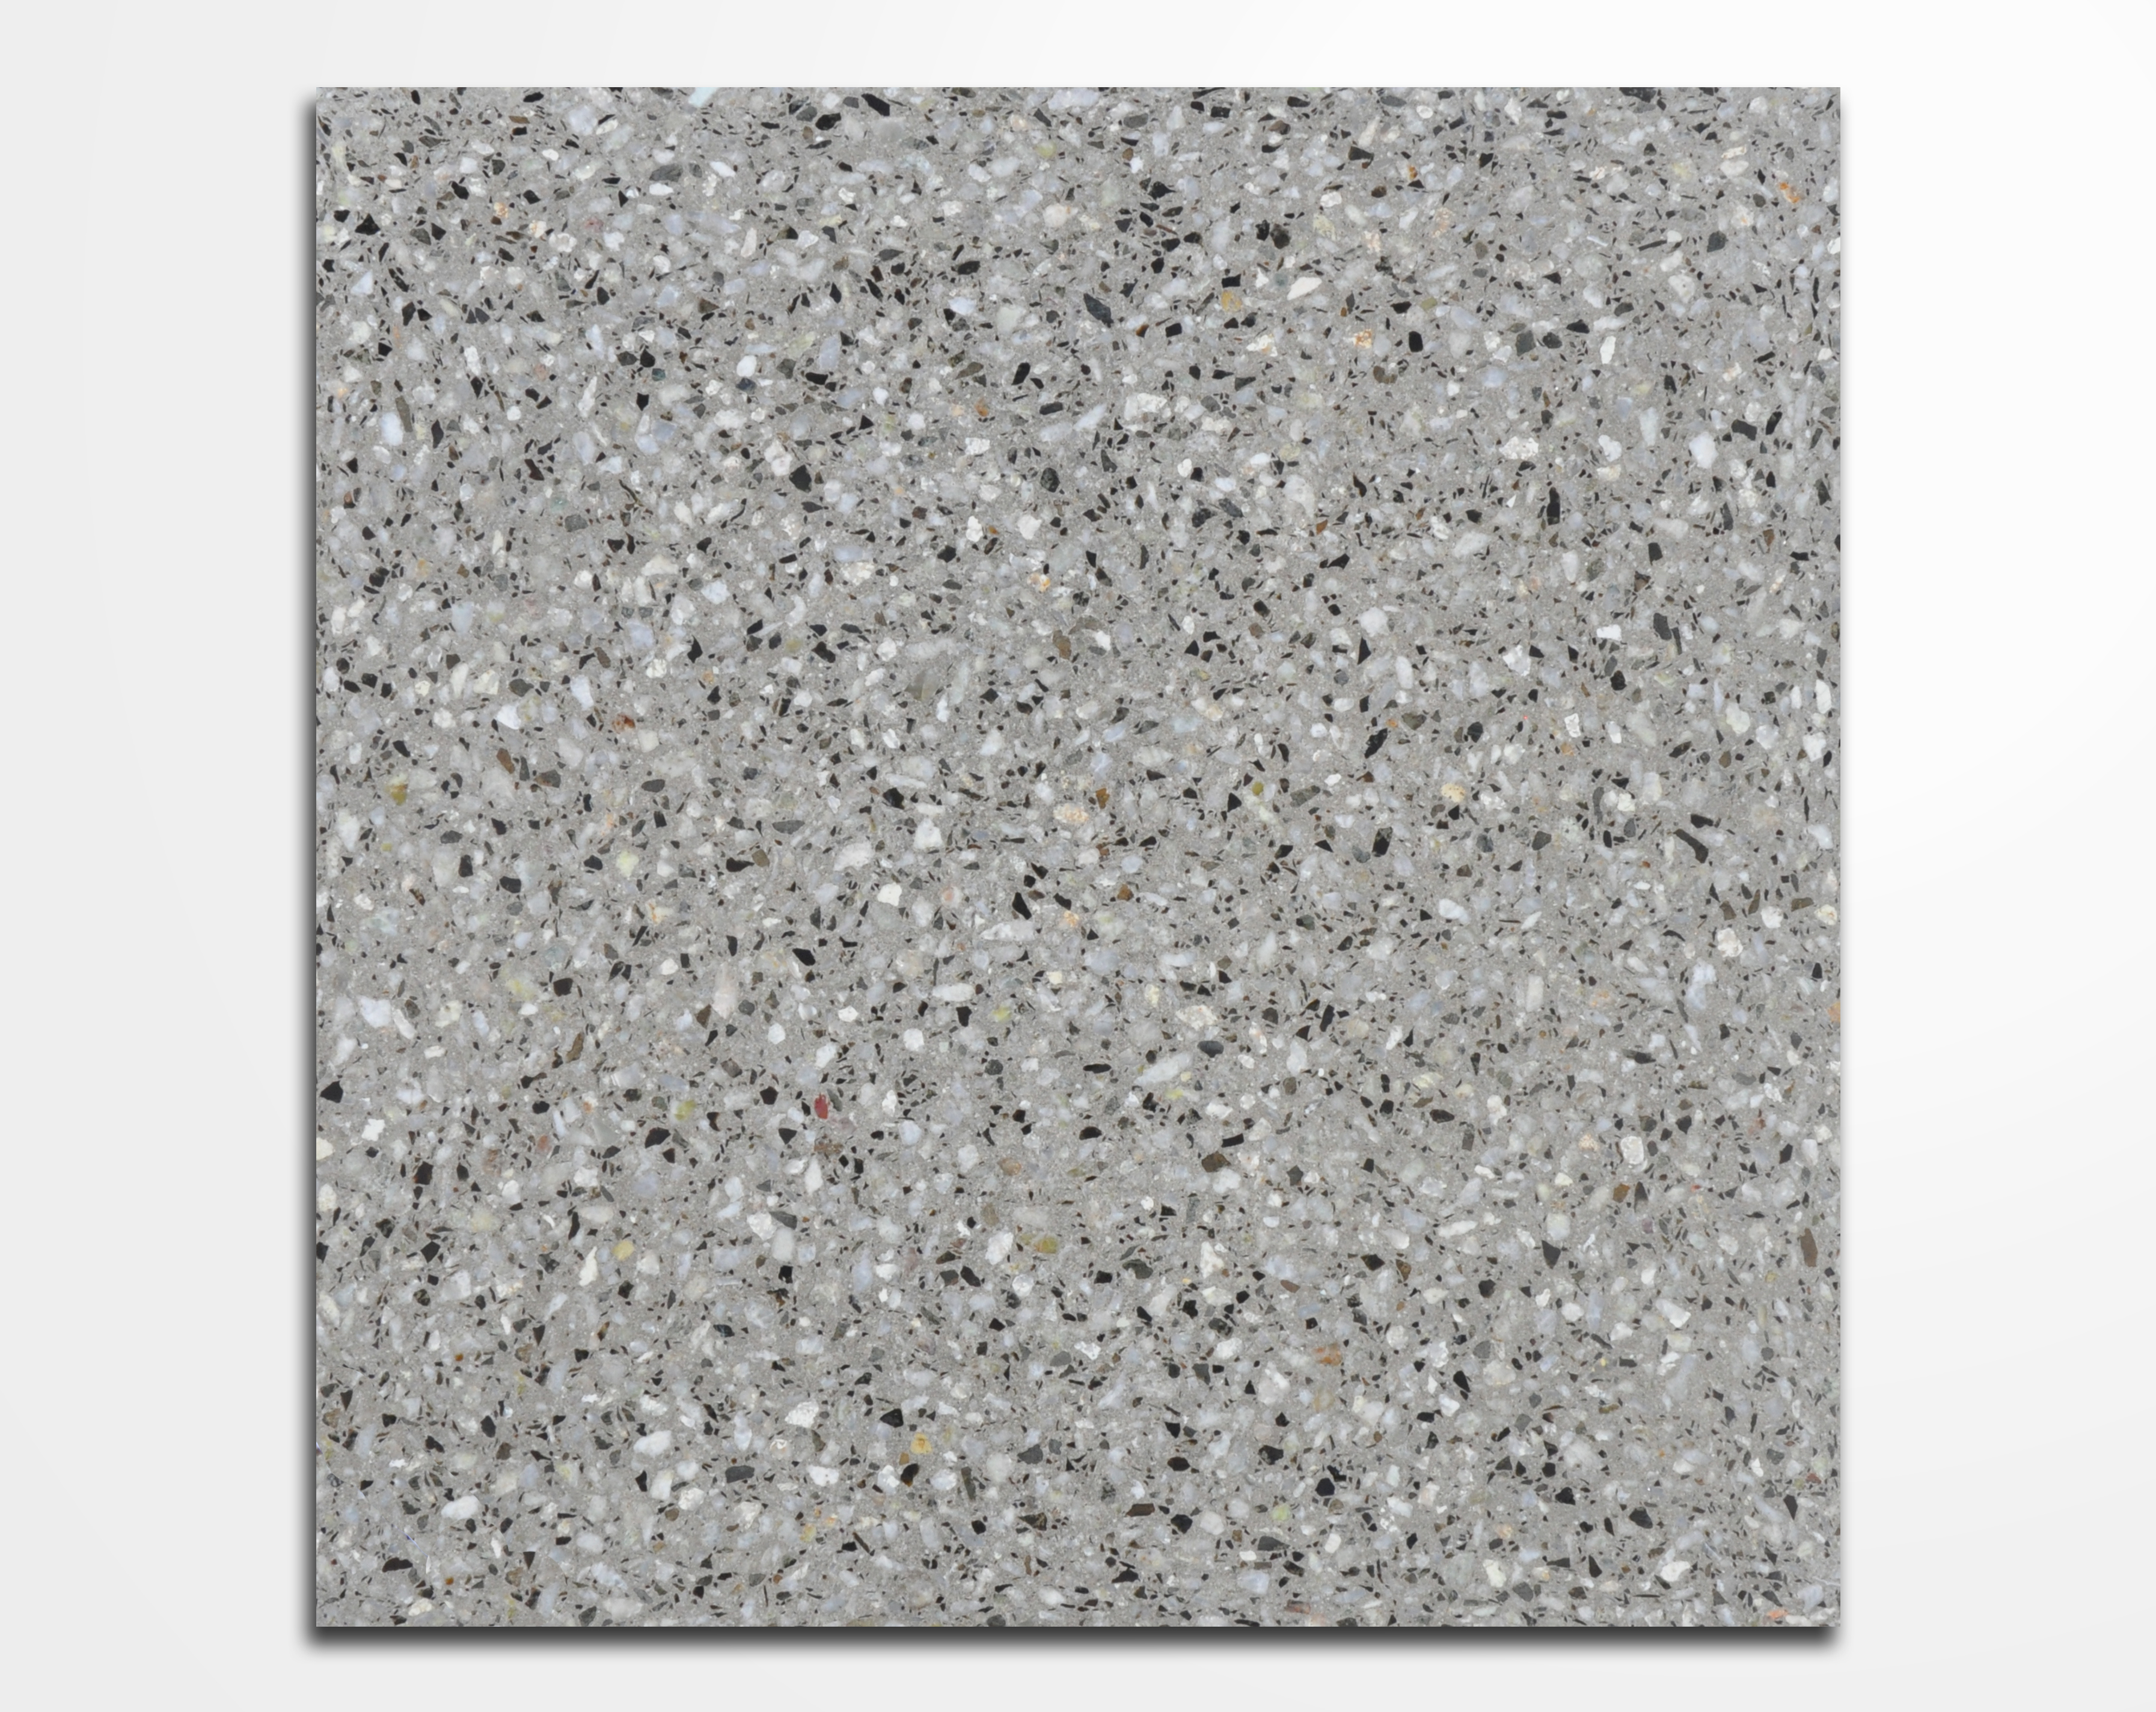
Gris Mara
Details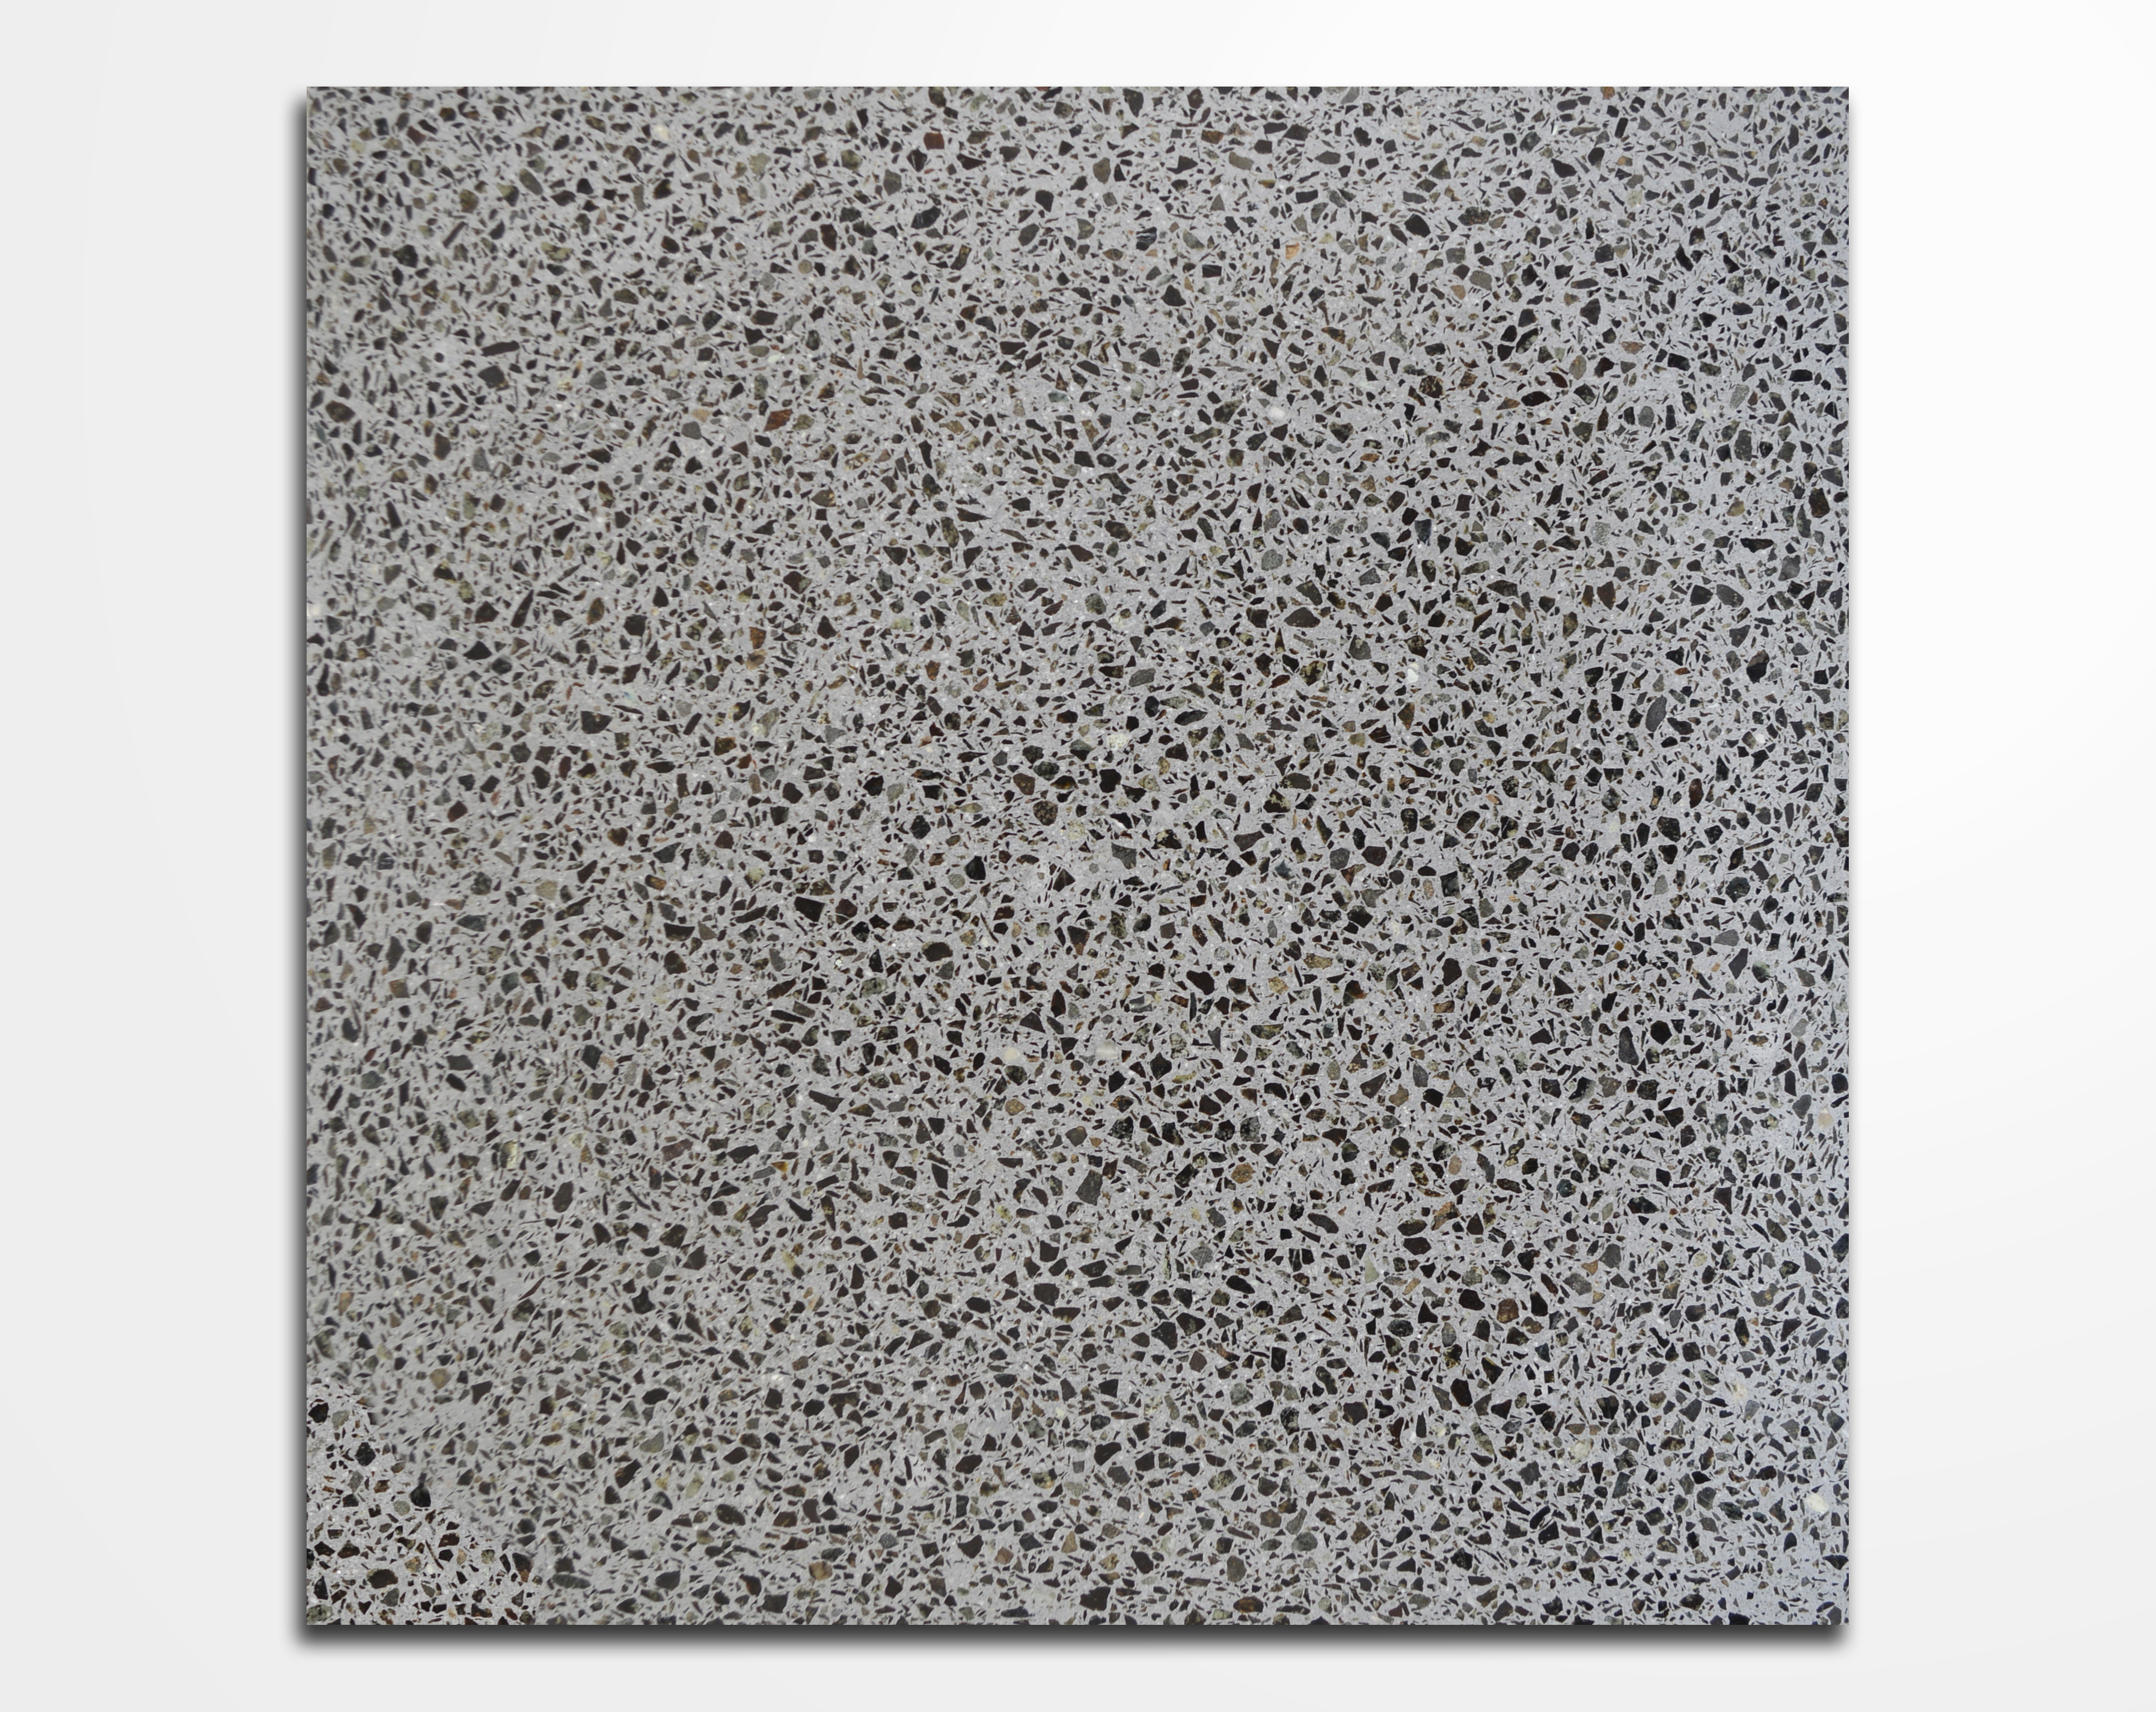
Gris Plomo CB
Details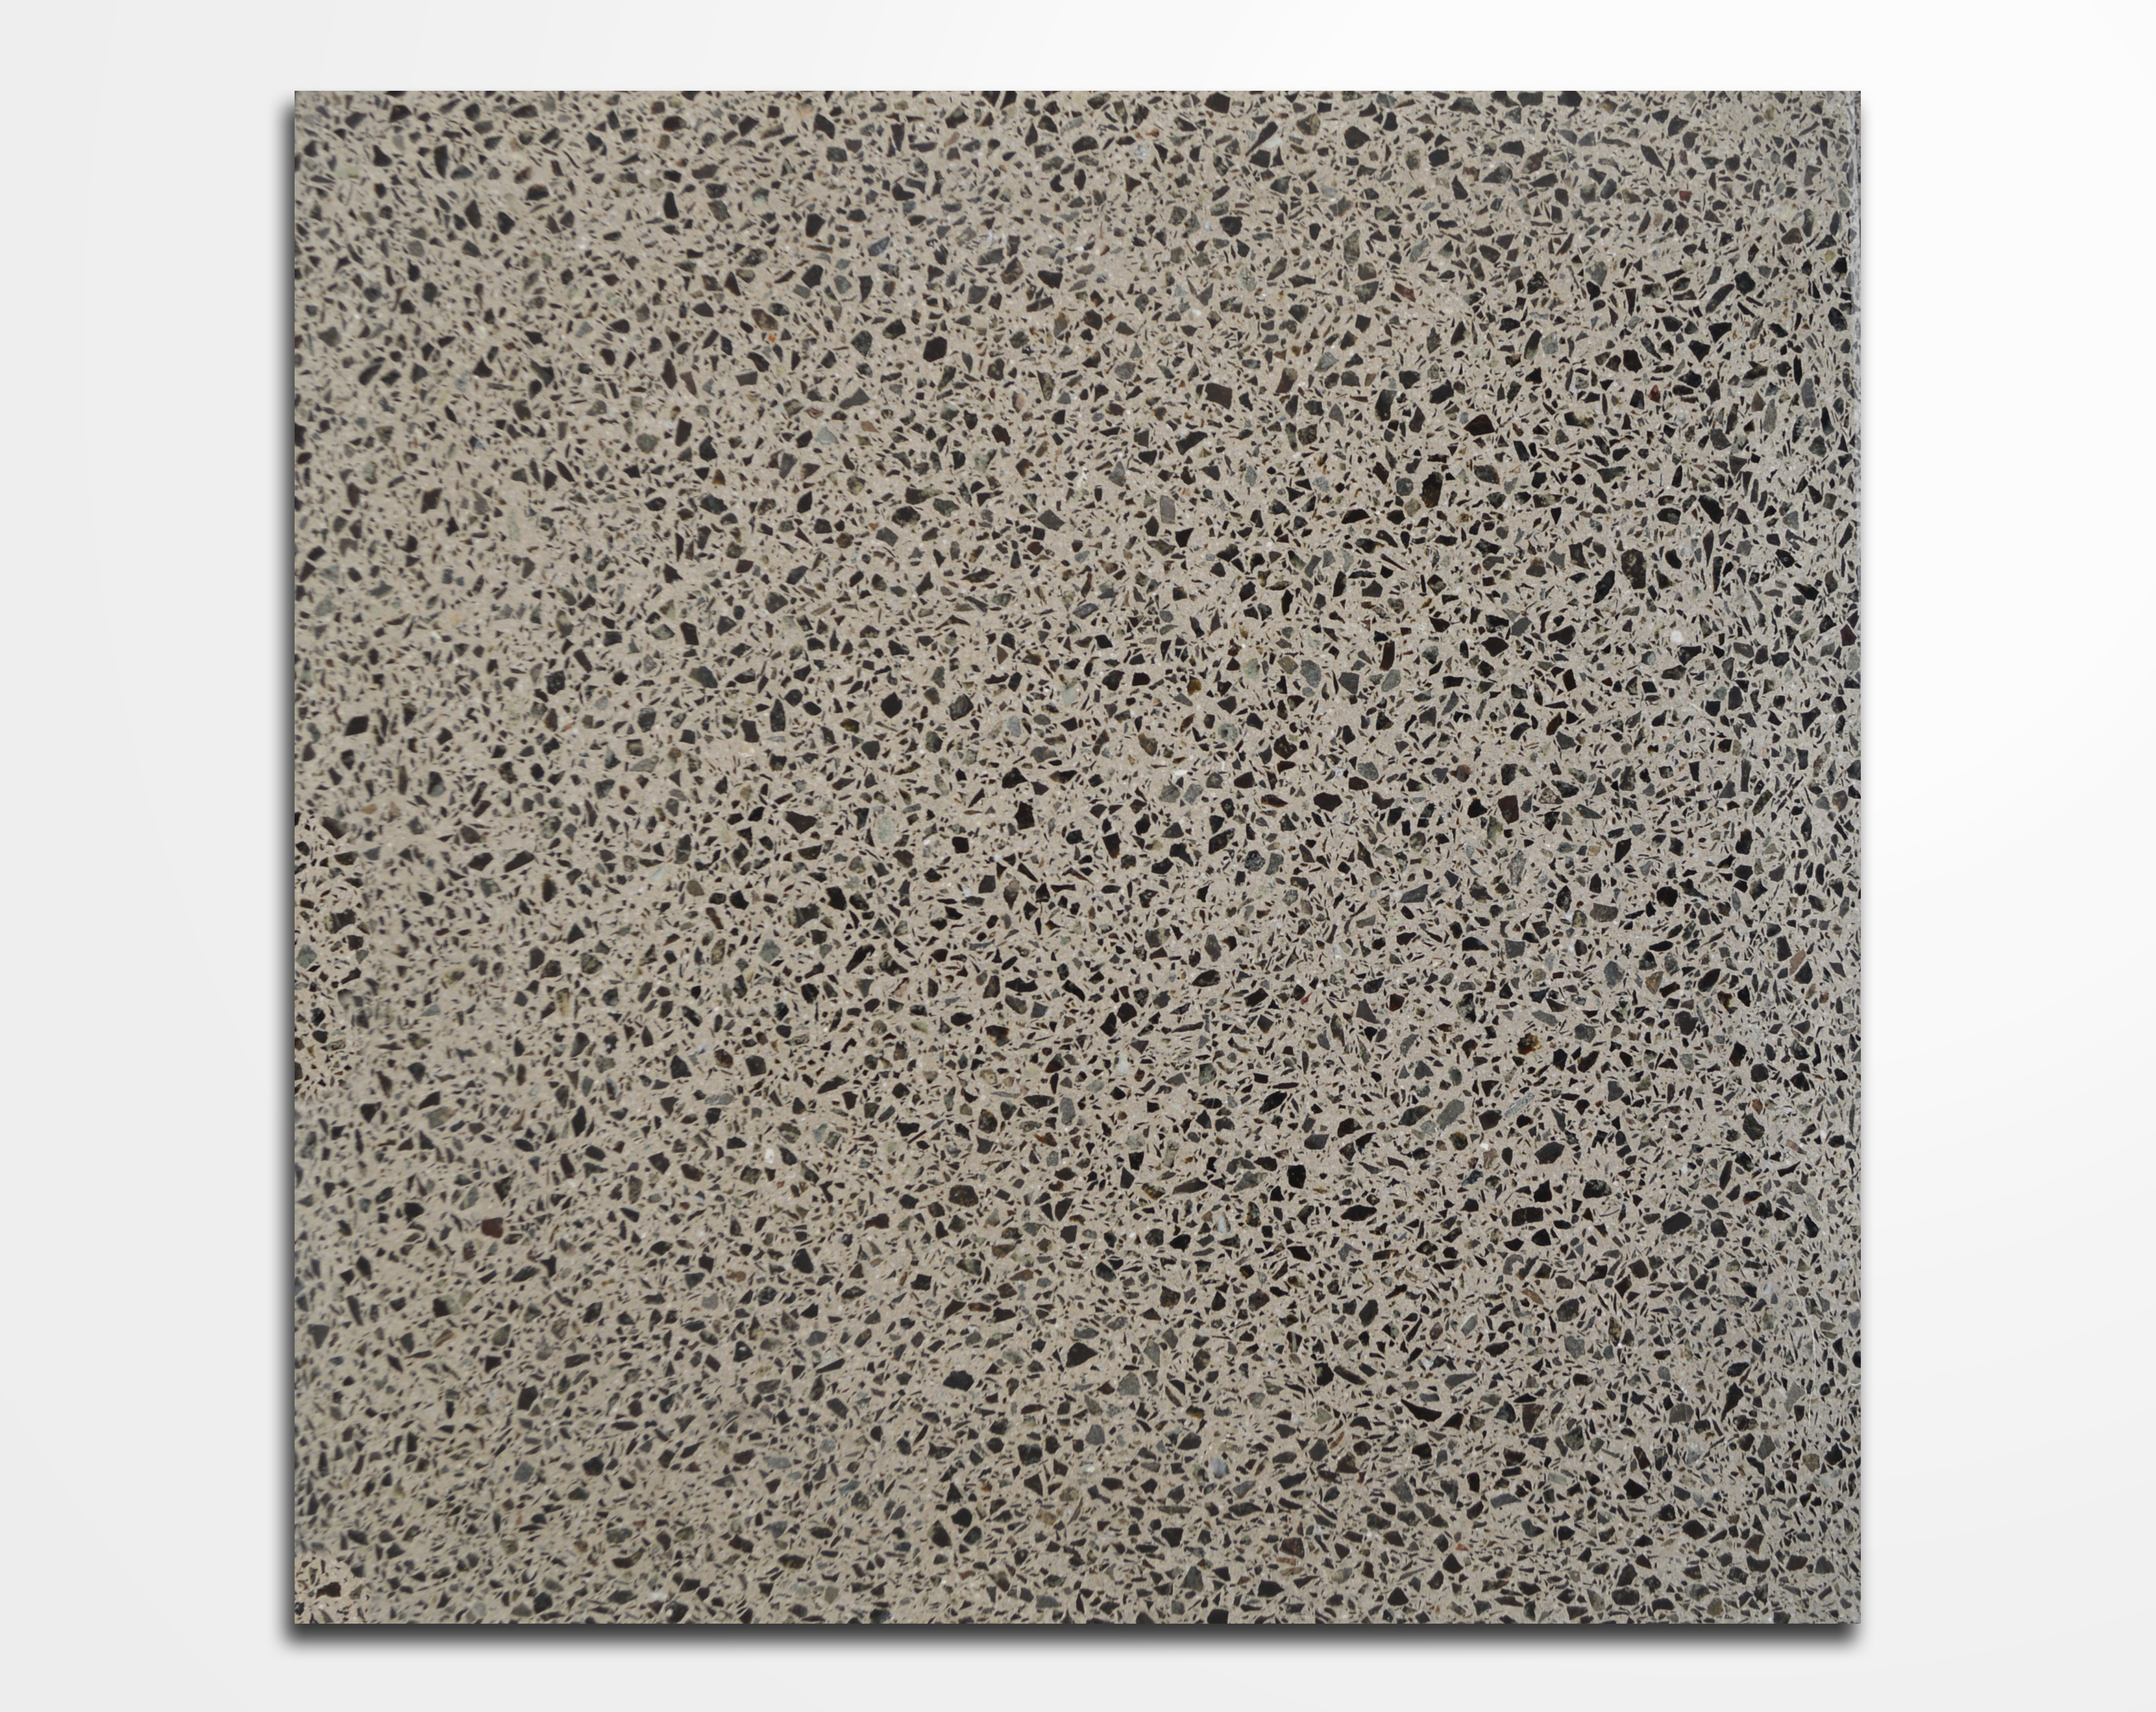
Gris Plomo CG
Details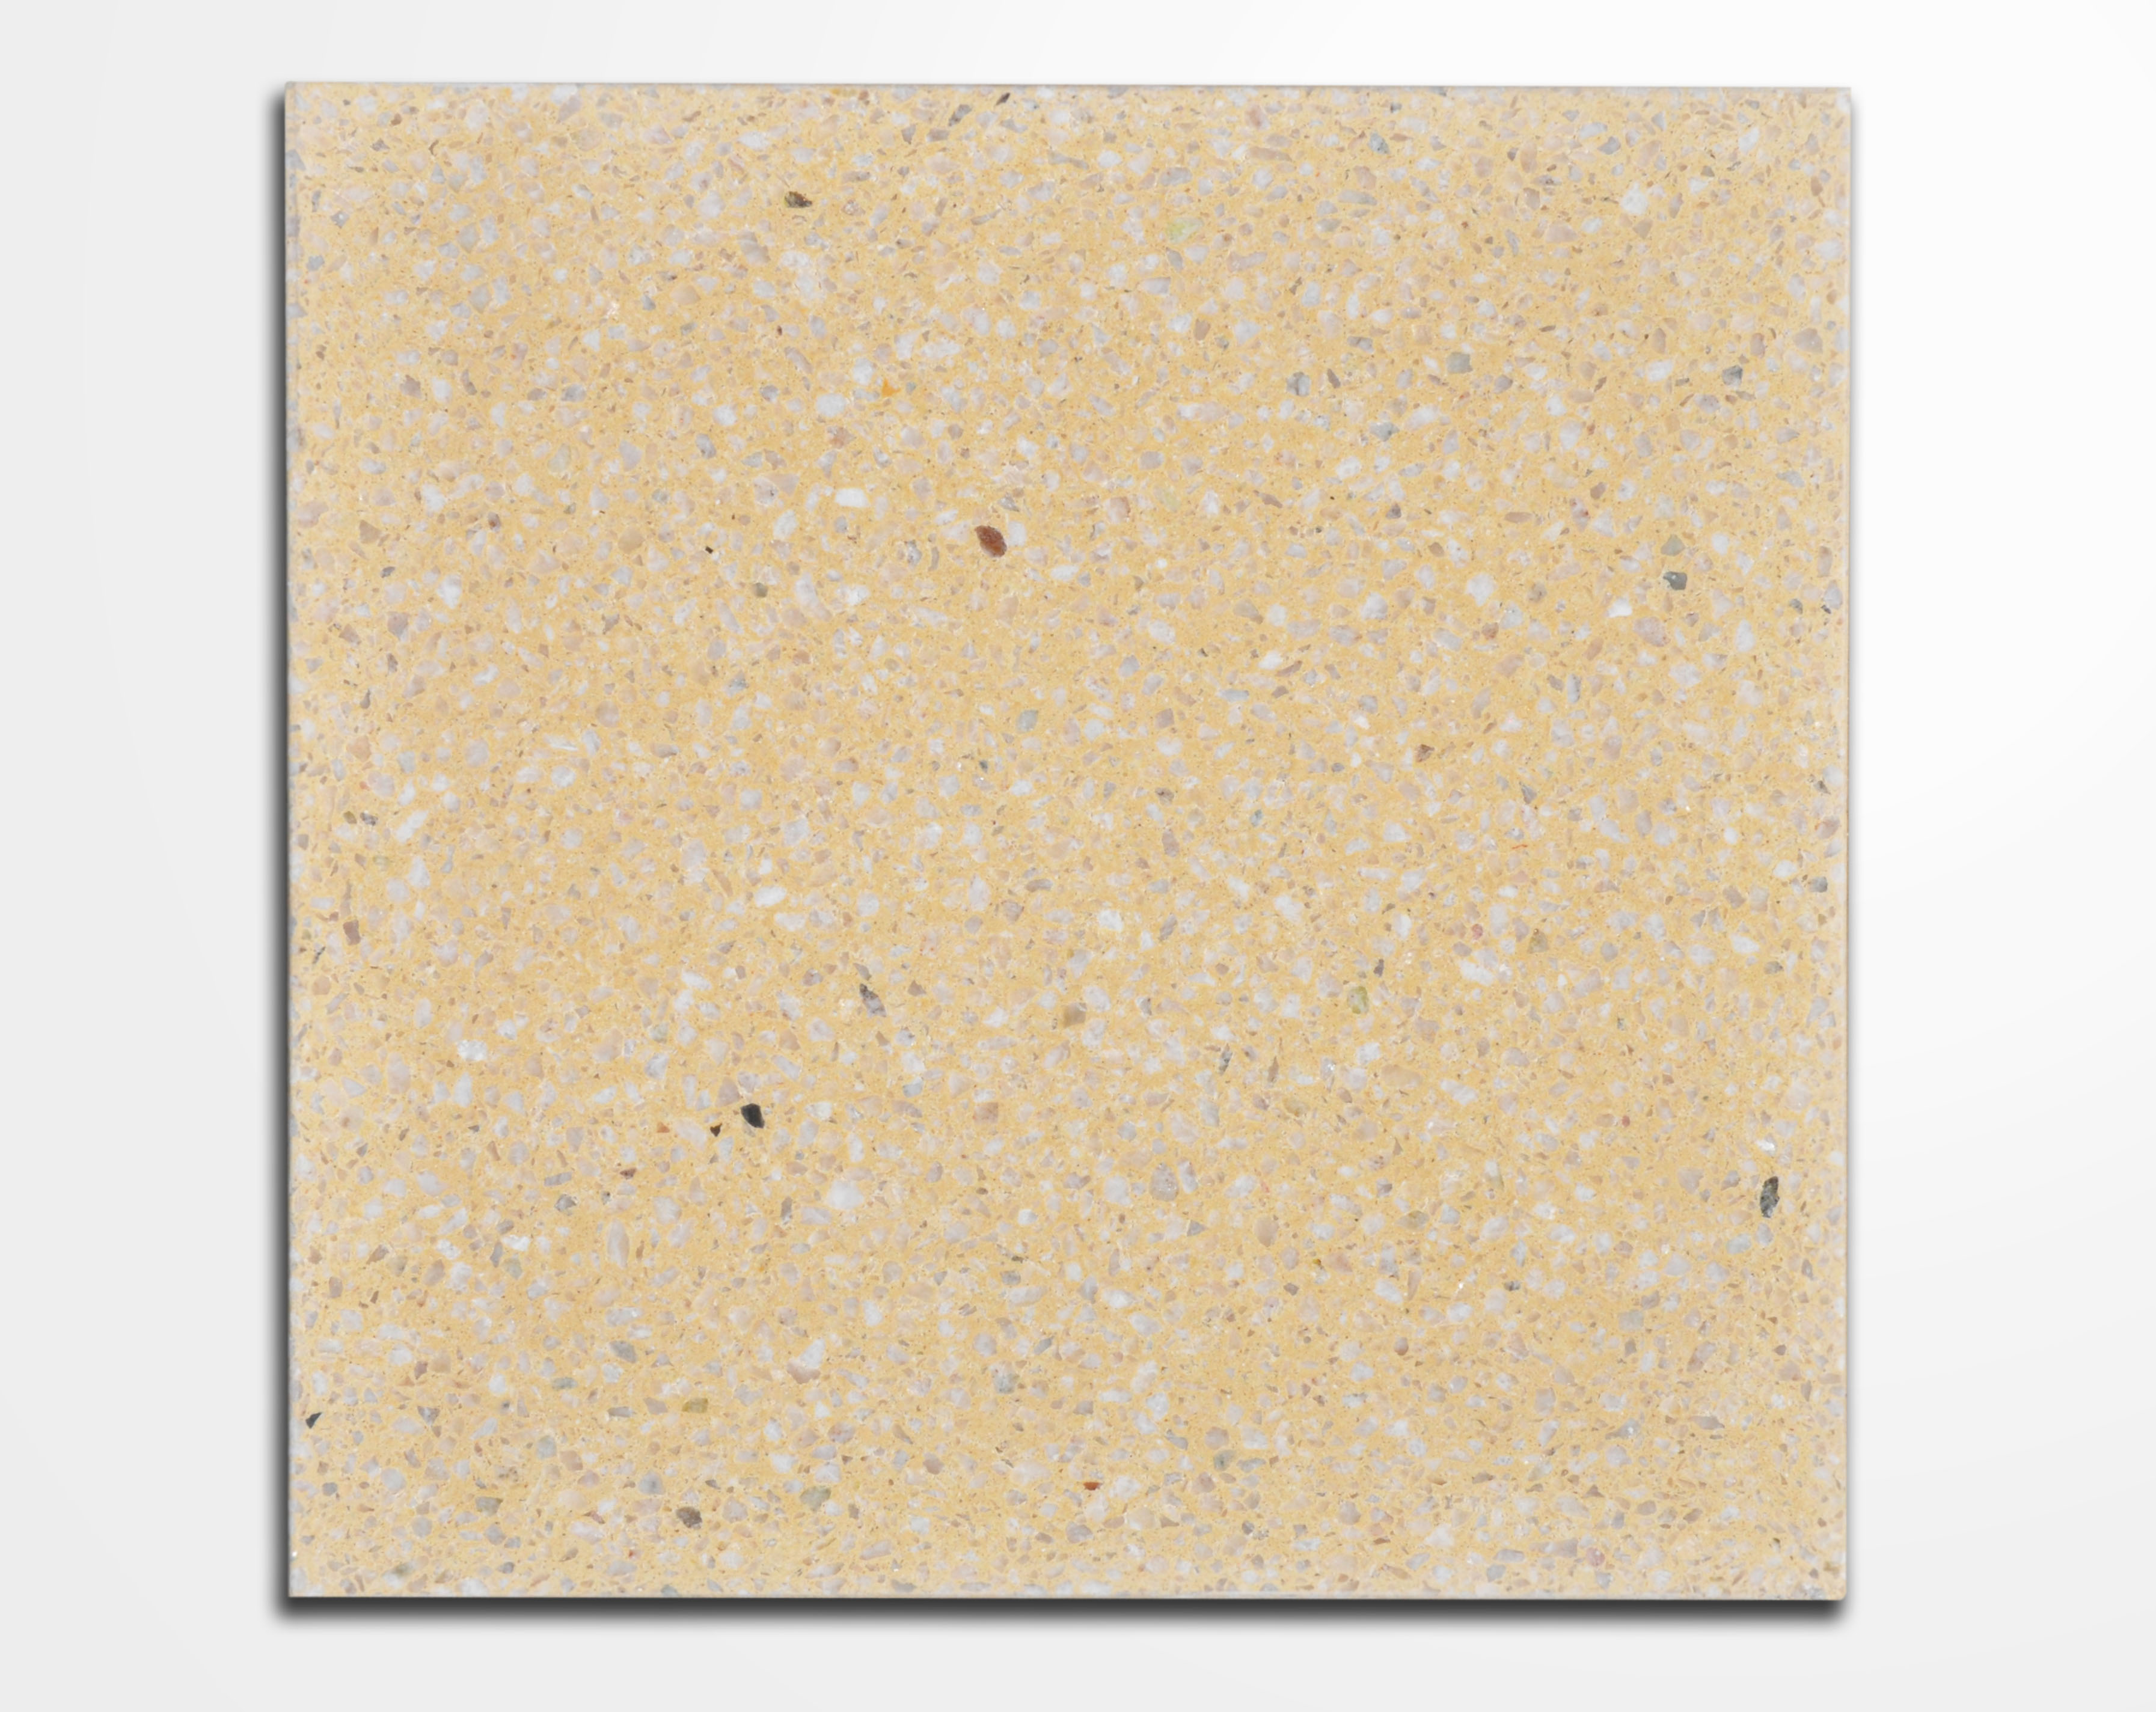
Marfil
Details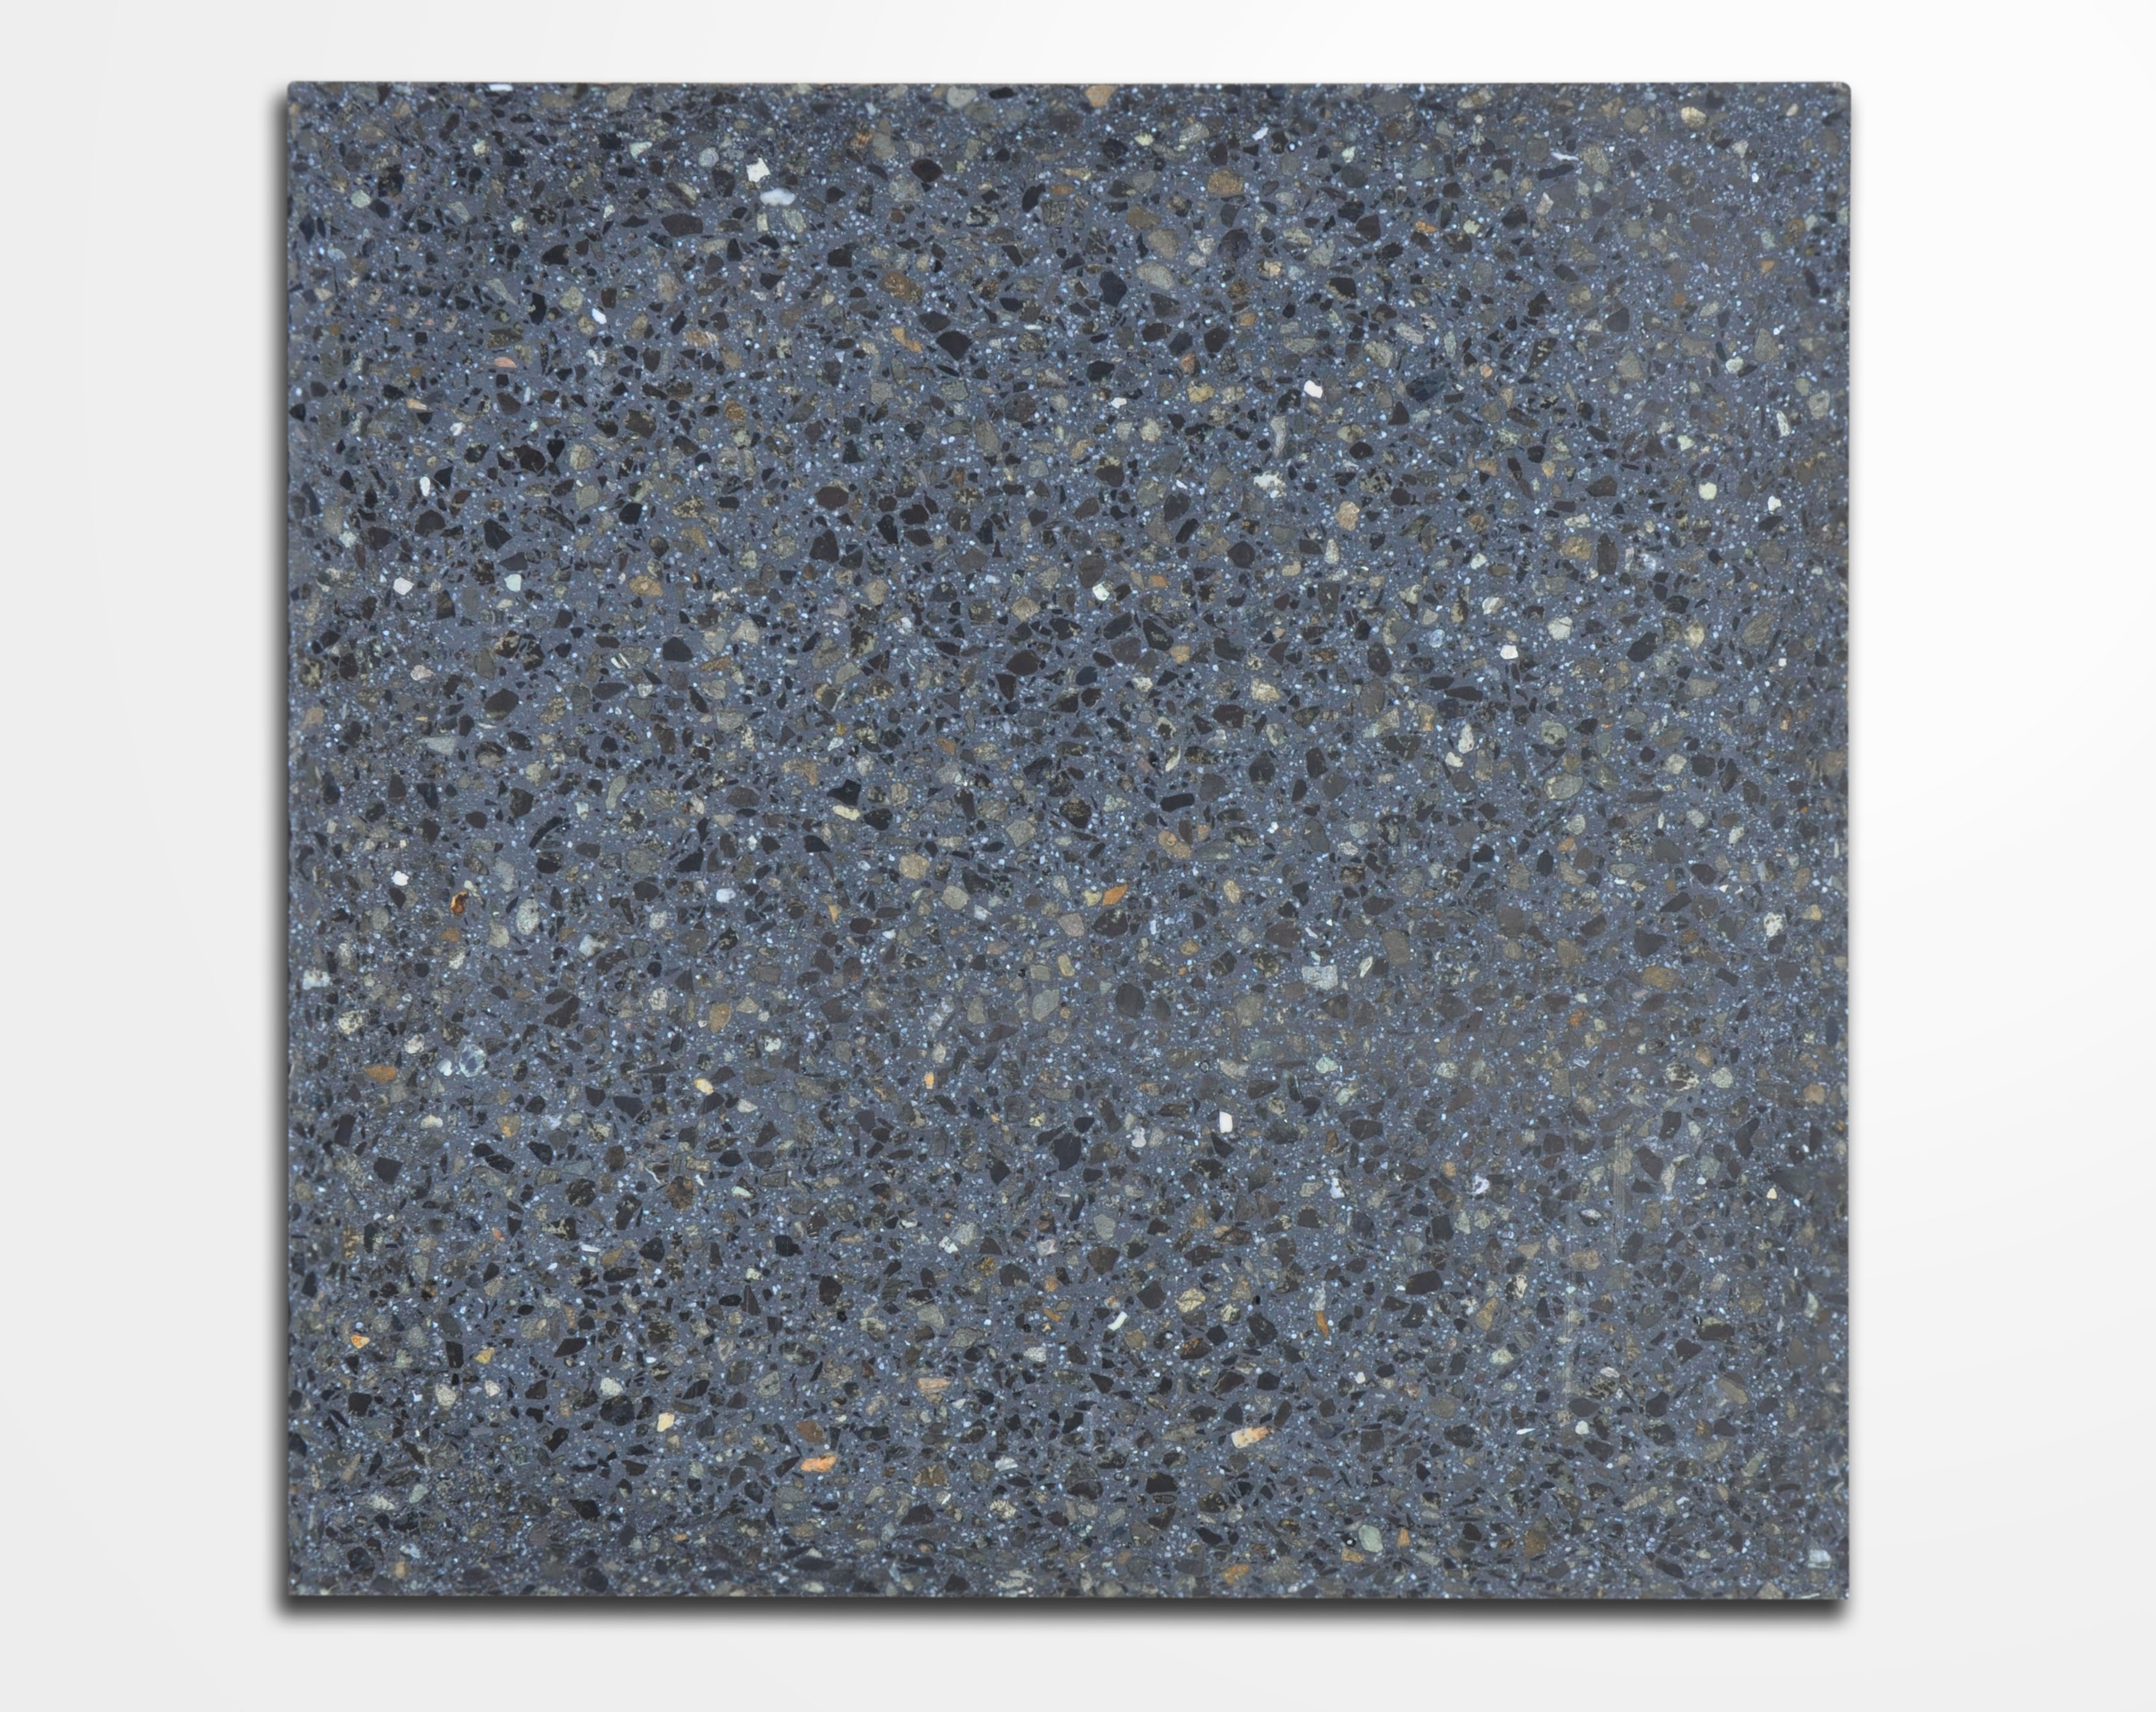
Negro Alpes
Details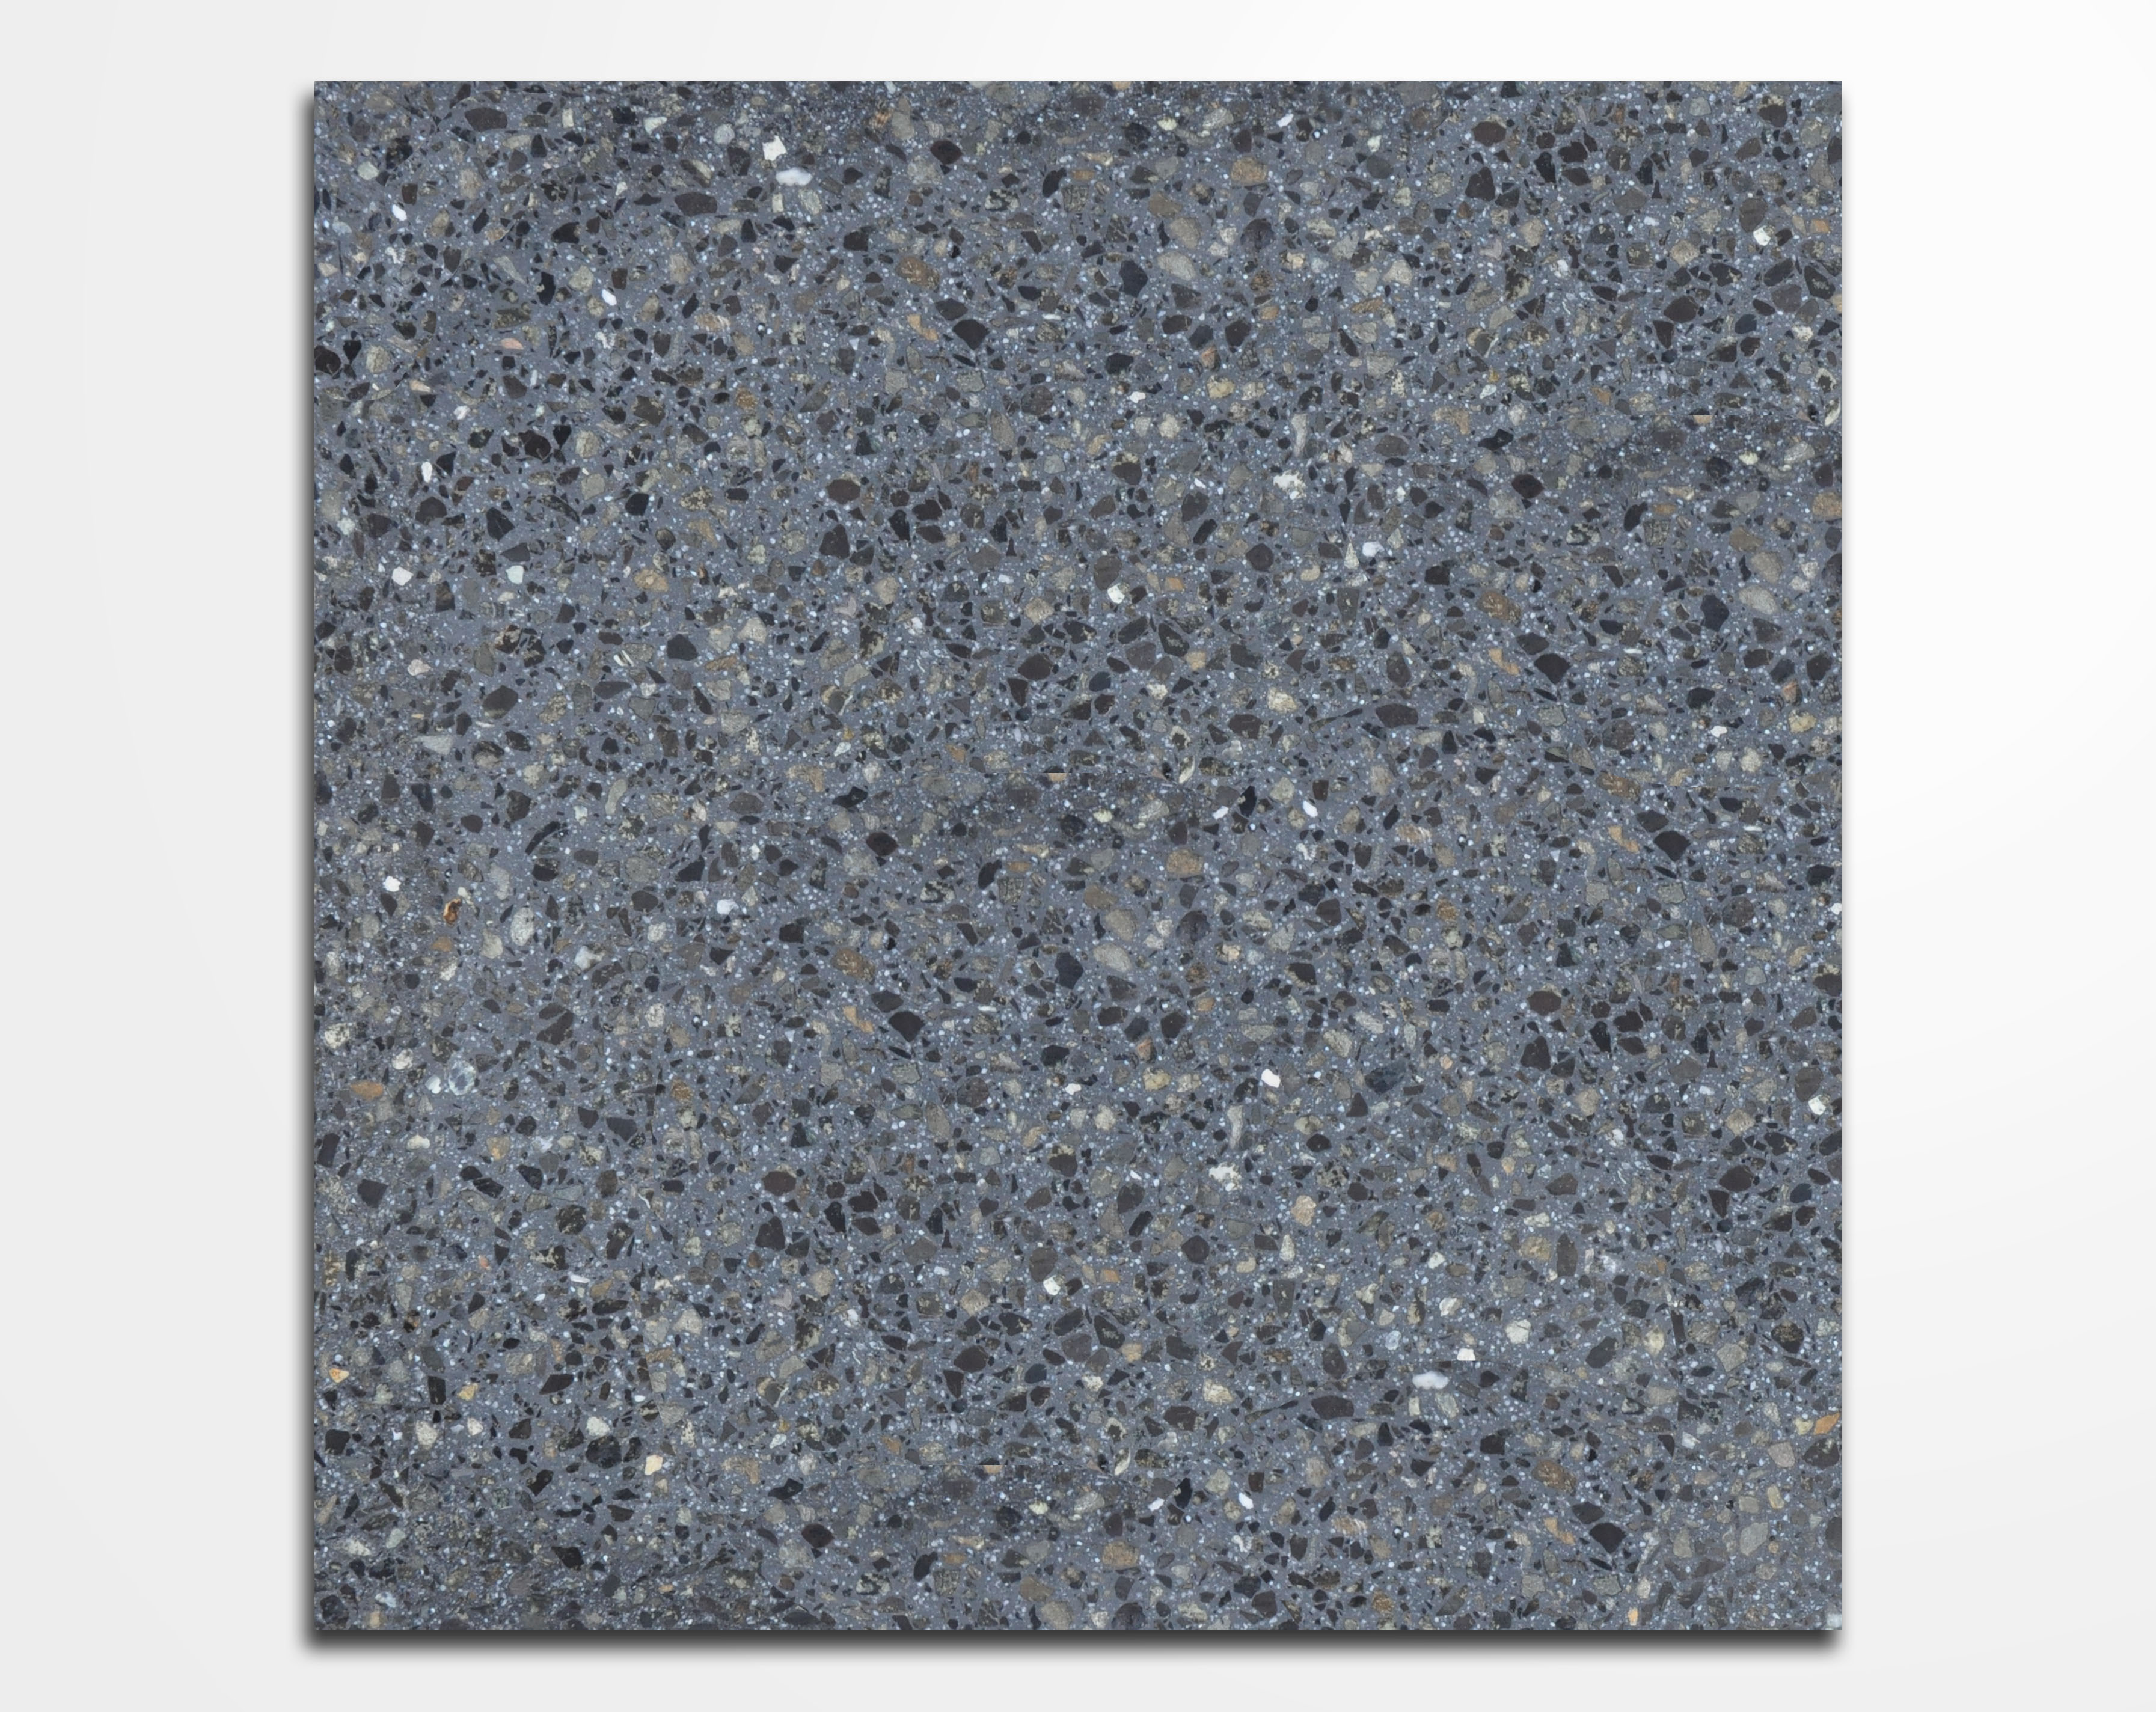
Negro Andino
Details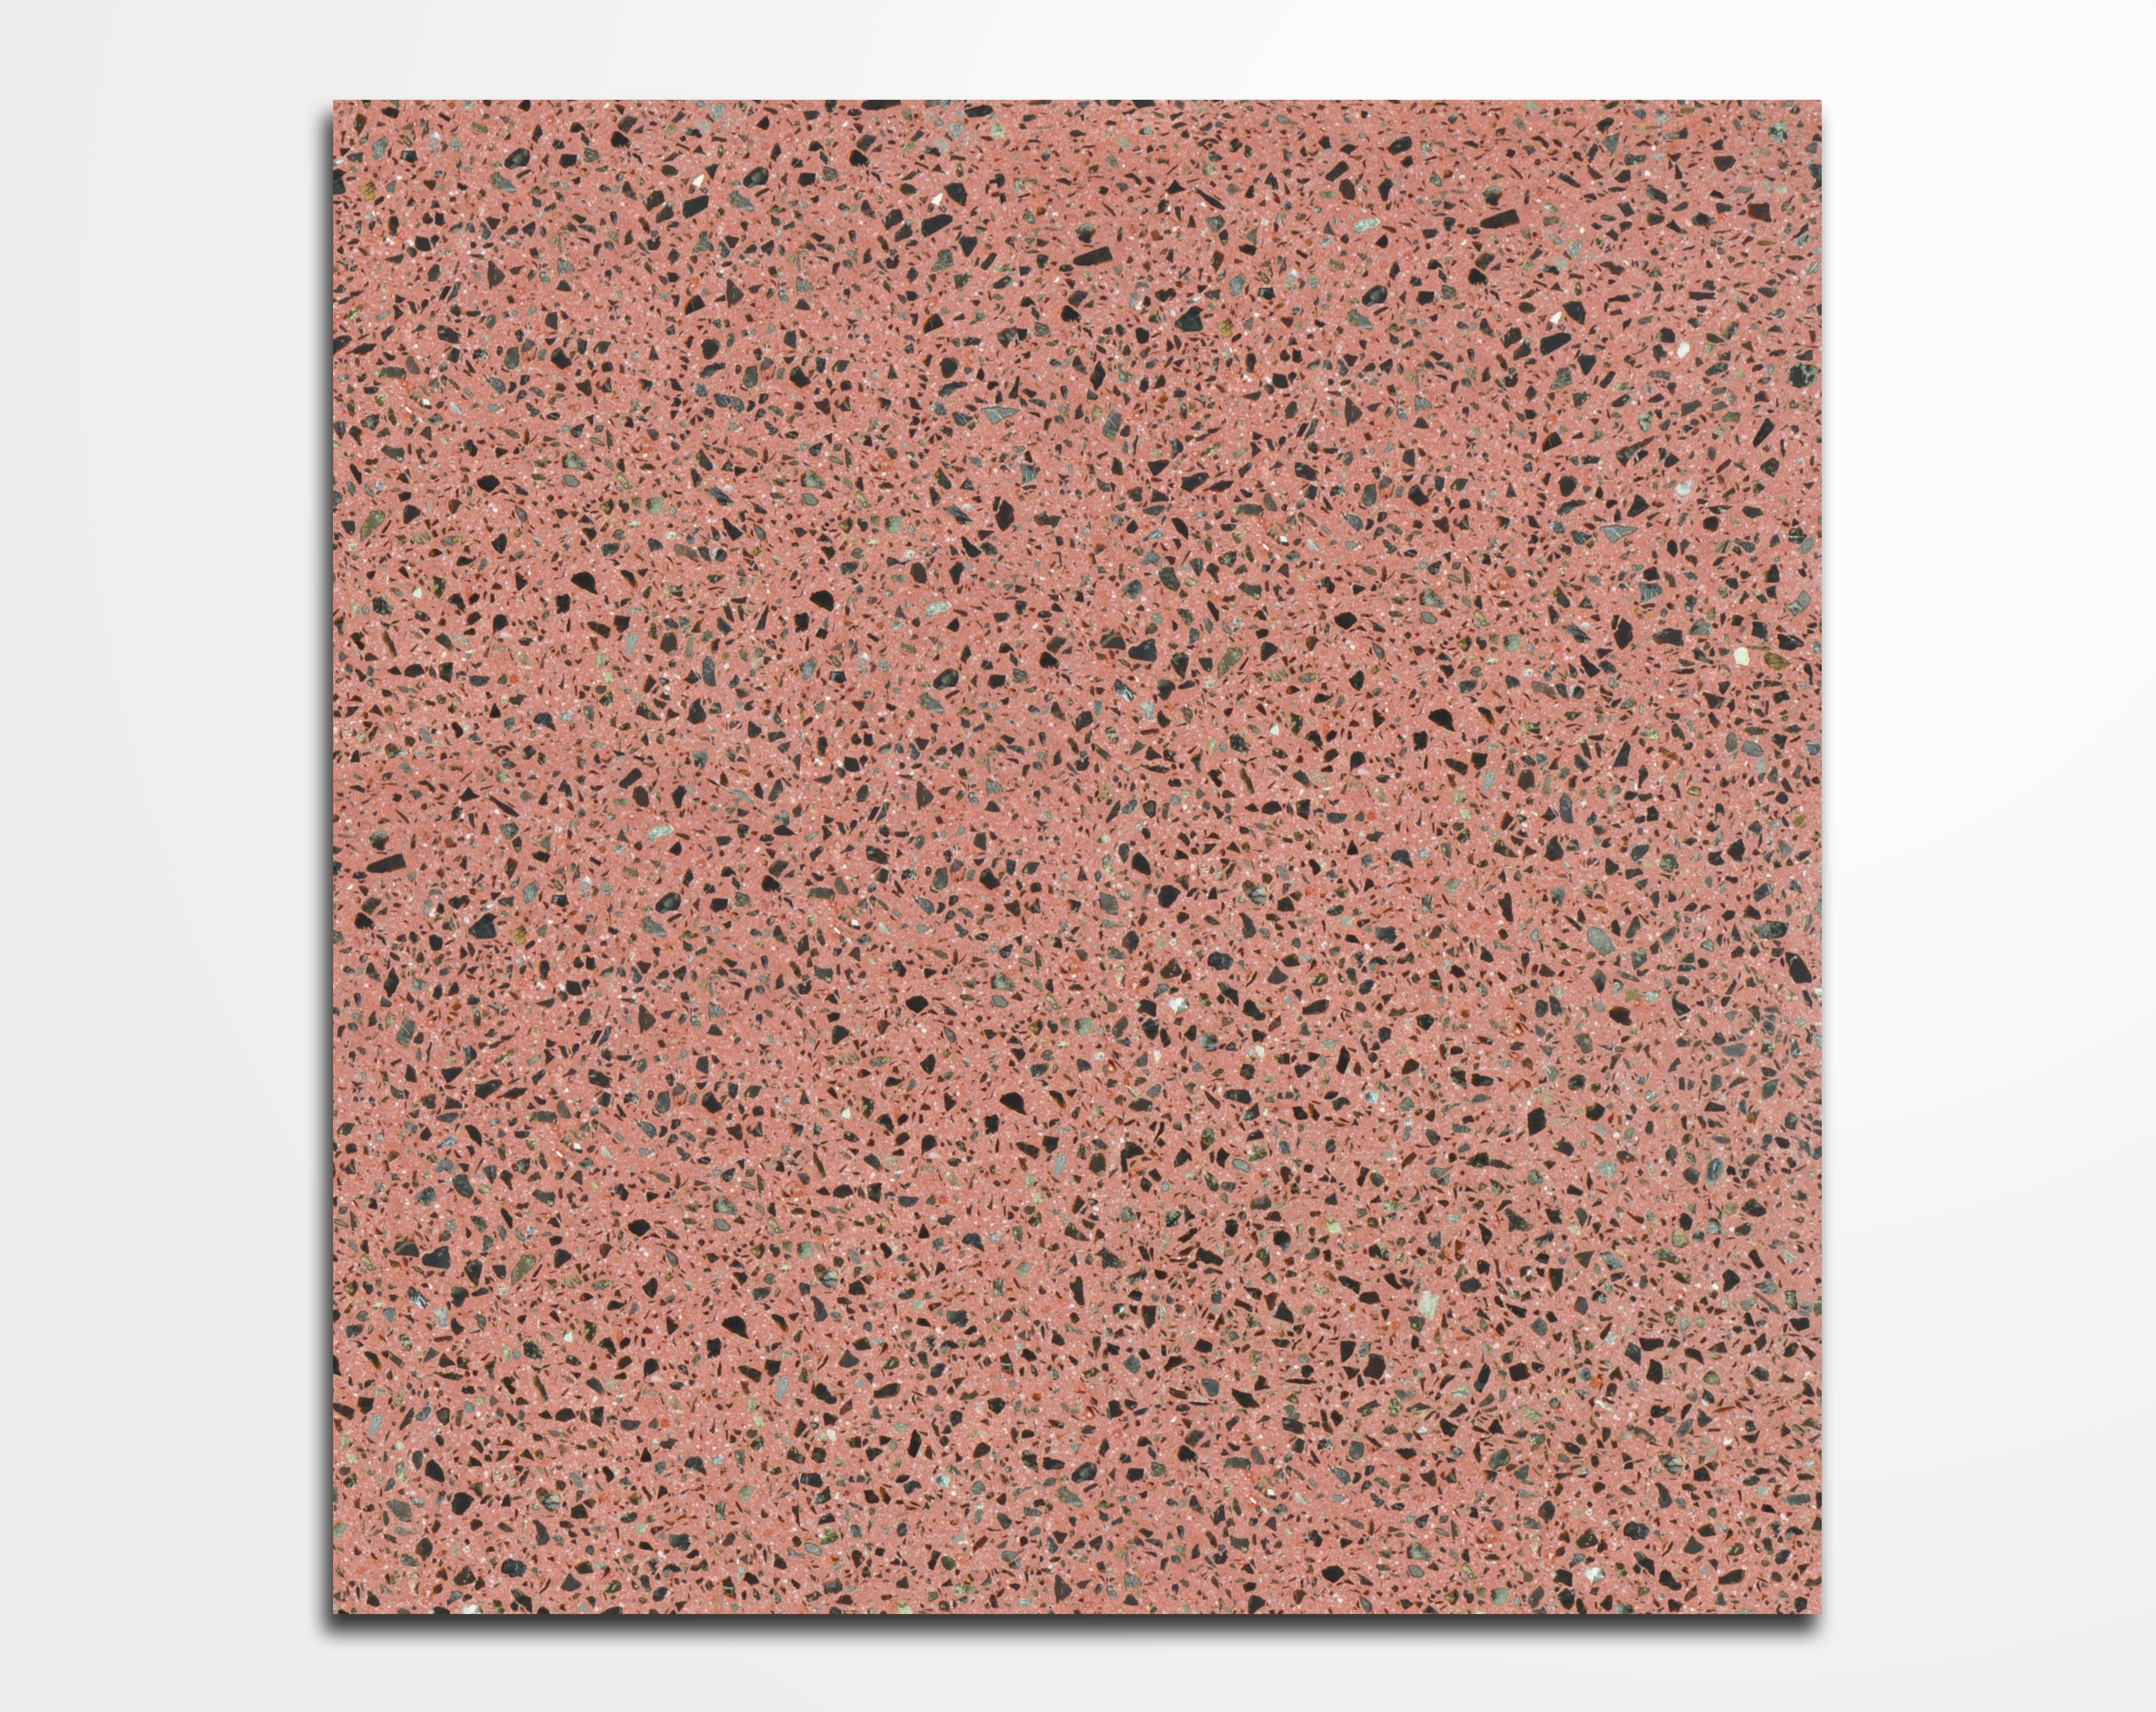
Rojo Dragon
Details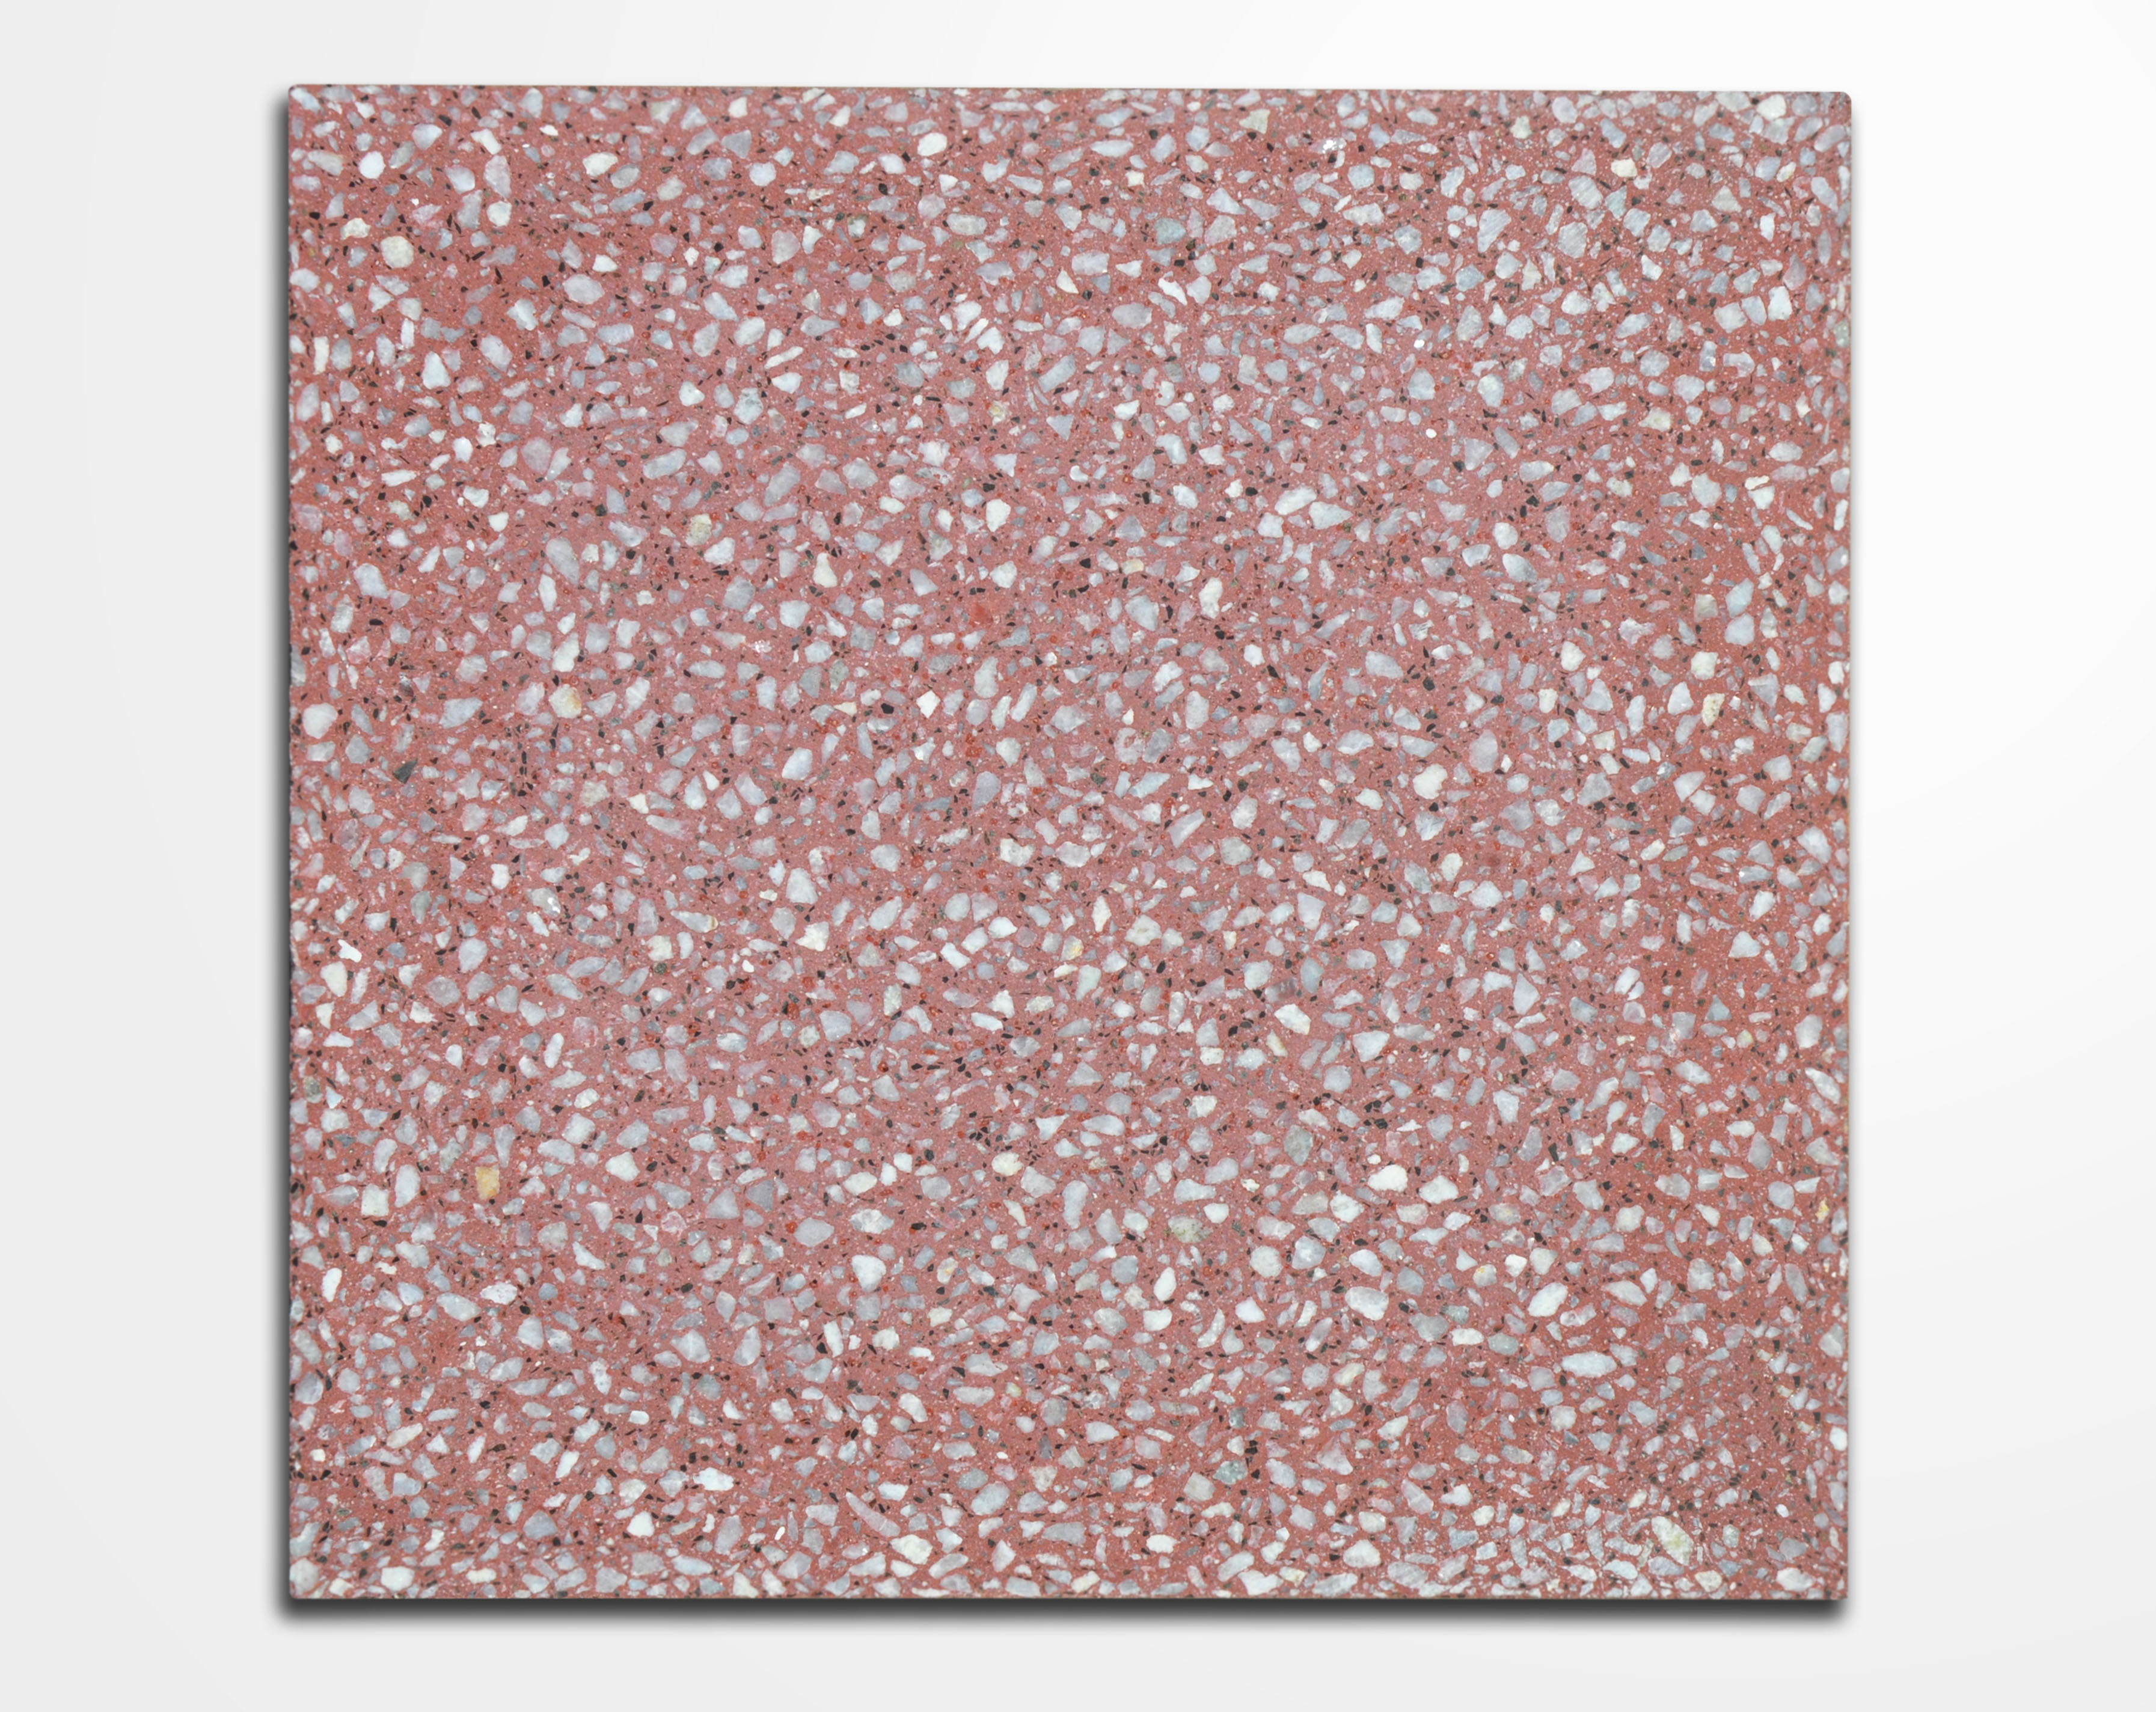
Rosado Clásico
Details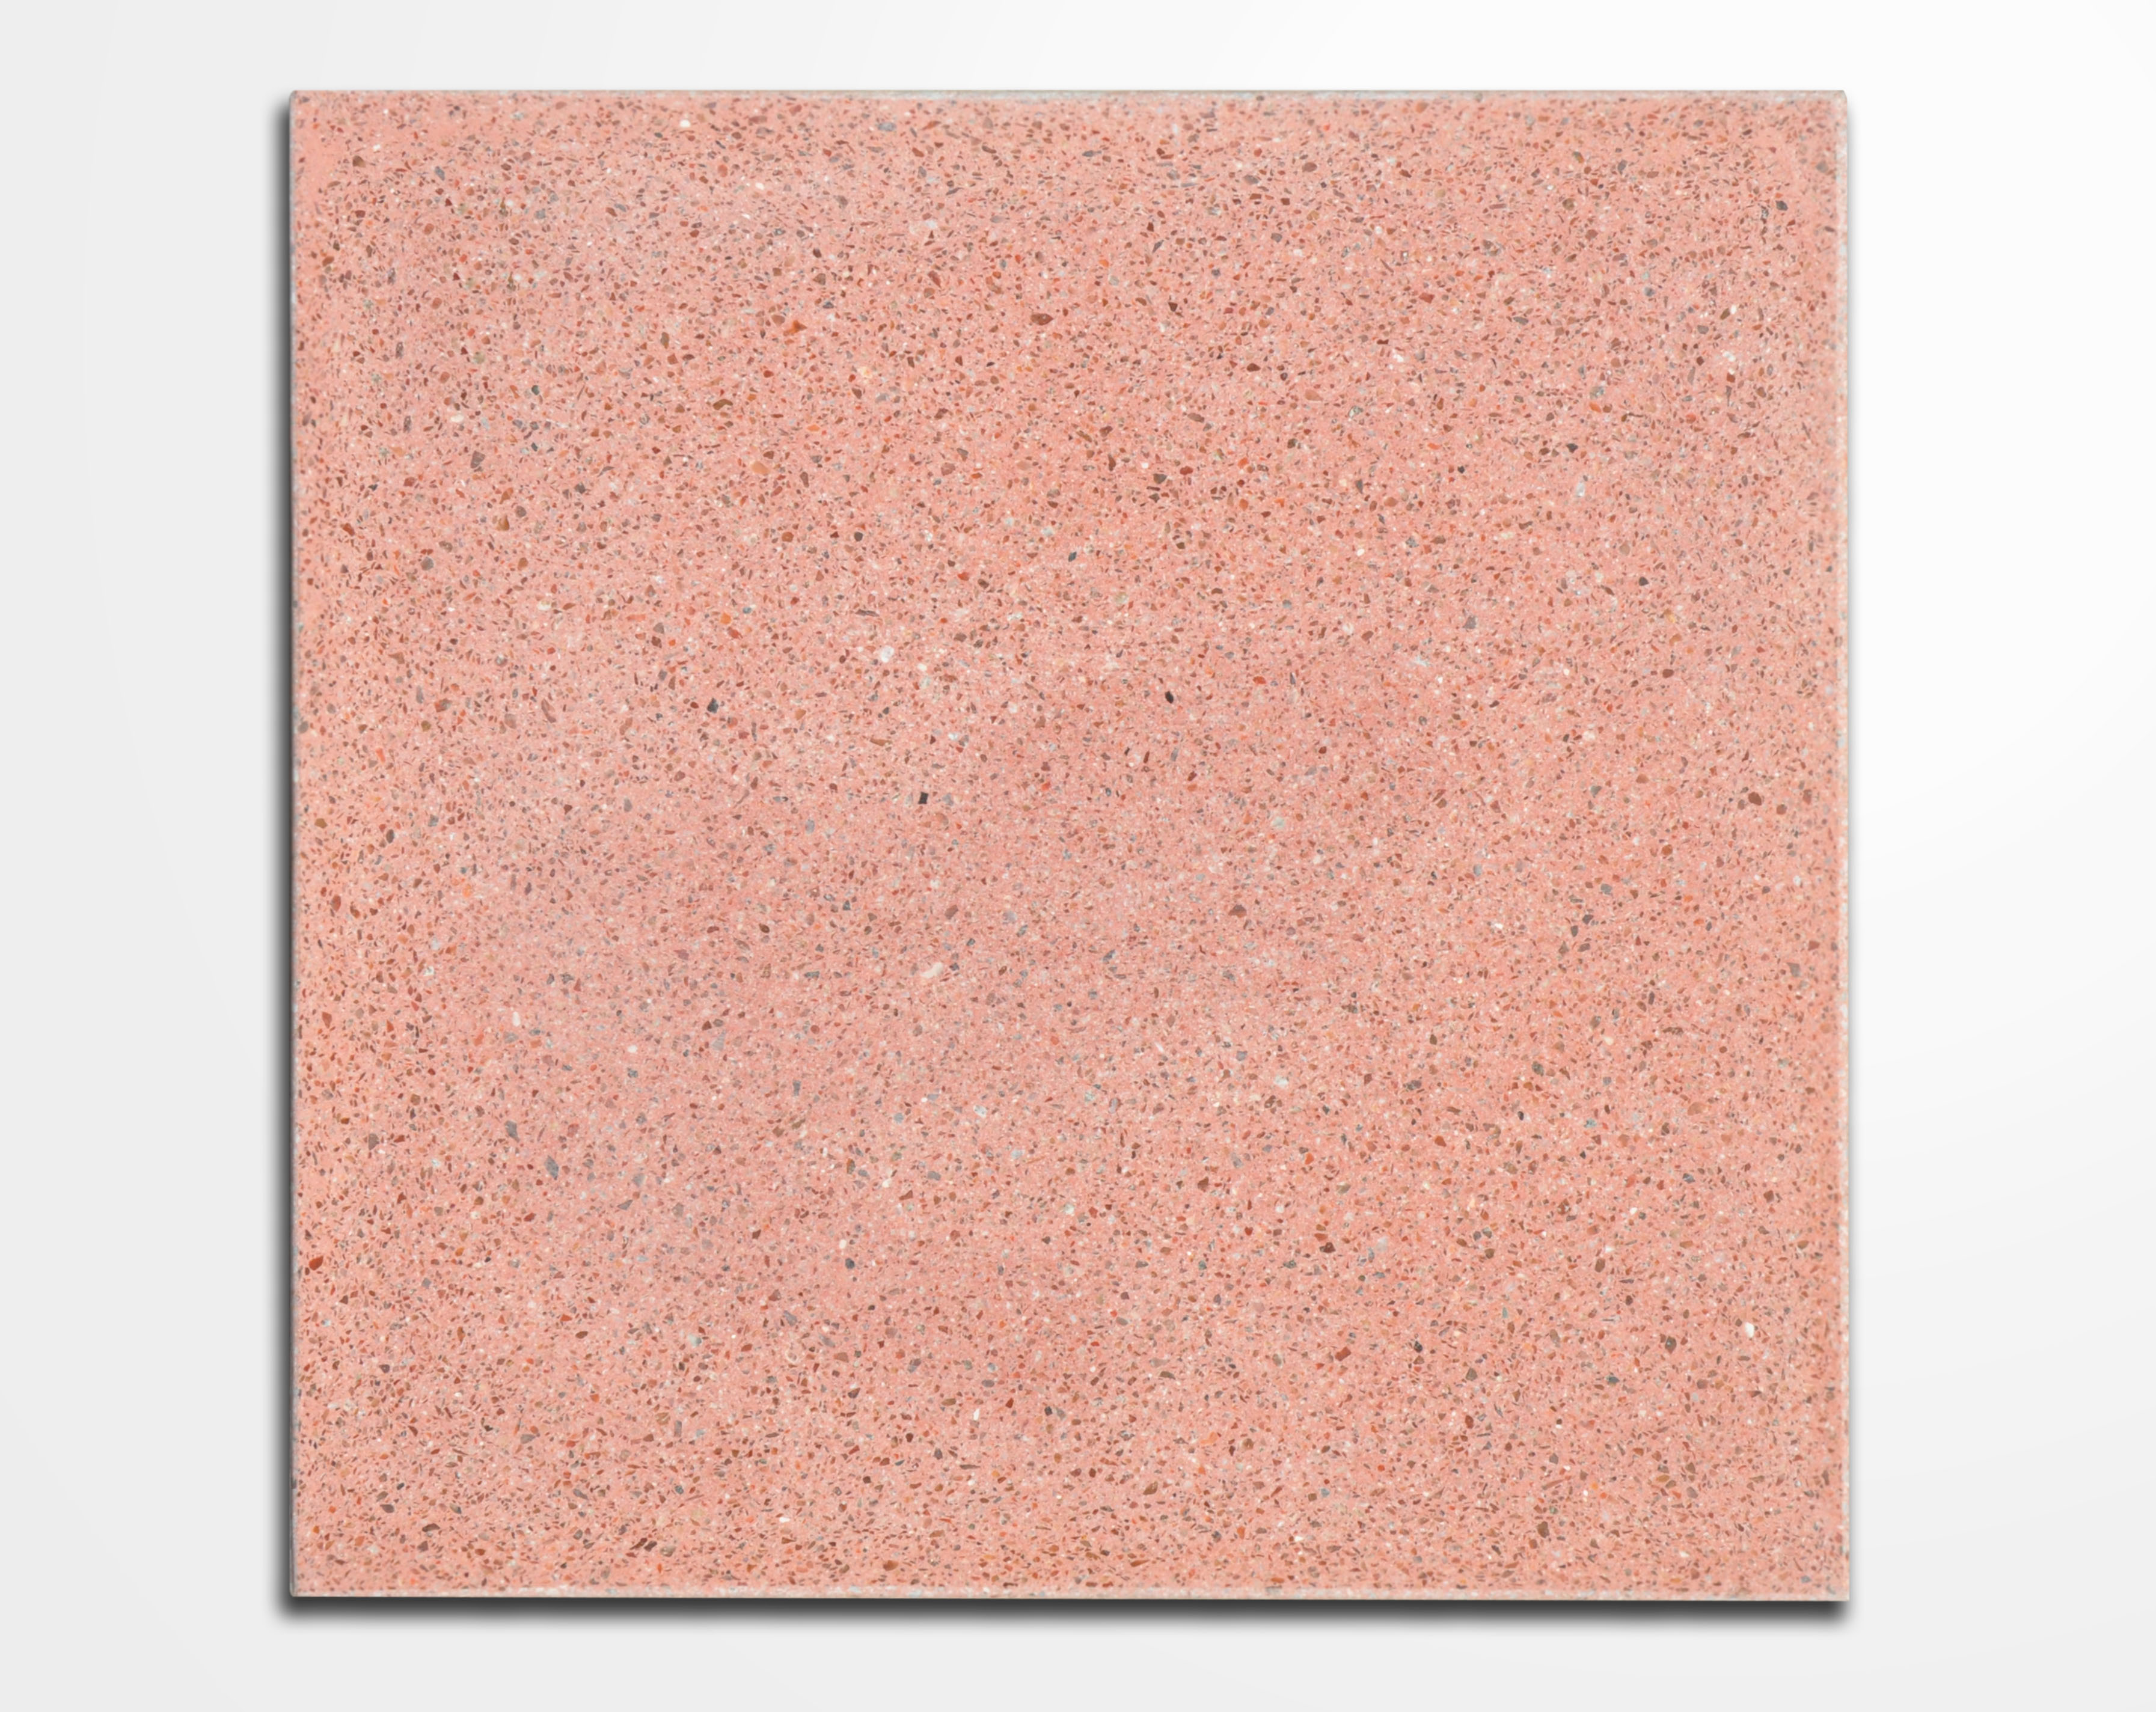
Rosado Histórico
Details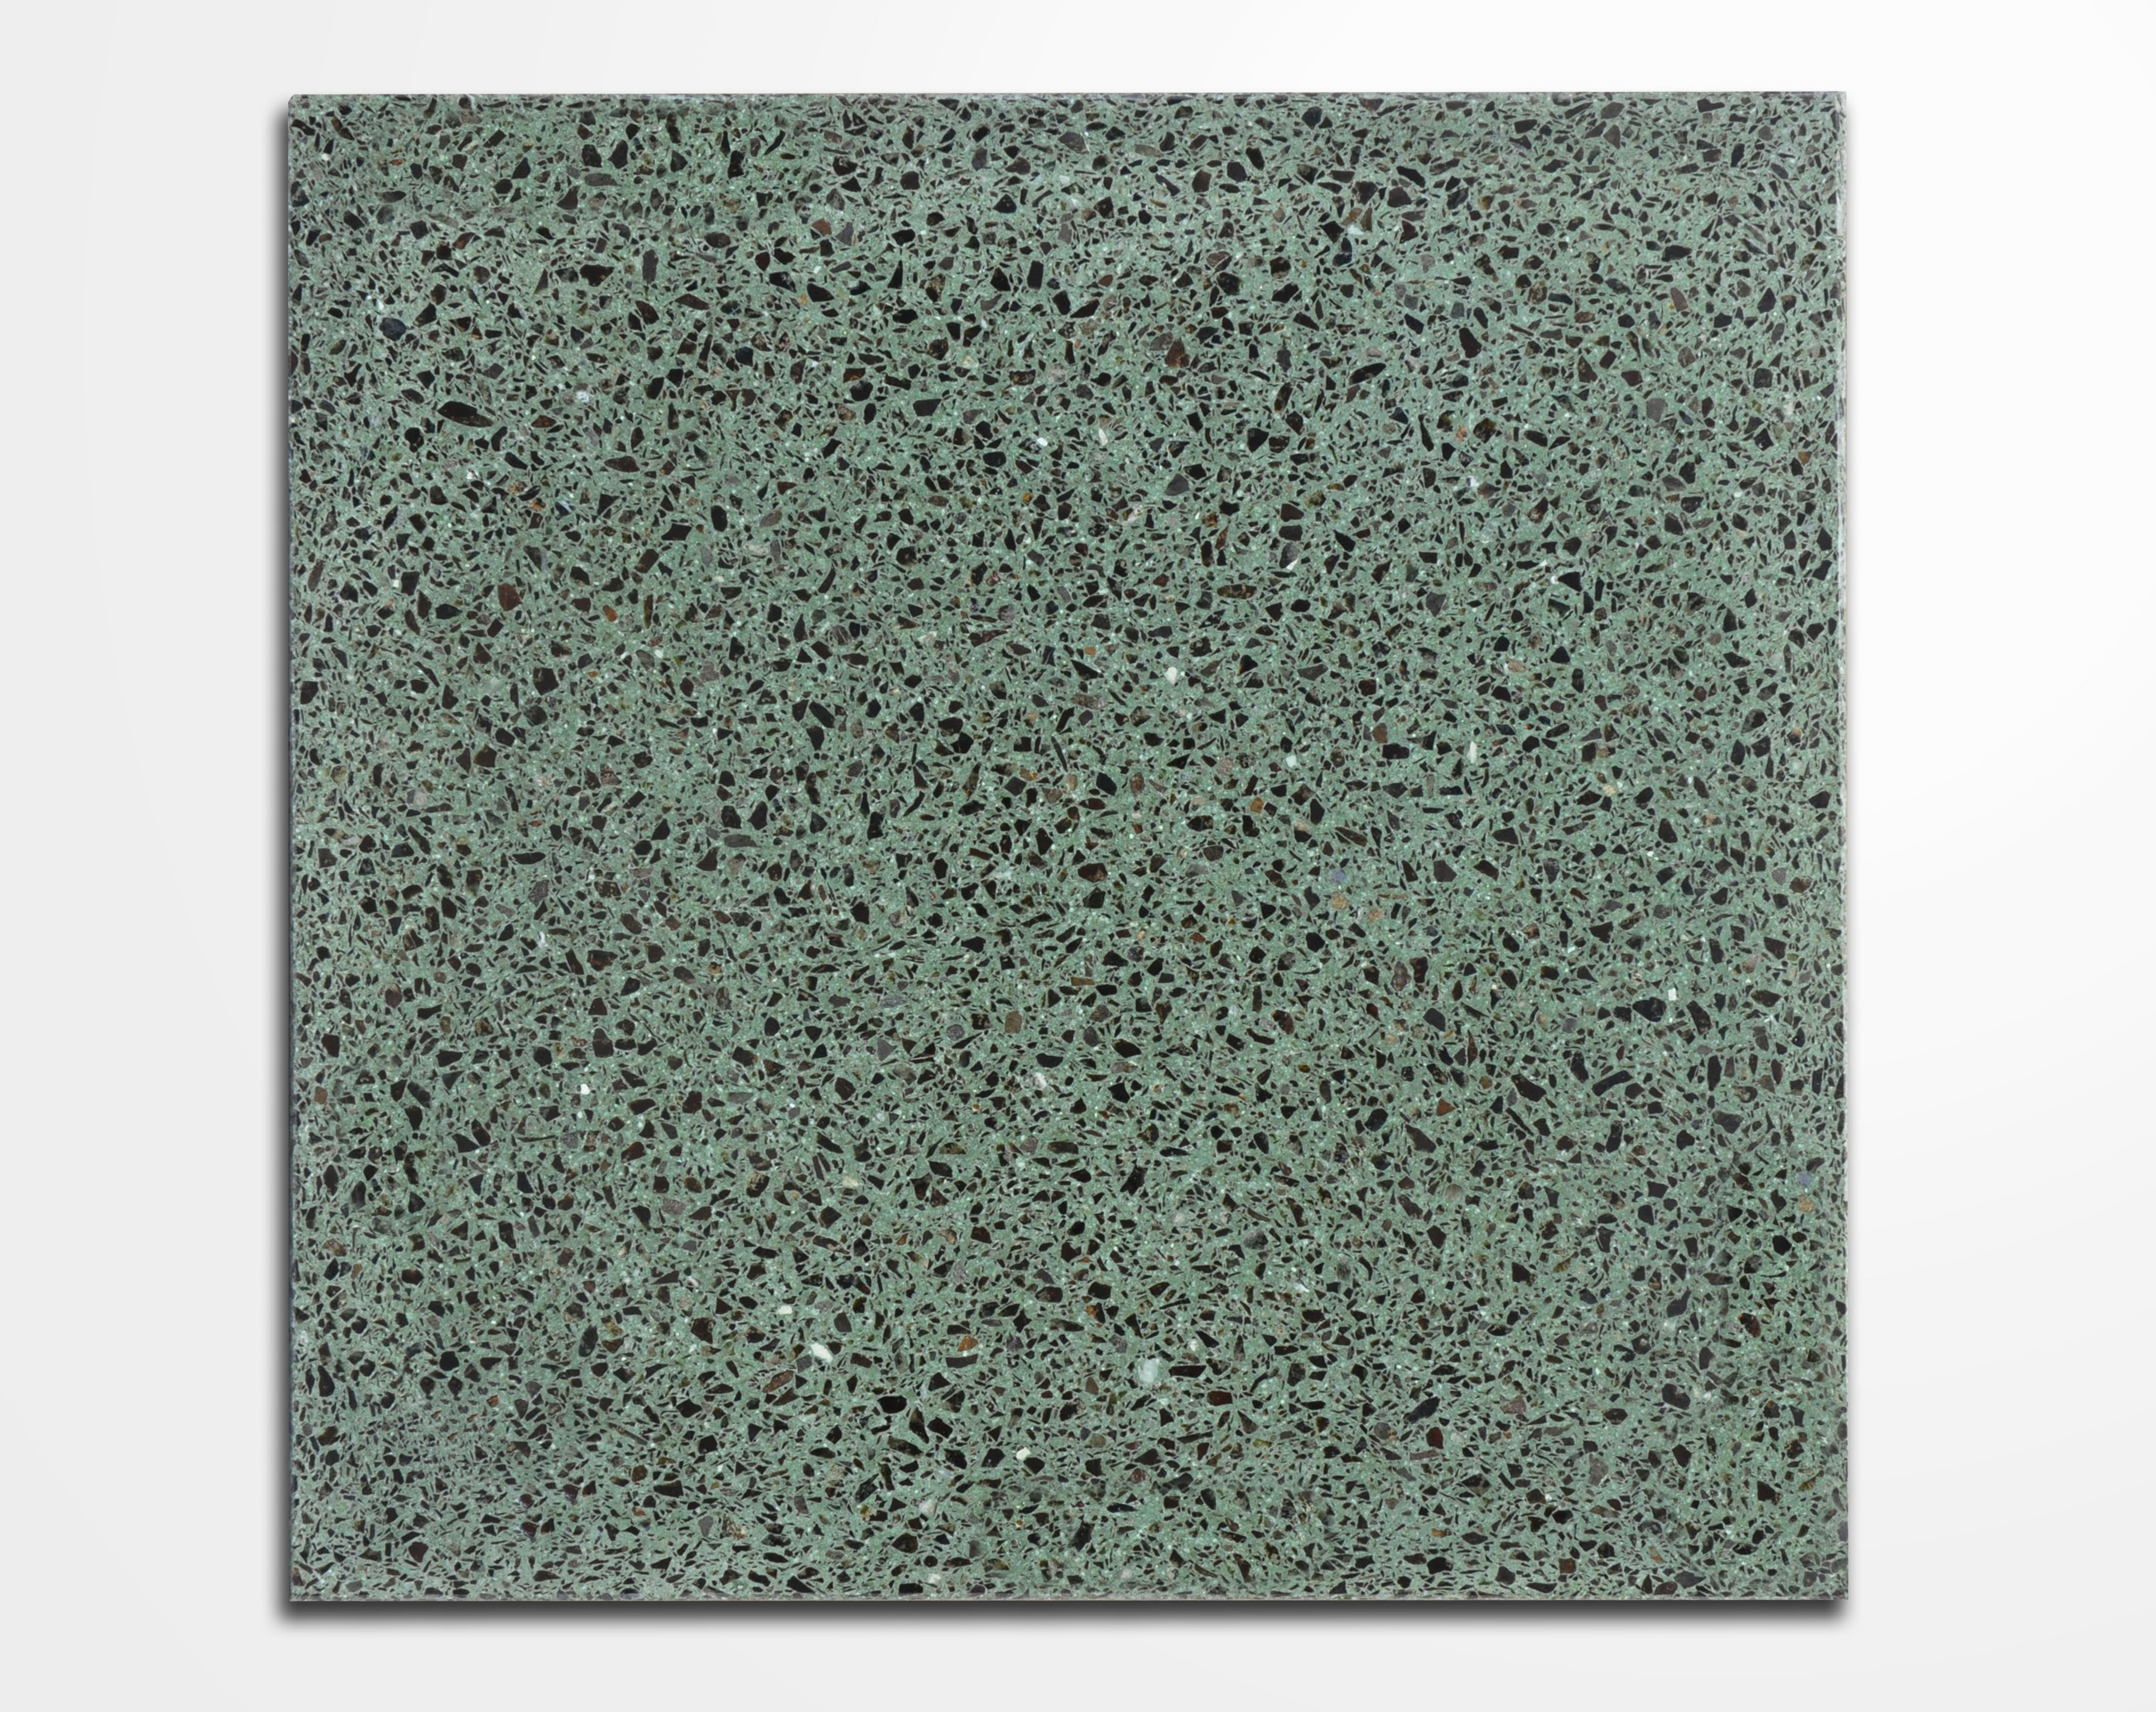
Verde Pino
DetailsFinishes
Baseboards
THIN COMPACT® baseboards or skirting boards are used to complete the installation of the slabs. Its installation contributes to the aesthetics of the product while preventing the walls from getting dirty and water from seeping into the slab finish.
Slabs Characteristics
| Dimensions | Thickness ≈ | Weight ≈ per piece | Weight ≈ per m2 | Weight ≈ per box | m2 per box |
|---|---|---|---|---|---|
| 300X300 mm | 13 mm | 2.65Kg. | 29.41 Kg. | 15.90 Kg. | 0.54 m2 |
| 400X400 mm. | 17 mm | 6.50 Kg. | 40.625 Kg. | 32.5 Kg. | 0.80 m2 |
Characteristics of the Baseboards
| Dimensions | Thickness ≈ | Weight ≈ per piece | Weight ≈ per m2 | Weight ≈ per box | mL per box |
|---|---|---|---|---|---|
| 70 X 300 mm | 13 mm | 0.66 kg. | 2.20 Kg. | 16 Kg. | 7.20 mL |
| 100 X 300 mm | 13 mm | 0.88 Kg. | 2.95 Kg. | 16 Kg. | 5.4 mL |
| 100X400 mm. | 17 mm | 1.63 Kg. | 4.1 Kg. | 33 Kg. | 8 mL |
This product is packaged in boxes or in bulk according to the customer's needs. With any of these lines, different designs and installations can be made according to the type of ambience desired. These products have standardized colors and formats in order to provide prompt and accurate service to our customers.
INSTALLATION OF THIN COMPACT
Installation of THIN COMPACT® over concrete base with Flexible Glue
THIN COMPACT ARGENTINA recommends the installation of its floors with THIN COMPACT® FLEXIBLE GLUE
- Spread a layer of FLEXIBLE glue with a 12 mm notched trowel for 300×300 mm formats and 14 mm for 400×400 mm formats, in order to maximize the properties of the slab.
- Lay the slabs with grout joints of at least 1.5 mm.
- Apply gentle, even pressure on the slab to achieve maximum contact with the glue.
- It is recommended not to allow traffic to pass over the slab before 24 or 48 hours after its installation.
- Since our products are made with all-natural raw materials, there may be variations in the shades of the slabs displayed in our points of sale and those that are eventually delivered.
Installation of THIN COMPACT® over traditional subflooring with Traditional mix
- Use a mixture of 1:1:5 (Cement-Lime-Sand) and one part, in 20 l. of water, of a plastic binder in the preparation; this provides an adequate plastic consistency improving the mortar and ensures a better adhesion
- Paint, with a diluted pure cement slurry, the back of the slab and the subfloor without letting it dry. That is, the slab and the subfloor, one by one.
- Spread the mixture with a mason's spoon to a thickness of no more than 2 cm.
- Lay the slabs with grout joints of at least 1.5 mm.
- Apply gentle, even pressure on the slab to achieve maximum contact with the mixture.
- It is recommended not to allow traffic to pass over the slab before 24 or 48 hours after its installation.
Grouting joints in both installation methods
Grouting joints is very important as it complements the filling of the gaps that the glue or mortar did not cover.
- To grout joints, verify that the grooves are clean and that 24 hours have elapsed after their installation.
- Mix two parts of grout and one part of water to obtain a light paste suitable to be inserted in the joints
- Distribute the preparation with a rubber floor squeegee, making sure that it penetrates into all the grooves. As the grout thickens, more water should be added to thin it again. If this is not done, the grout will not penetrate the joint and will only cover the top part, leaving air voids. This will cause the slabs to pop out.
- Once the joint has been properly filled, proceed to clean all the excess from both the joints and the slabs.
- It is recommended to wet the material applied in the joints with a sponge every 3 or 4 hours to avoid cracking.
Curing of THIN COMPACT® slabs
The curing of the slabs is essential after installation to seal the slabs permeability. This will prevent dirt from penetrating and facilitate subsequent cleaning.
- To cure the slabs, previously wash the surface to be treated with water and, if necessary, use a cleaner, which helps to remove the remains of dirt and dust. Then rinse with plenty of water and let it dry.
- Once clean and dry, at temperatures no higher than 28 °C, apply natural wax with a wax mop. Let dry and polish. Repeat the process to achieve a better finish.