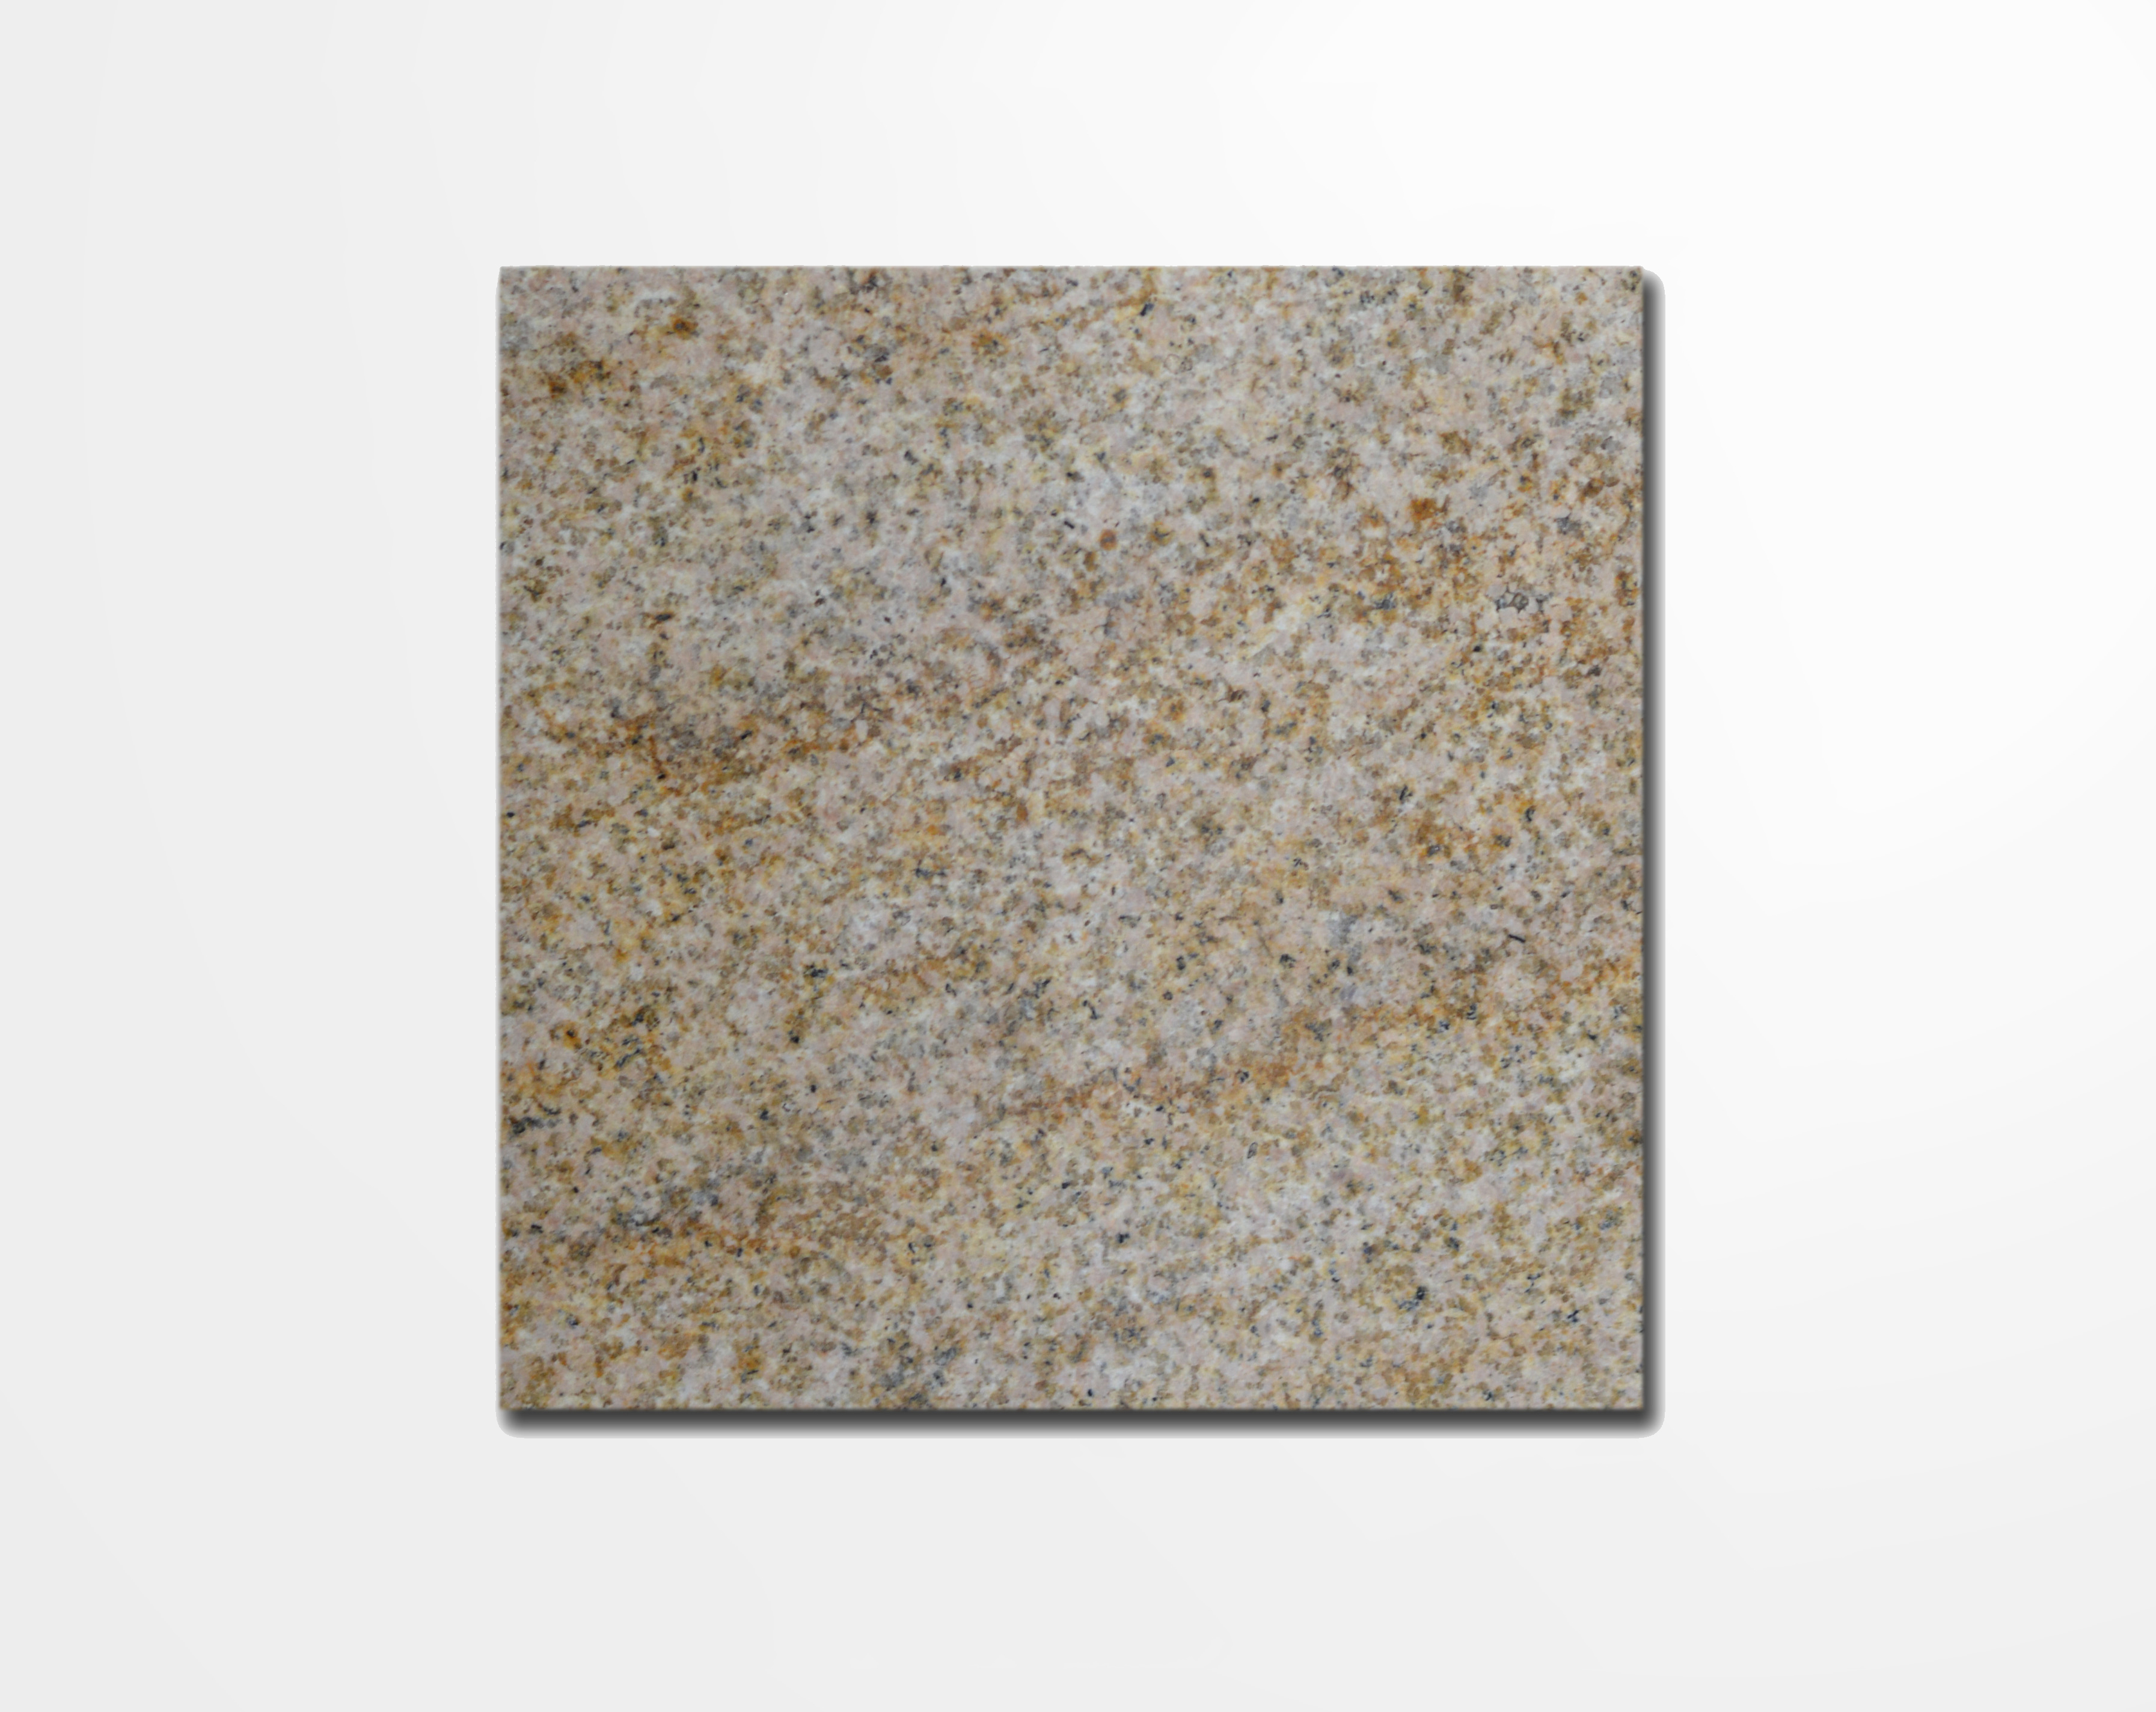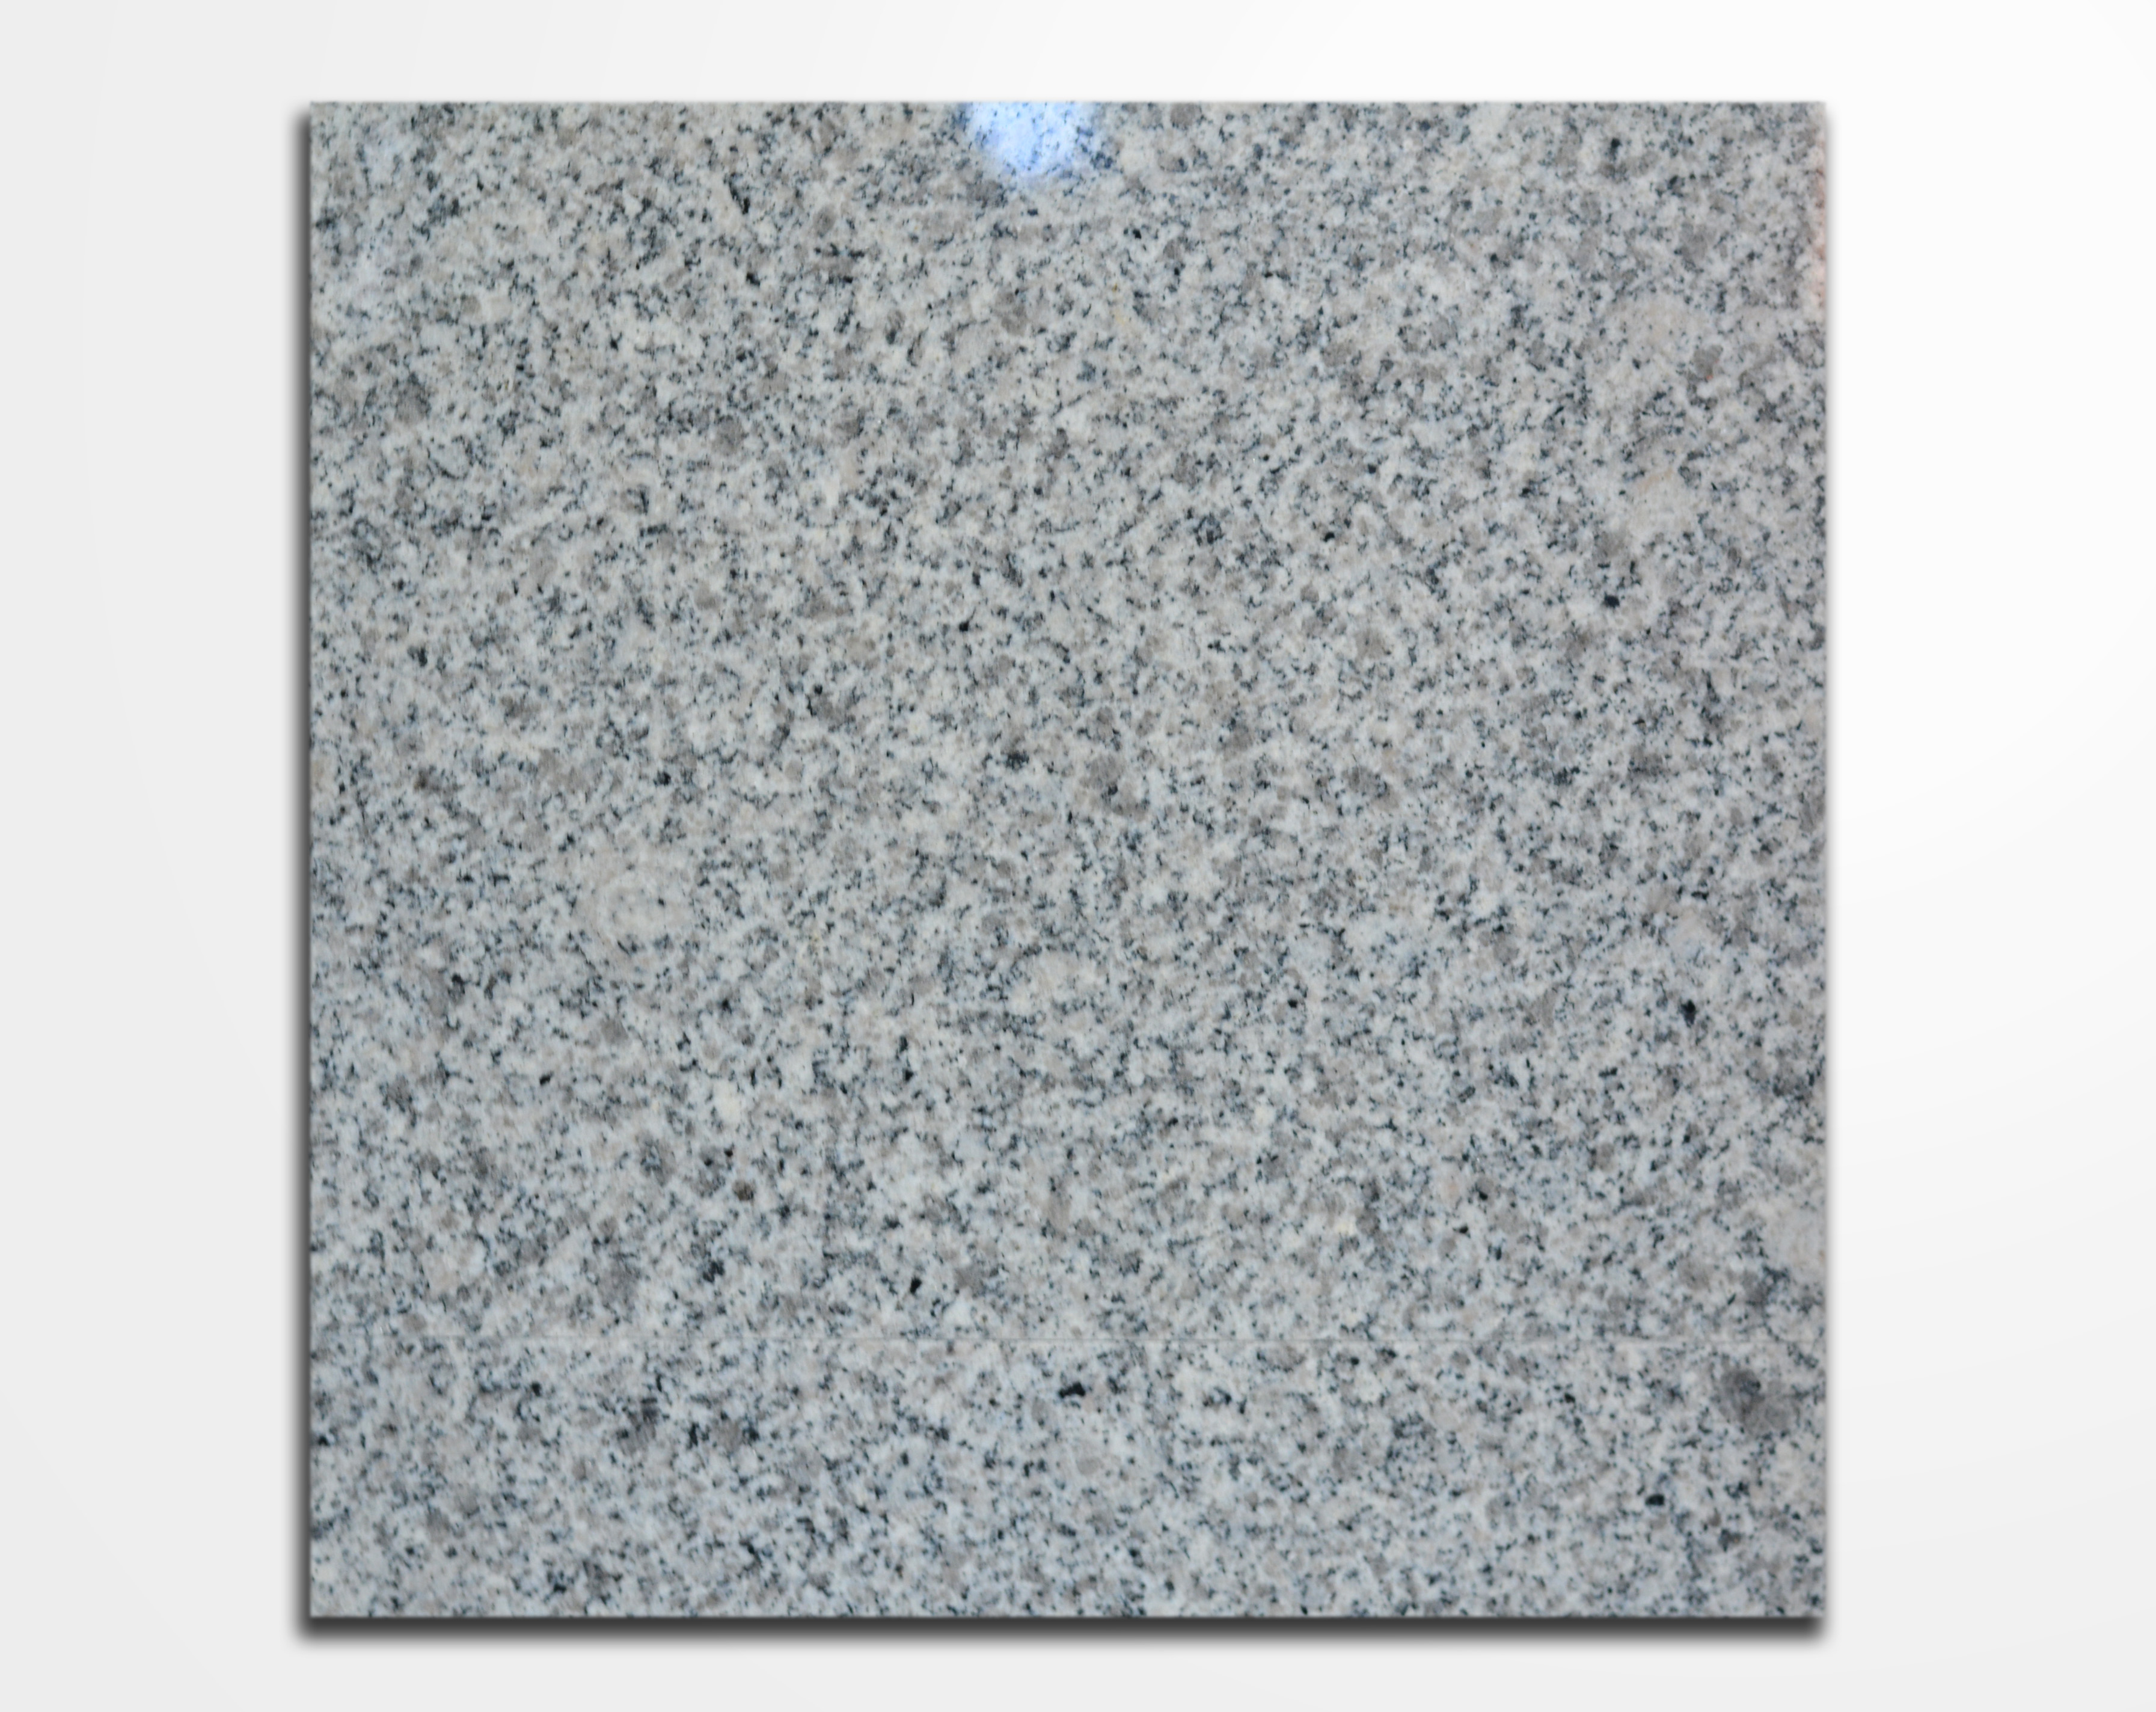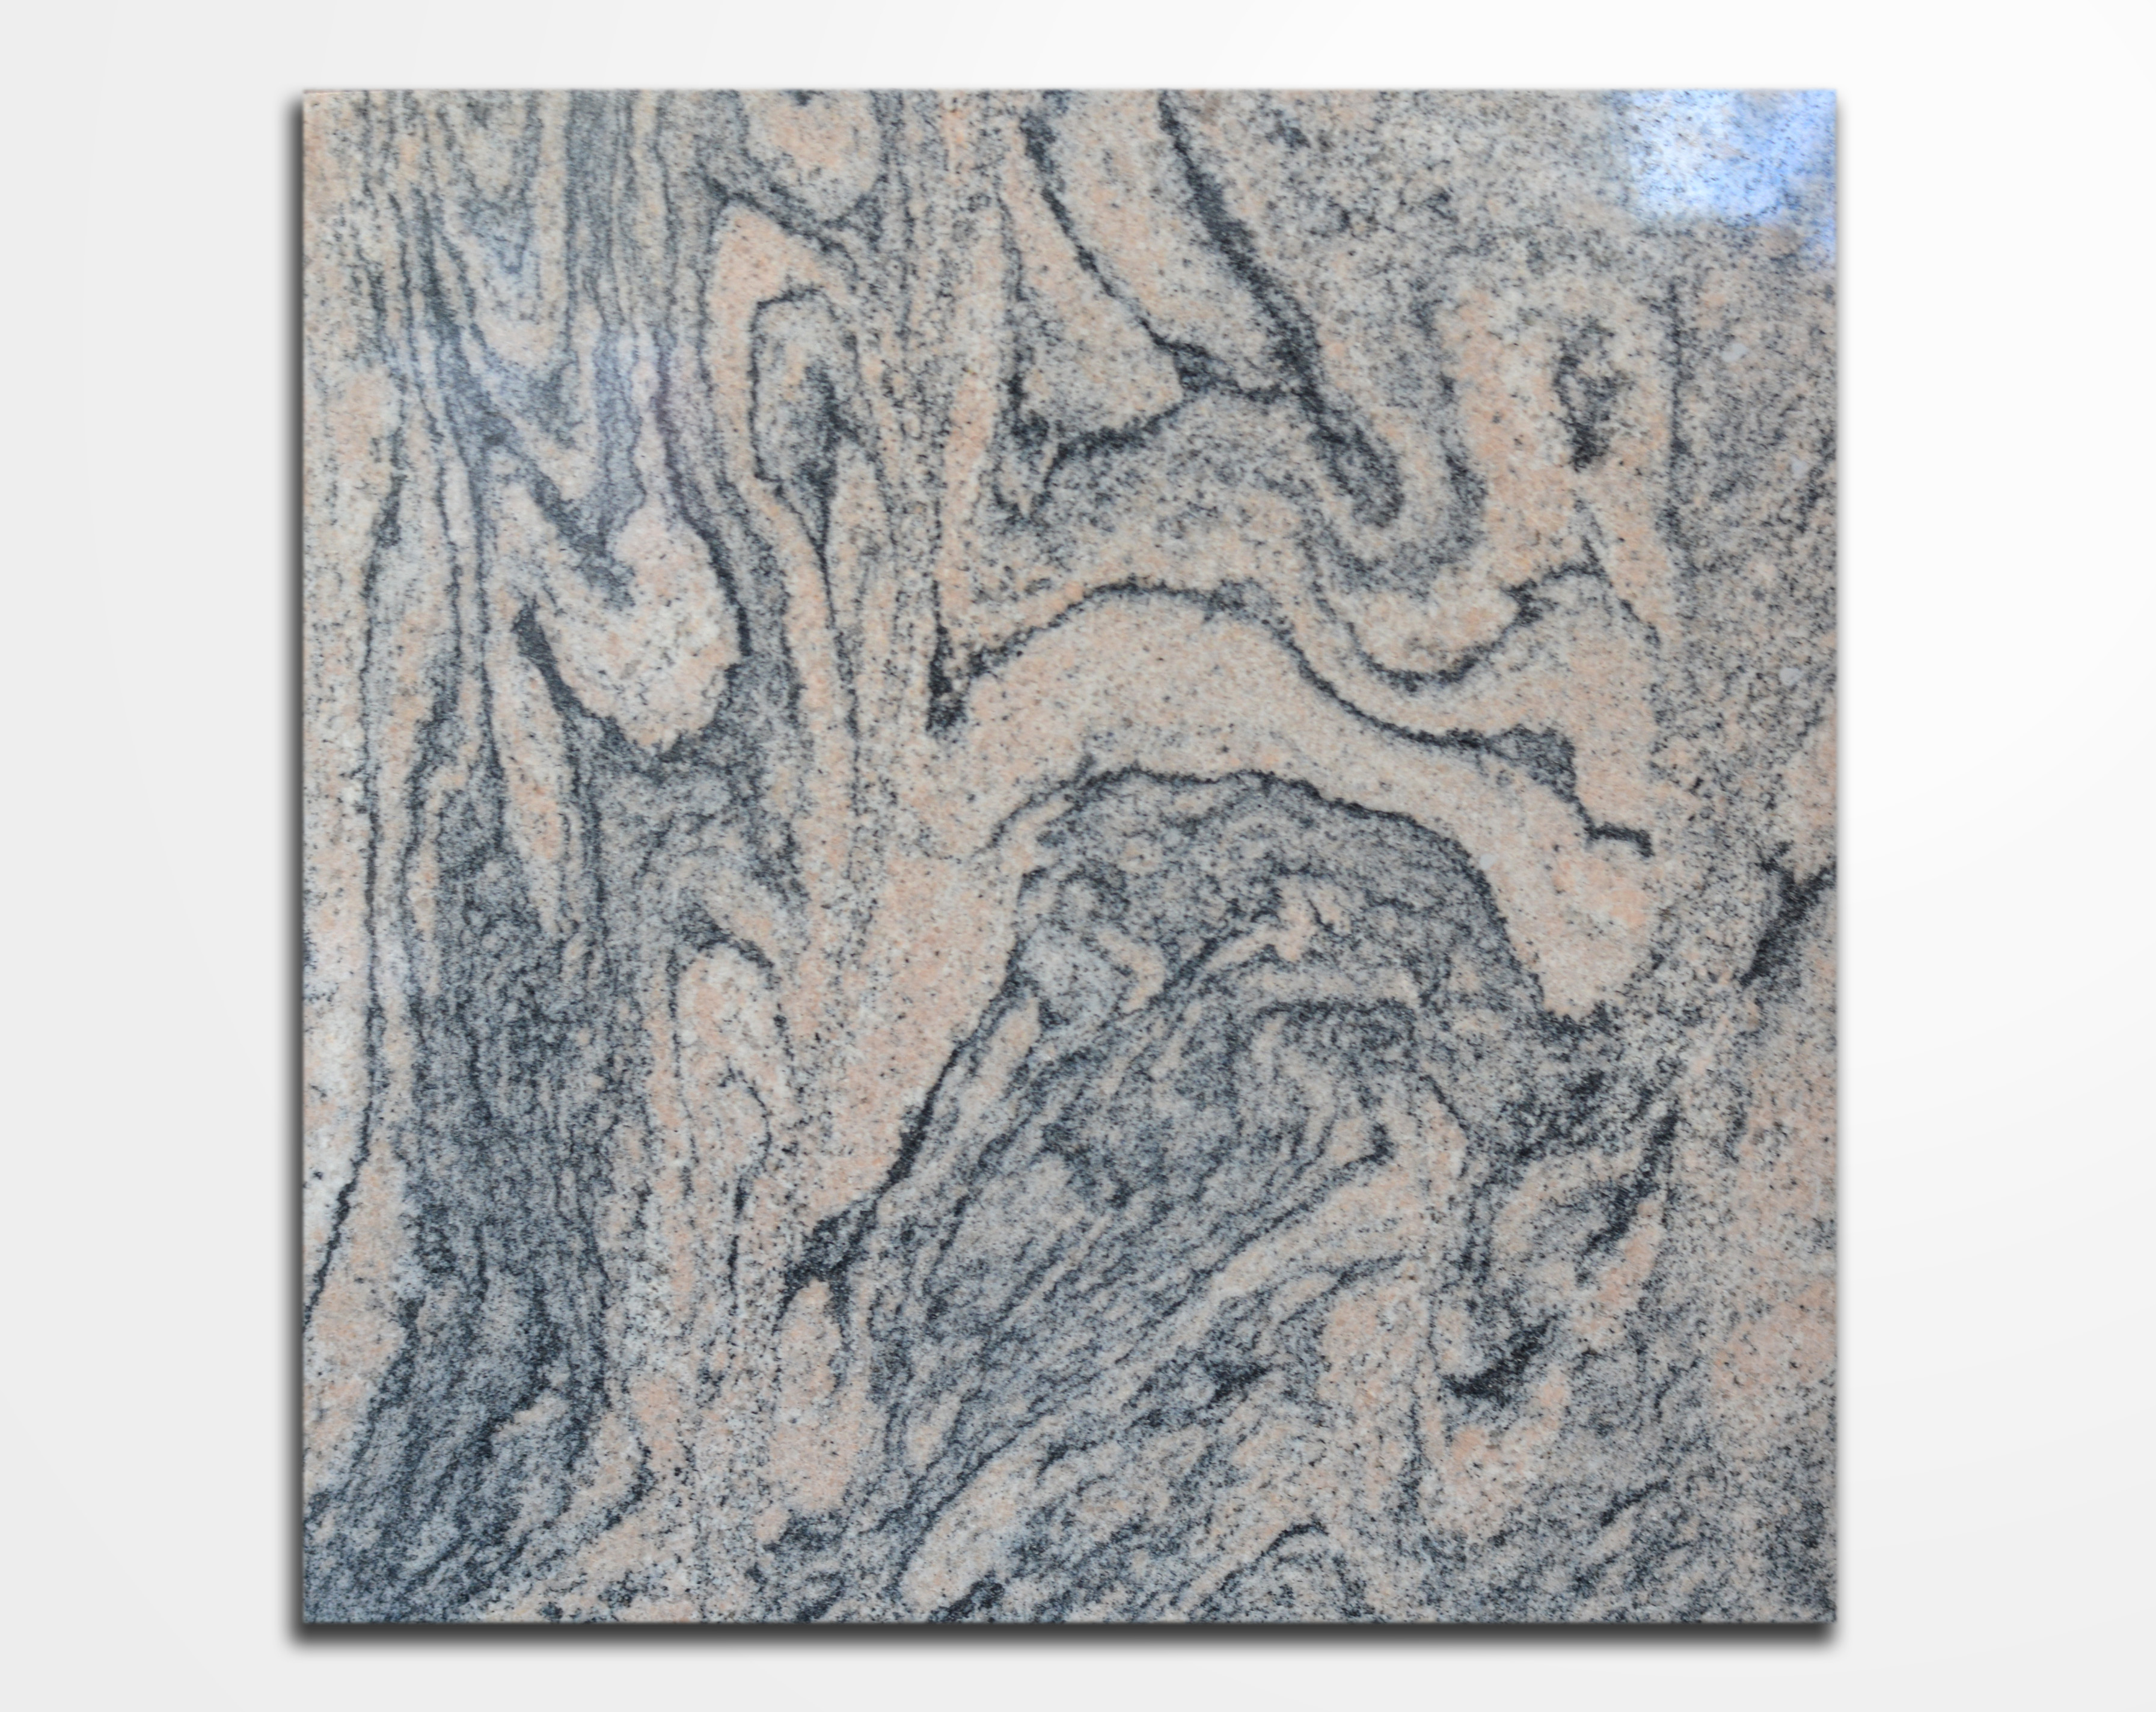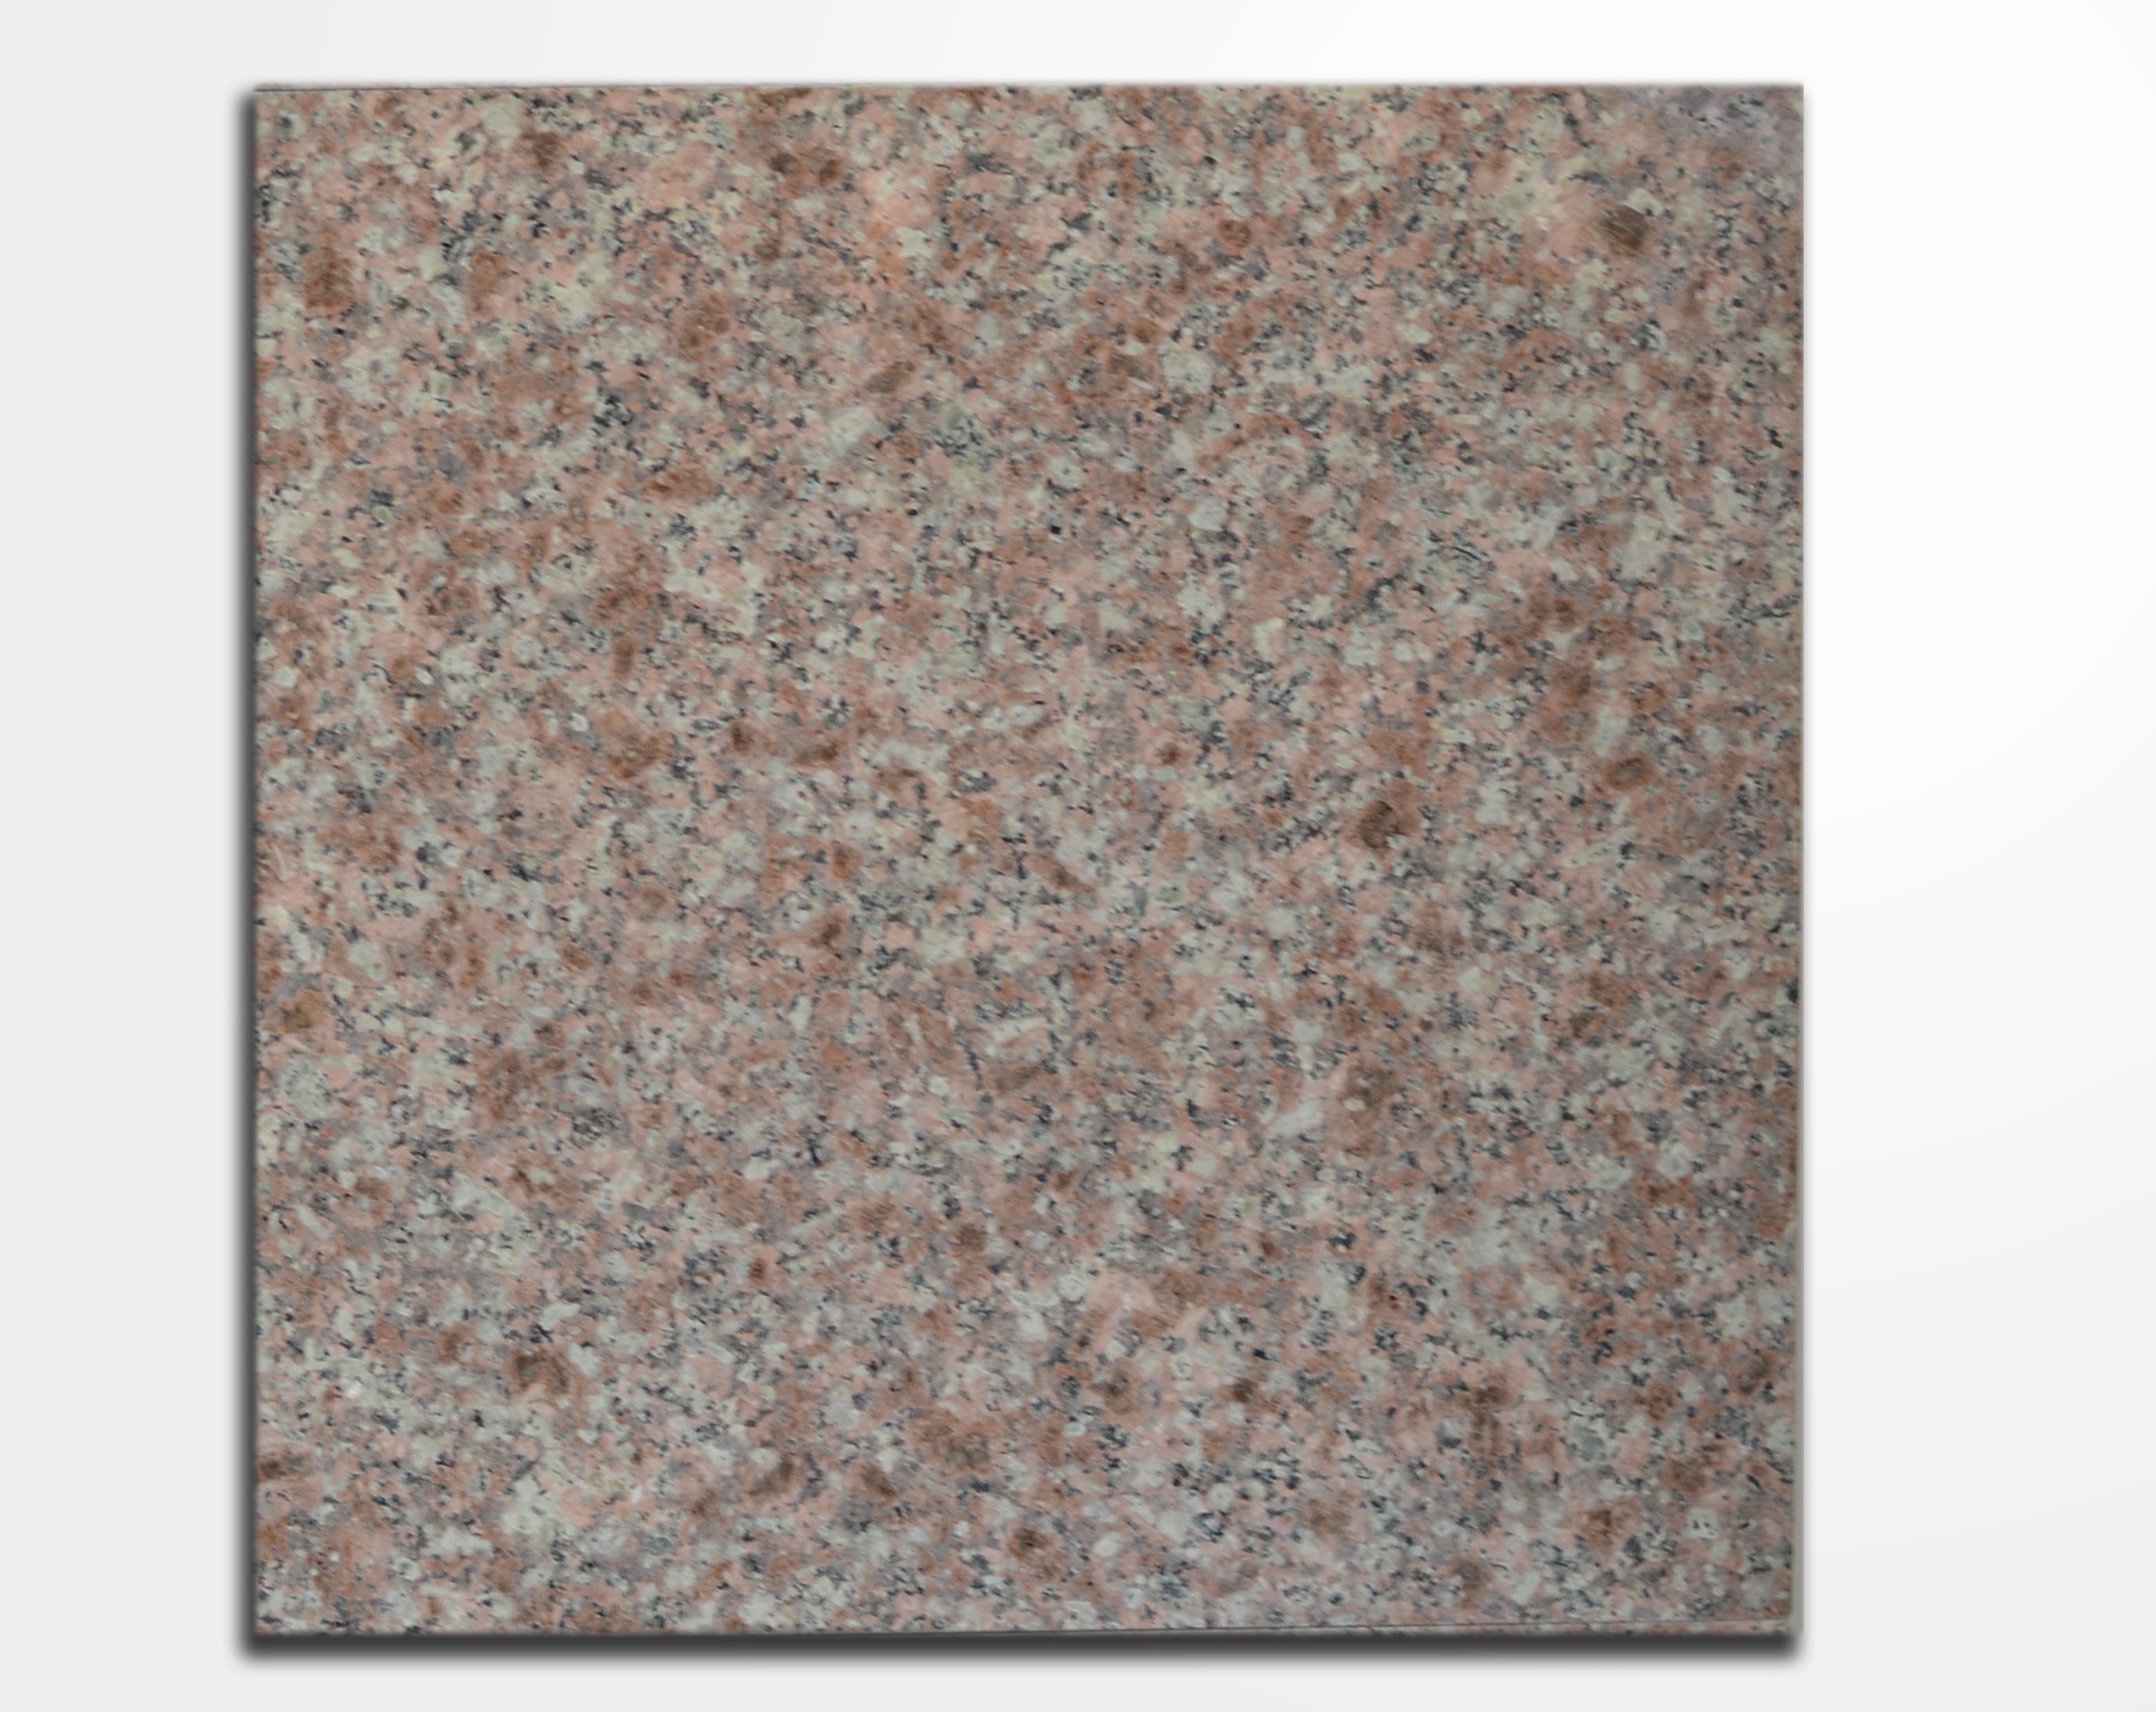
LINE OF POLISHED NATURAL GRANITE TILES
Natural granite slabs that, thanks to their gloss and finishes, are an exclusive flooring product for excellent settings and contemporary design. Its version in beveled floor slabs facilitates its installation, making it an extremely simple task.
| Dimensions | Thickness ≈ | Weight ≈ per piece | Weight ≈ per m2 | Weight ≈ per box | m2 per box |
|---|---|---|---|---|---|
| 305 X 305 mm | 10 mm | 6.50 Kg. | 40.625 Kg. | 32.5 Kg. | 0.96 m2 |
INSTALLATION OF THIN COMPACT® NATURE STONE
Installation of THIN COMPACT® NATURE STONE over concrete base with Flexible Glue
THIN COMPACT ARGENTINA recommends the installation of its floors with THIN COMPACT® FLEXIBLE GLUE
- Spread a layer of FLEXIBLE glue with a 12 mm notched trowel for 200x200 mm to 300×300 mm formats and 14 mm for 400×400 mm formats, in order to maximize the properties of the slab.
- Lay the slabs with grout joints of at least 1.5 mm.
- Apply gentle, even pressure on the slab to achieve maximum contact with the glue.
- It is recommended not to allow traffic to pass over the slab before 24 or 48 hours after its installation.
- THIN COMPACT® NATURE STONE products are manufactured from all-natural stone, and therefore have variations in shade between slabs.
Grouting joints
Grouting joints is very important as it complements the filling of the gaps that the glue or mortar did not cover.
- To grout joints, verify that the grooves are clean and that 24 hours have elapsed after their installation.
- Mix two parts of grout and one part of water to obtain a light paste suitable to be inserted in the joints.
- Distribute the preparation using a container with a suitable spout so that the grout does not stain the tiles and penetrates into all the grooves.
- Grouting joints for this type of slabs requires special care since the surface with grooves and patterns has greater absorption and if not cleaned immediately, unwanted stains may remain.
- As the grout thickens, more water should be added to thin it again. If this is not done, the grout will not penetrate the joint and will only cover the top part, leaving air voids. This will cause the slabs to pop out.
- Once the joint has been properly filled, proceed to clean all the excess from both the joints and the slabs.
- It is recommended to wet the material applied in the joints with a sponge every 3 or 4 hours to avoid cracking.
Curing of THIN COMPACT® NATURE STONE slabs
The curing of the slabs is essential after installation to seal the slabs permeability. This will prevent dirt from penetrating and facilitate subsequent cleaning.
- To cure the slabs, wash the surface to be treated with water beforehand, removing the remains of dirt and dust, then let it dry.
- Once clean and dry, at temperatures no higher than 28 °C, apply natural wax with a wax mop. Let dry and polish. Repeat the process to achieve a better finish.


